
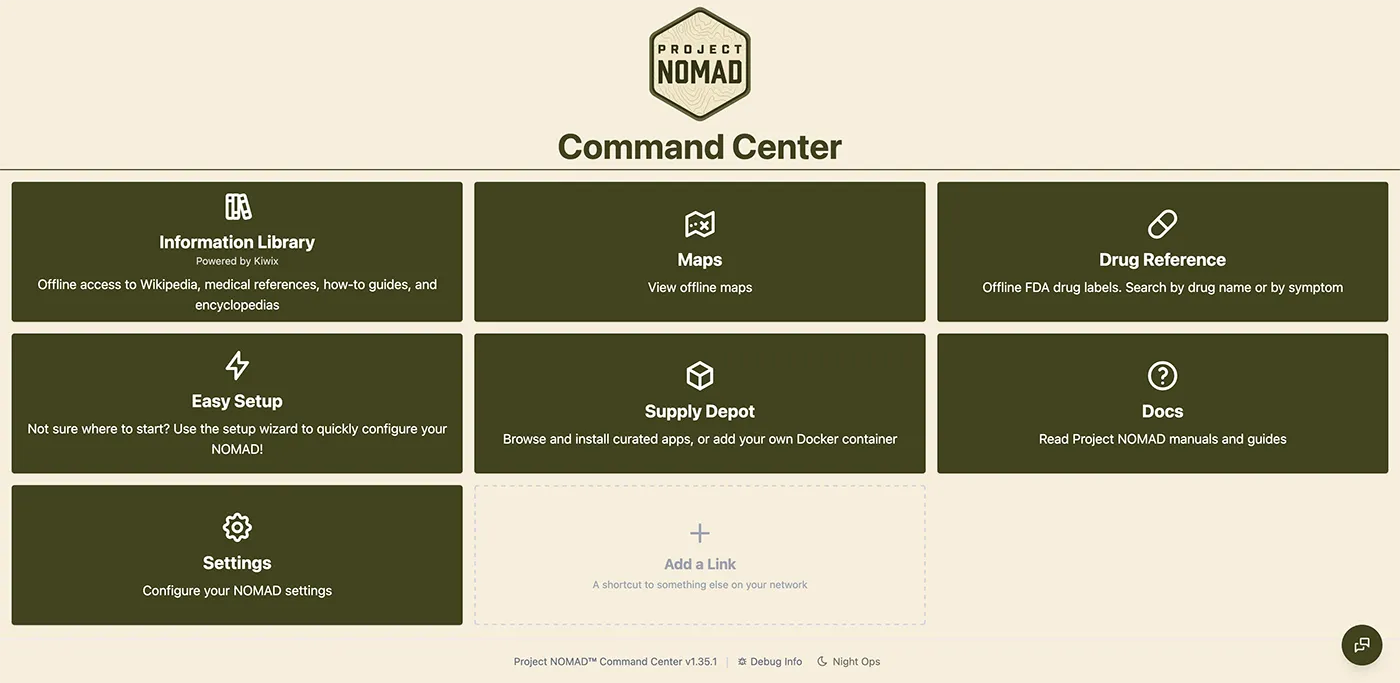
Project N.O.M.A.D. (Node for Offline Media, Archives, and Data) is a free, open-source server that puts encyclopaedic knowledge, local AI, offline maps and educational tools on a single machine. It runs from a set of Docker containers, managed through one web interface on port 8080.
Kiwix serves offline copies of Wikipedia, medical references and ebooks, ProtoMaps provides downloadable regional maps, and Ollama runs a local AI chat with document upload and semantic search.
I have tried offline copies of Wikipedia in the past, but Project NOMAD makes this easier to manage, with everything available in one place and self-contained on a low-power computer.
Being able to access articles and reference material offline is very useful if your internet connection is down, if you are somewhere with no mobile signal such as a campervan, or during a power outage when the computer can be run from batteries.
It is also a good use for an older PC that would otherwise be heading for recycling, although the AI features do benefit from more RAM and a decent GPU.
The one thing the standard install doesn't give you is a way to reach the server when there is no network at all. In this post I'll go through installing Debian 13 on an older computer, configuring its Wi-Fi card as a standalone access point with DHCP and local DNS, and then installing Project NOMAD, so any phone, tablet or laptop in range can connect directly and browse the library.
The hardware
Back in 2017 I purchased a Gigabit Internet Gateway Network PC to use as my network's Linux server. It was later replaced with a faster system with more storage and has been unused for some time.
It is a low-specification computer, well below what Project NOMAD recommends:
| This PC | Project NOMAD recommended | |
|---|---|---|
| Processor | Intel Pentium N3710 | AMD Ryzen 7 with Radeon graphics, or Intel i7+ |
| Memory | 8 GB RAM | 32 GB RAM |
| Graphics | Integrated Intel graphics | Integrated AMD Radeon 780M+, or dedicated NVIDIA GPU |
| Storage | 32 GB onboard eMMC and a 480 GB SSD | 1 TB SSD |
| Operating system | Debian 13.7 (headless) | Ubuntu Desktop 26.04 LTS |
The PC also has two Gigabit Ethernet ports (Realtek RTL8111HS) and a built-in Wi-Fi module.
As the N3710 is much slower than the recommended processors, I skipped the AI modules and installed Debian 13.7 in headless mode, without the GUI packages, as they are not required and use extra memory. I have tried Ubuntu Desktop 26.04 LTS on this hardware in the past and had a lot of issues due to the limited memory and CPU performance.
Installing Debian
I downloaded the Debian ISO from https://www.debian.org/distrib/ and used Raspberry Pi Imager to write it to a USB drive, which was then connected to the PC.
The BIOS was set to boot from USB and the operating system was installed to the SSD using the text-based installer. I deselected the desktop packages and selected the SSH server to allow remote access over the network for configuration.
Note: a minimal Debian install does not include curl, and if you set a root password during installation sudo is not installed either. Both are needed for the steps below, so log in as root and install them first, replacing yourusername with your own:
apt install sudo curl
usermod -aG sudo yourusername
Log out and back in for the group change to take effect.
Setting up the Wi-Fi access point
I wanted to be able to run this offline and have the PC act as a Wi-Fi access point using the built-in Wi-Fi adapter. The adapter shows as wlp2s0 on my computer but may be different on other systems.
The simplest way to do this on Debian 13 is NetworkManager's "shared" mode, which runs the access point and a small DHCP/DNS server (dnsmasq) for you. The PC needs to be connected to the internet by Ethernet for these steps.
1. Check the card supports AP mode
sudo apt install iw network-manager dnsmasq-base
sudo iw list | grep -A 10 "Supported interface modes"
You need to see * AP in that list. If it's missing, the card can't do this and you will need a cheap USB Wi-Fi dongle that supports AP mode.
2. Make sure that NetworkManager controls the card
nmcli device status
You need to see * AP in that list. If it's missing, the card can't do this and you will need a cheap USB Wi-Fi dongle that supports AP mode.
3. Create the wireless access point
Replace yoursecurepassword with the password you want to use for your connection. WPA2 passwords must be between 8 and 63 characters, or the command will fail. You can also set your own SSID by replacing NOMAD in the command below:
sudo nmcli con add type wifi ifname wlp2s0 con-name nomad-ap autoconnect yes ssid NOMAD 802-11-wireless.mode ap 802-11-wireless.band bg 802-11-wireless.channel 6 ipv4.method shared ipv4.addresses 10.42.0.1/24 ipv6.method disabled wifi-sec.key-mgmt wpa-psk wifi-sec.proto rsn wifi-sec.pairwise ccmp wifi-sec.psk "yoursecurepassword"

sudo nmcli con up nomad-ap
The access point will now come up on every boot. Clients get an address in the 10.42.0.x range, and the server is at http://10.42.0.1:8080.
4. Optional: a friendly name instead of the IP address
echo "address=/nomad.lan/10.42.0.1" | sudo tee /etc/NetworkManager/dnsmasq-shared.d/nomad.conf
sudo nmcli con down nomad-ap && sudo nmcli con up nomad-ap
Then http://nomad.lan:8080 works from any connected device.
Things to be aware of
- No built-in login. Project NOMAD has no authentication of its own, so anyone connected to the access point can reach the settings pages. The Wi-Fi password is the only protection, so choose a strong one.
- "No internet" warnings. Phones and tablets will warn that the network has no internet access and may switch back to mobile data. Choose the option to stay connected.
- Shared mode also shares the wired connection. If the Ethernet cable is plugged in, devices on the access point will get internet access through the PC.
Installing Project NOMAD
With the operating system installed and networking configured, I followed the instructions at https://www.projectnomad.us/install to install the Project NOMAD software. The official guide is written for Ubuntu, but the install script ran without problems on Debian 13.
I could then open the web interface from a browser on my desktop computer over the wired network connection.
Choosing the content
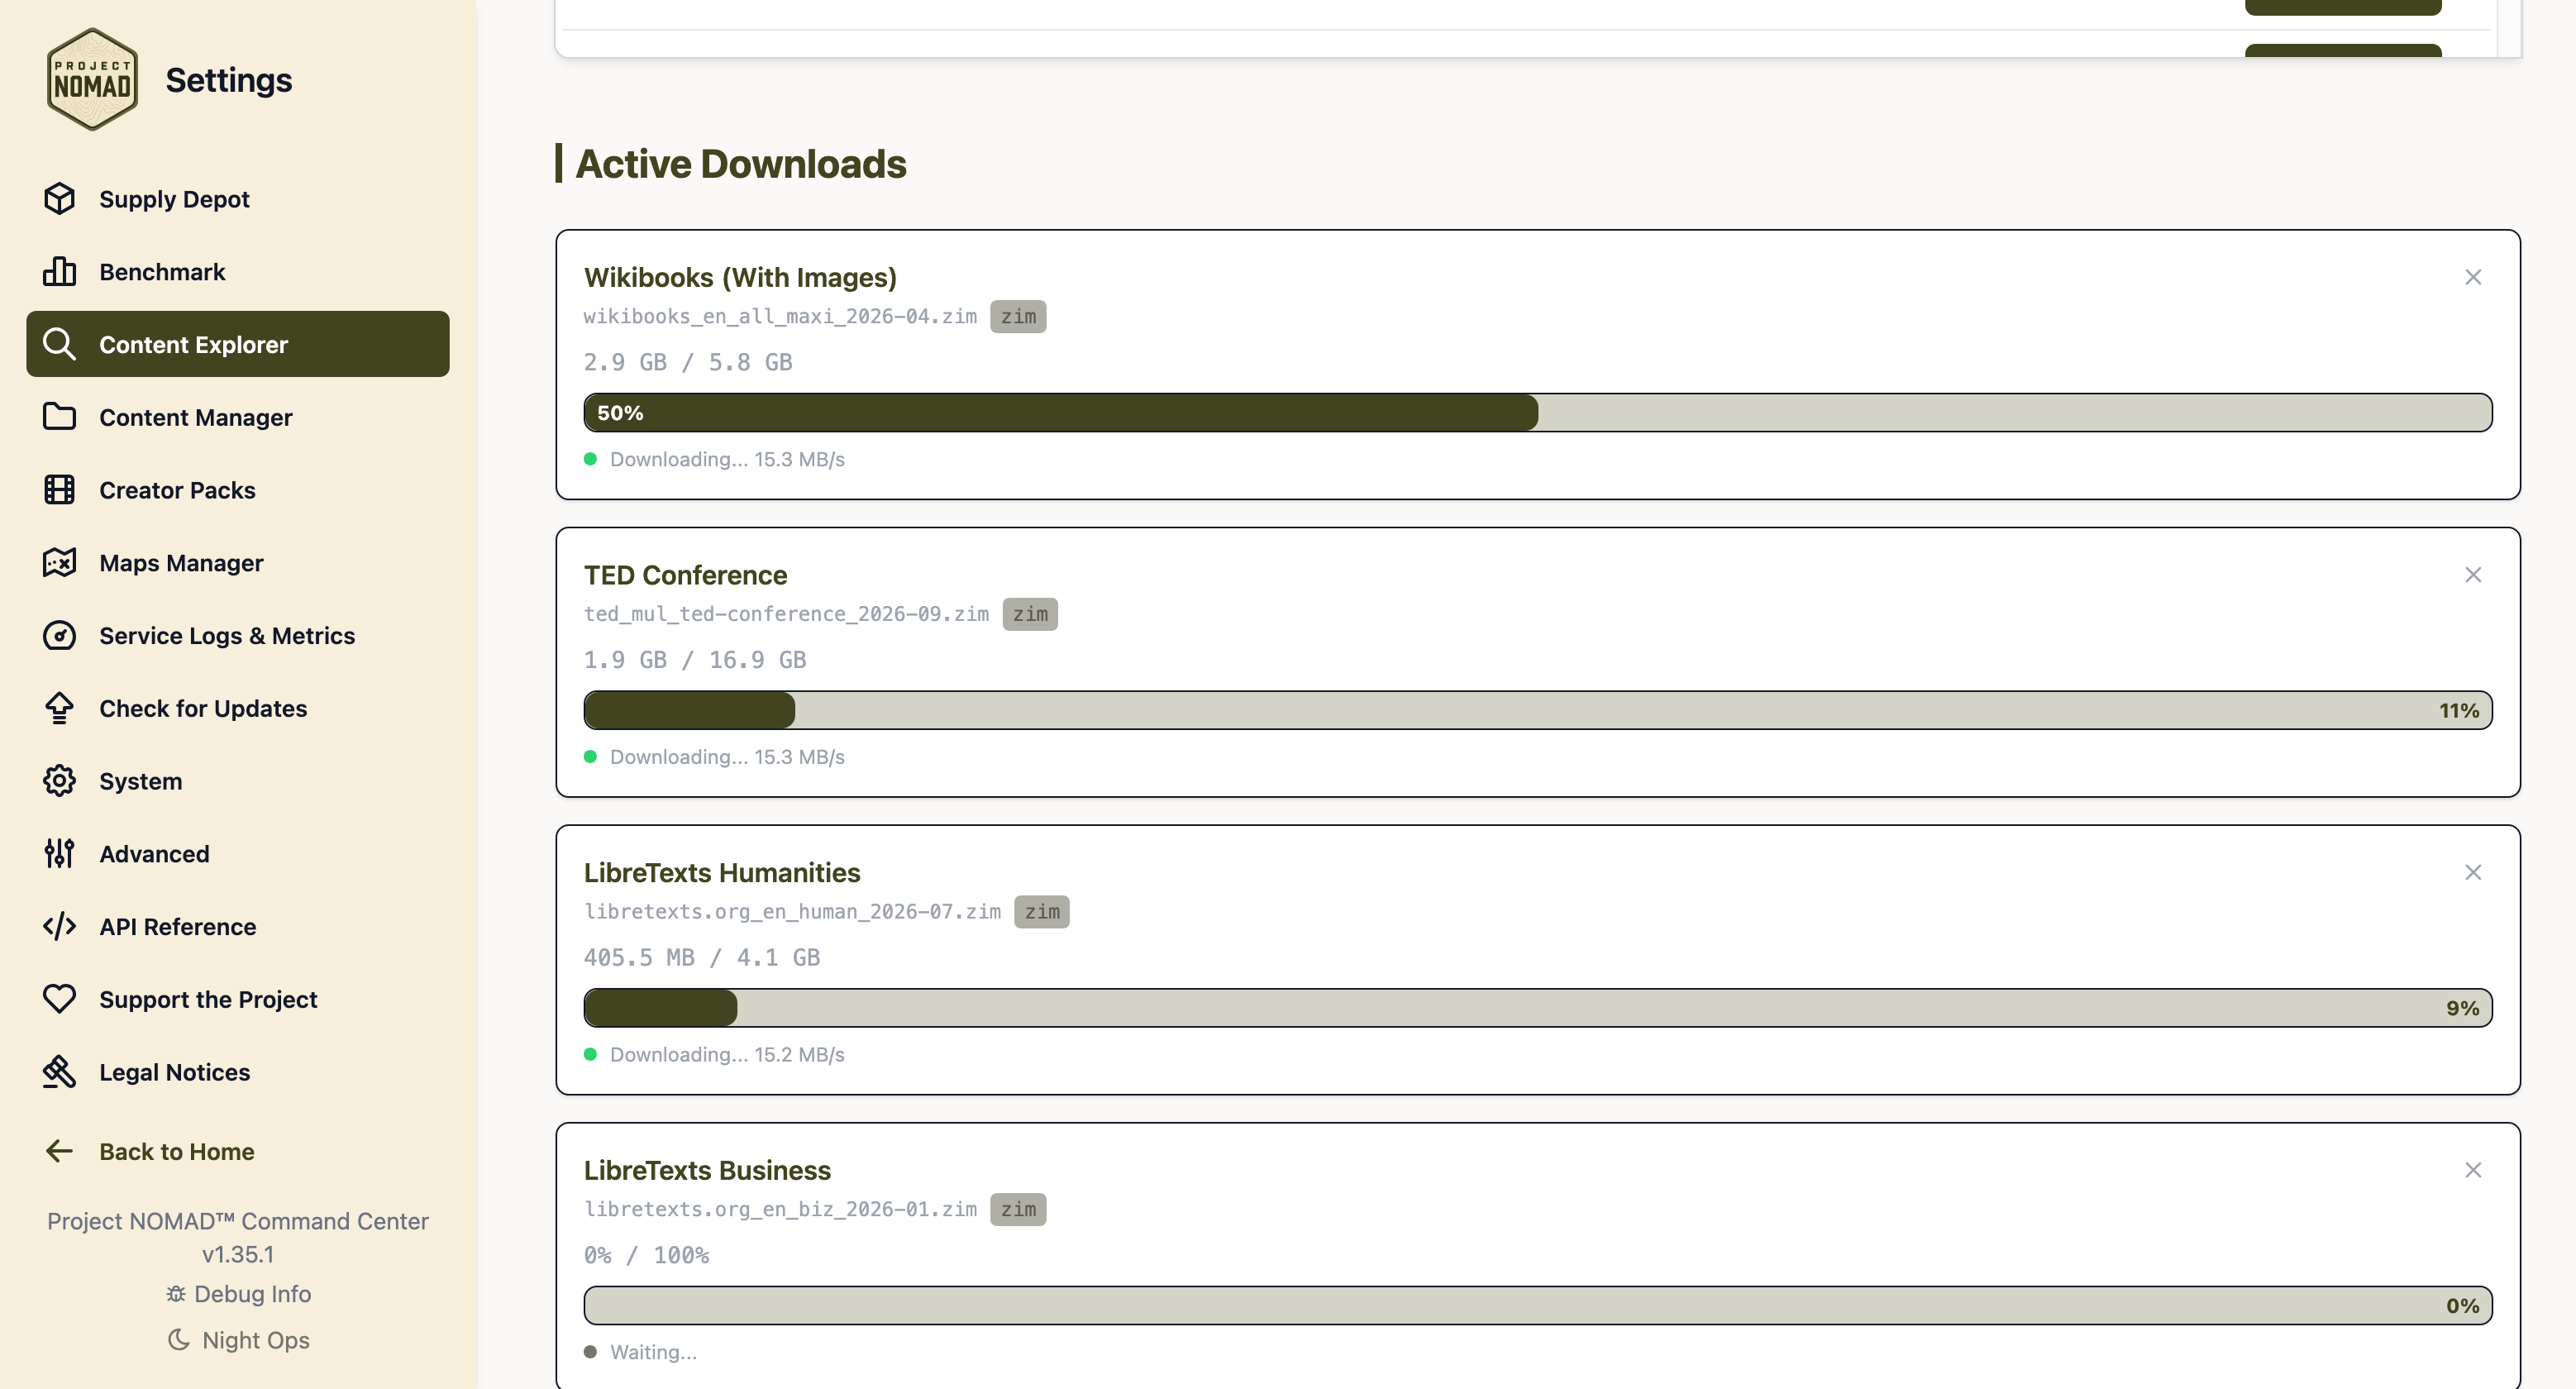
Once Project NOMAD was installed, I used the Easy Setup button to add the following content packs, which took several hours to download and install.
| Content pack | What it includes | Download size |
|---|---|---|
| Complete English Wikipedia | Every article, with all images and media | 121 GB |
| Medicine - Comprehensive | Professional-level medical references, textbooks, guides and encyclopaedias | 7 GB |
| Survival & Preparedness - Comprehensive | Emergency preparedness, post-disaster recovery, growing and storing food, and off-grid technical references | 14.5 GB |
| Education & Reference - Comprehensive | Encyclopaedias, textbooks, tutorials, educational videos and TED talks | 46.4 GB |
| DIY & Repair - Comprehensive | Repair guides, home improvement, woodworking and vehicle maintenance | 5.6 GB |
| Agriculture & Food - Comprehensive | Gardening, cooking techniques, food preservation and homesteading videos | 9.2 GB |
| Computing & Technology - Comprehensive | Programming documentation, Arduino and Raspberry Pi projects, and electronics references | 4.5 GB |
These content packs total about 208 GB. With Debian on the same drive, around 212 GB of the 480 GB SSD is in use.
You can now connect to your new Project NOMAD server from any device with Wi-Fi and a web browser.
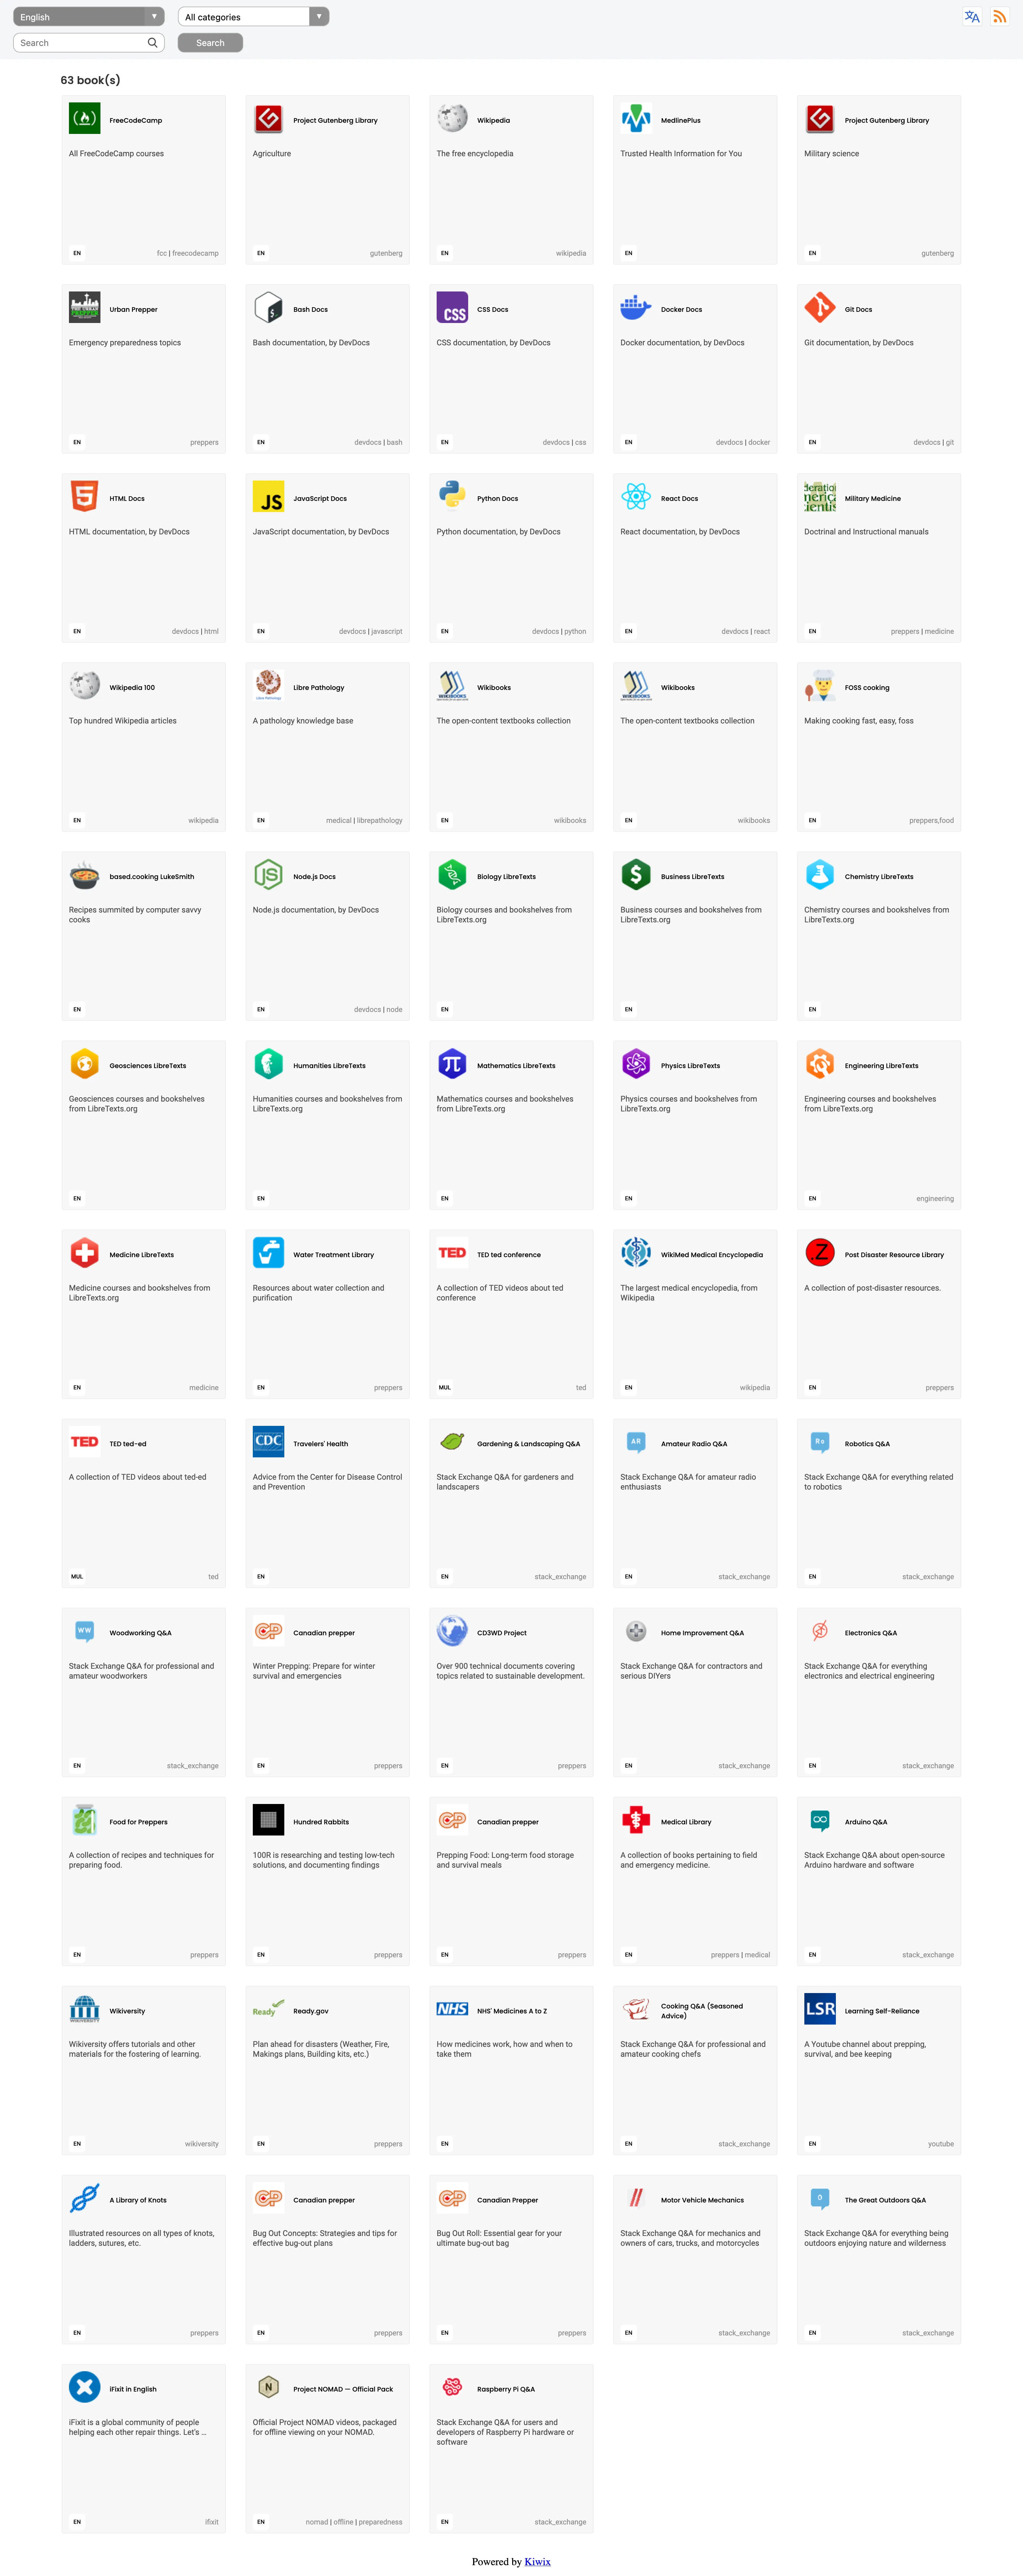
The Information Library section shows a long page listing all the installed content.
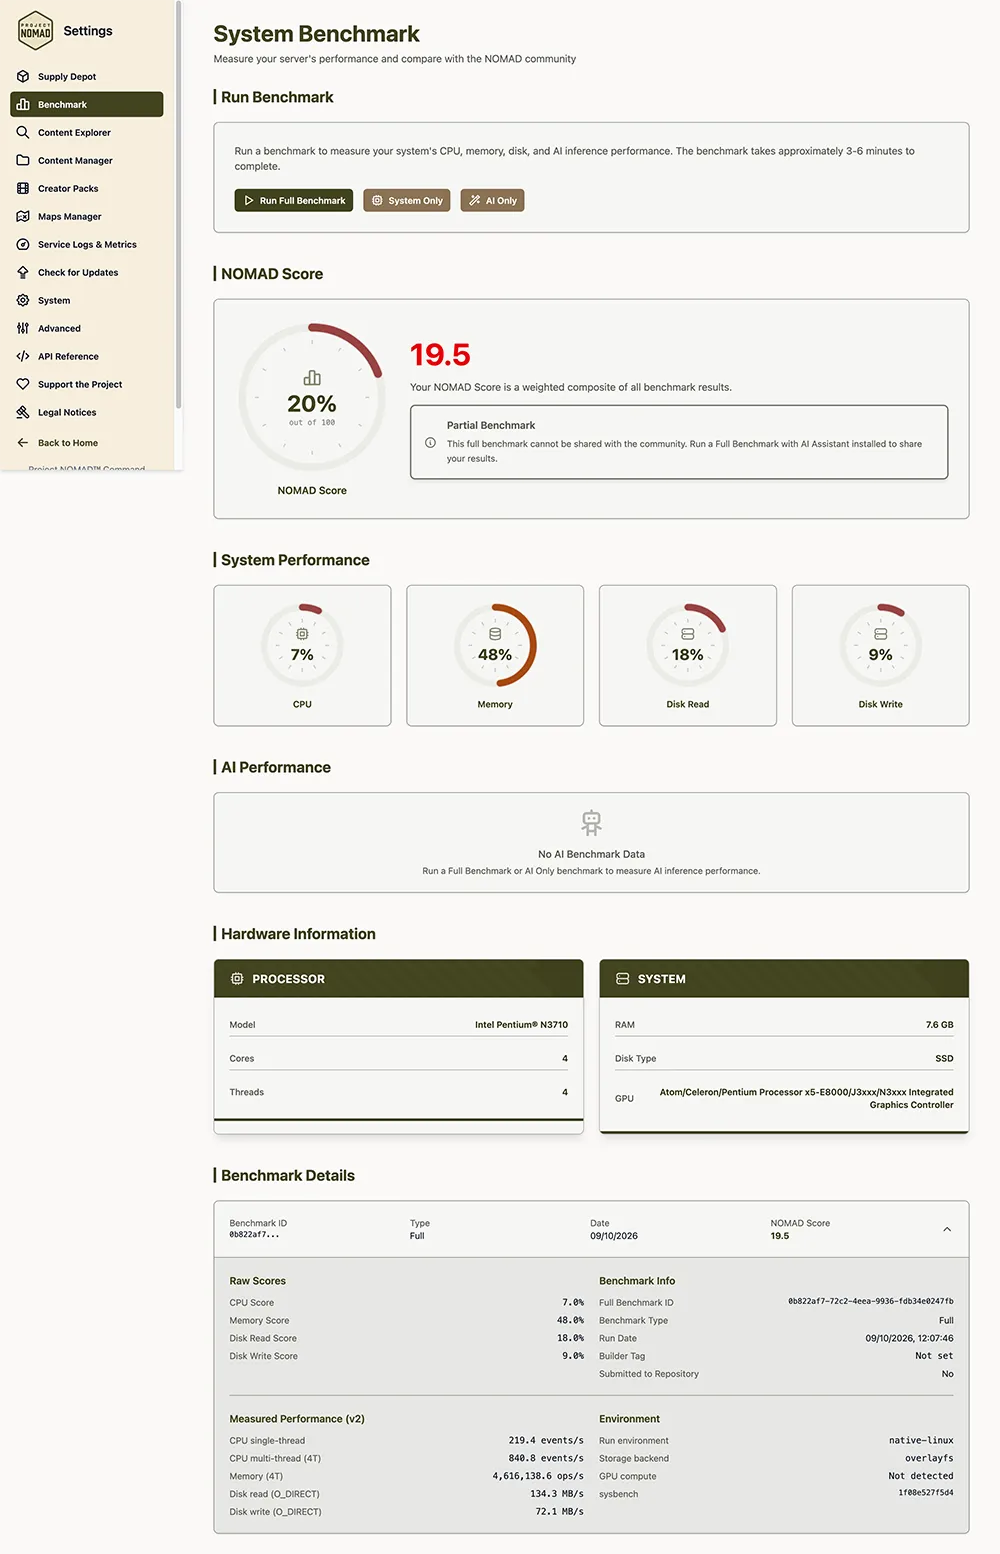
System benchmark
This was expected given the performance of the Intel Pentium N3710 and the limited RAM and storage. I don't plan to run the AI modules or serve other forms of media from this computer, so the limited performance shouldn't be an issue in use.
Overall, Project NOMAD was very easy to set up and the offline content was simple to install. It should prove a valuable resource if it is ever needed.
The only remaining task is to make a battery-powered 19 V power supply so the computer can run completely off-grid. Please post any power supply suggestions in the comments below.

Comments