If you're looking to upgrade your home network setup, particularly in a tight space like a cupboard or small networking cabinet, this post walks through how we expanded and rebuilt our home network rack, including a custom-welded steel frame, 10 Gigabit switching changes, UniFi Wi-Fi 6, and a full UPS-backed power setup.
Background: Our Previous Network Setup
We covered our fibre network upgrade in a previous post, when we switched to full-fibre broadband and installed a UniFi Dream Machine Pro. If you're starting from scratch, that post gives useful context on the hardware and layout decisions we made at the time.
The Space Challenge: Limited Rack Space in an Upstairs Cupboard
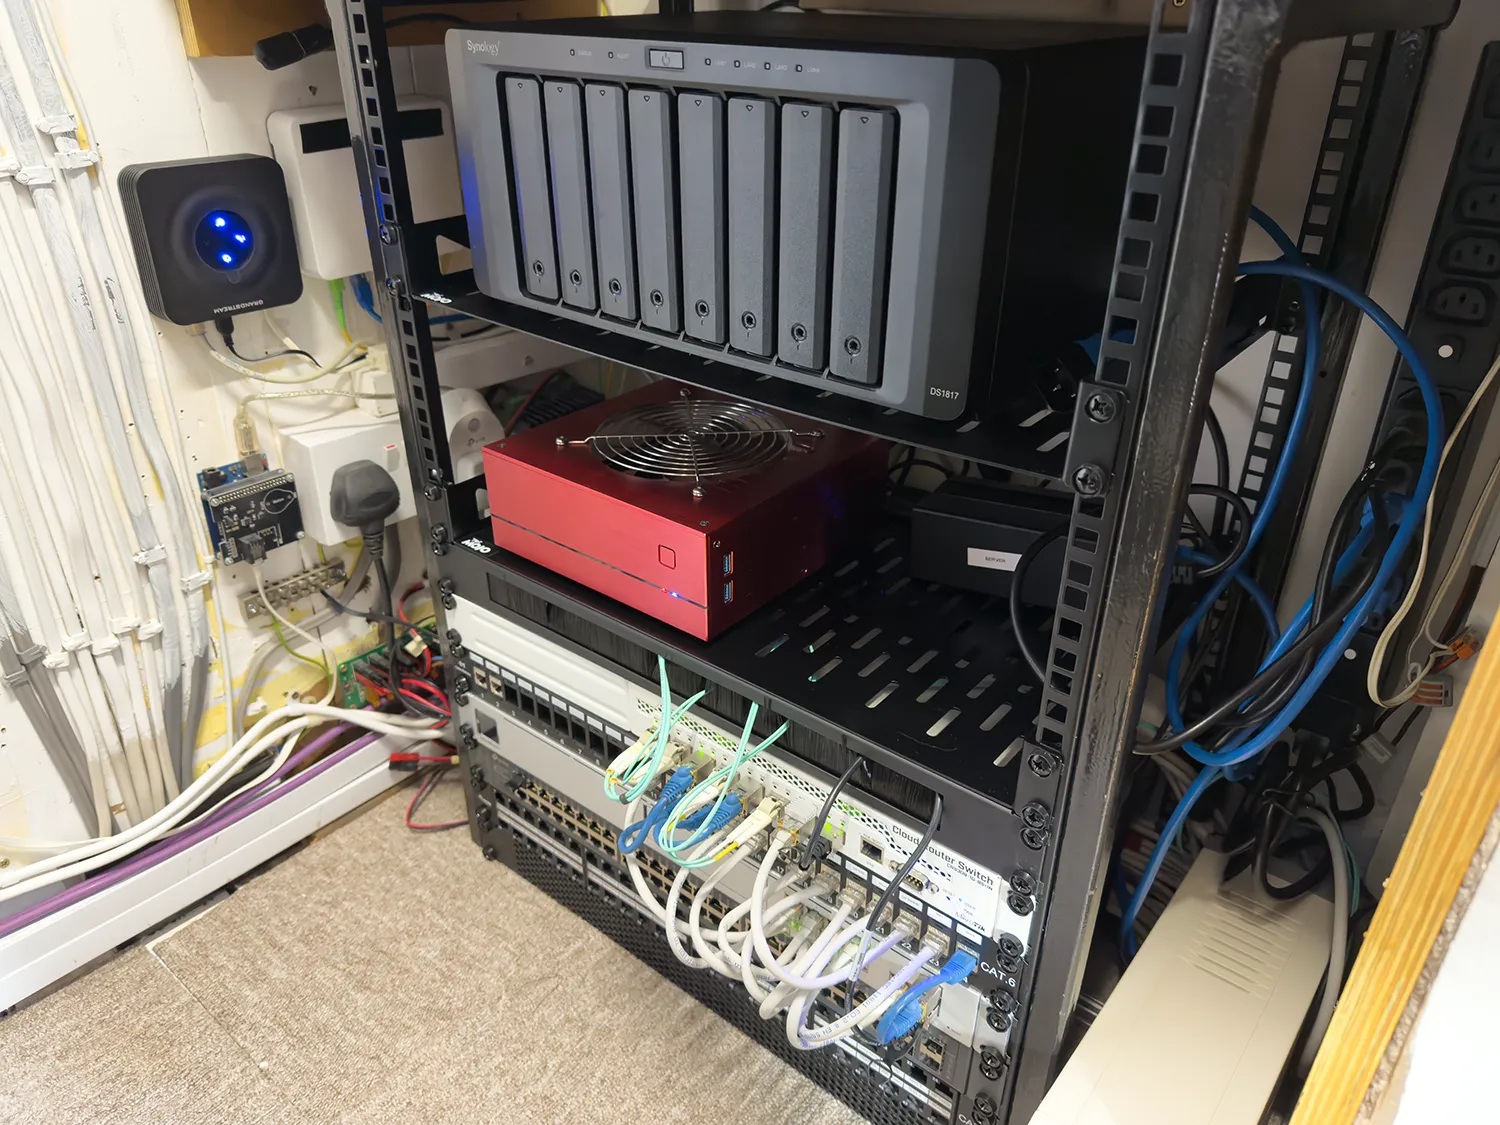
Our network cupboard is located upstairs, adjacent to the bedrooms, and presents some physical constraints as the available depth is just 30cm on each side, and the height is restricted too due to shelving for storing parts and stock. Until recently, we were running a pair of 9U rack rails supporting:
- A Linux home server on a rack shelf
- A VoIP interface
- A patch panel
- A 10GbE network switch
- A UniFi Dream Machine Pro
Our backup Synology NAS sits on a shelf in the same cupboard and connects via one of the 10GbE ports during weekly backup jobs from our main NAS.
Recent Hardware Changes Before the Rack Rebuild
Over the past year, several upgrades changed how our network functions:
- Our TP-Link Wi-Fi access point failed and was replaced with a Ubiquiti UniFi U6-PRO Wi-Fi 6 access point, powered via a PoE power injector.
- Our TP-Link 24 port switch was relocated to the loft workshop with a single fibre uplink.
- Main computers and network storage now connect via a MikroTik CRS309-1G-8S+IN 10Gb switch, using a mix of fibre and RJ45 SFP+ modules.
- The fibre ONT (Optical Network Terminal) was moved into the network cupboard using a 10m fibre run, now powered from the UPS to avoid resets during brief power cuts.
- Addition of two new Cat6e screened cable runs for 10Gb.
With the Dream Machine and MikroTik switch each offering only eight ports (some consumed by uplinks), we moved slower devices onto Wi-Fi rather than introducing a second 1Gb switch. This reduced overall power consumption and allowed the entire switching stack plus the Linux server to run from a single tower-style UPS.
Why We Built a Custom Steel Rack Frame
With plans to add more devices, the 9U setup was running out of space. We needed to expand vertically, but at just 30cm depth, no off-the-shelf open-frame rack would fit our cupboard.
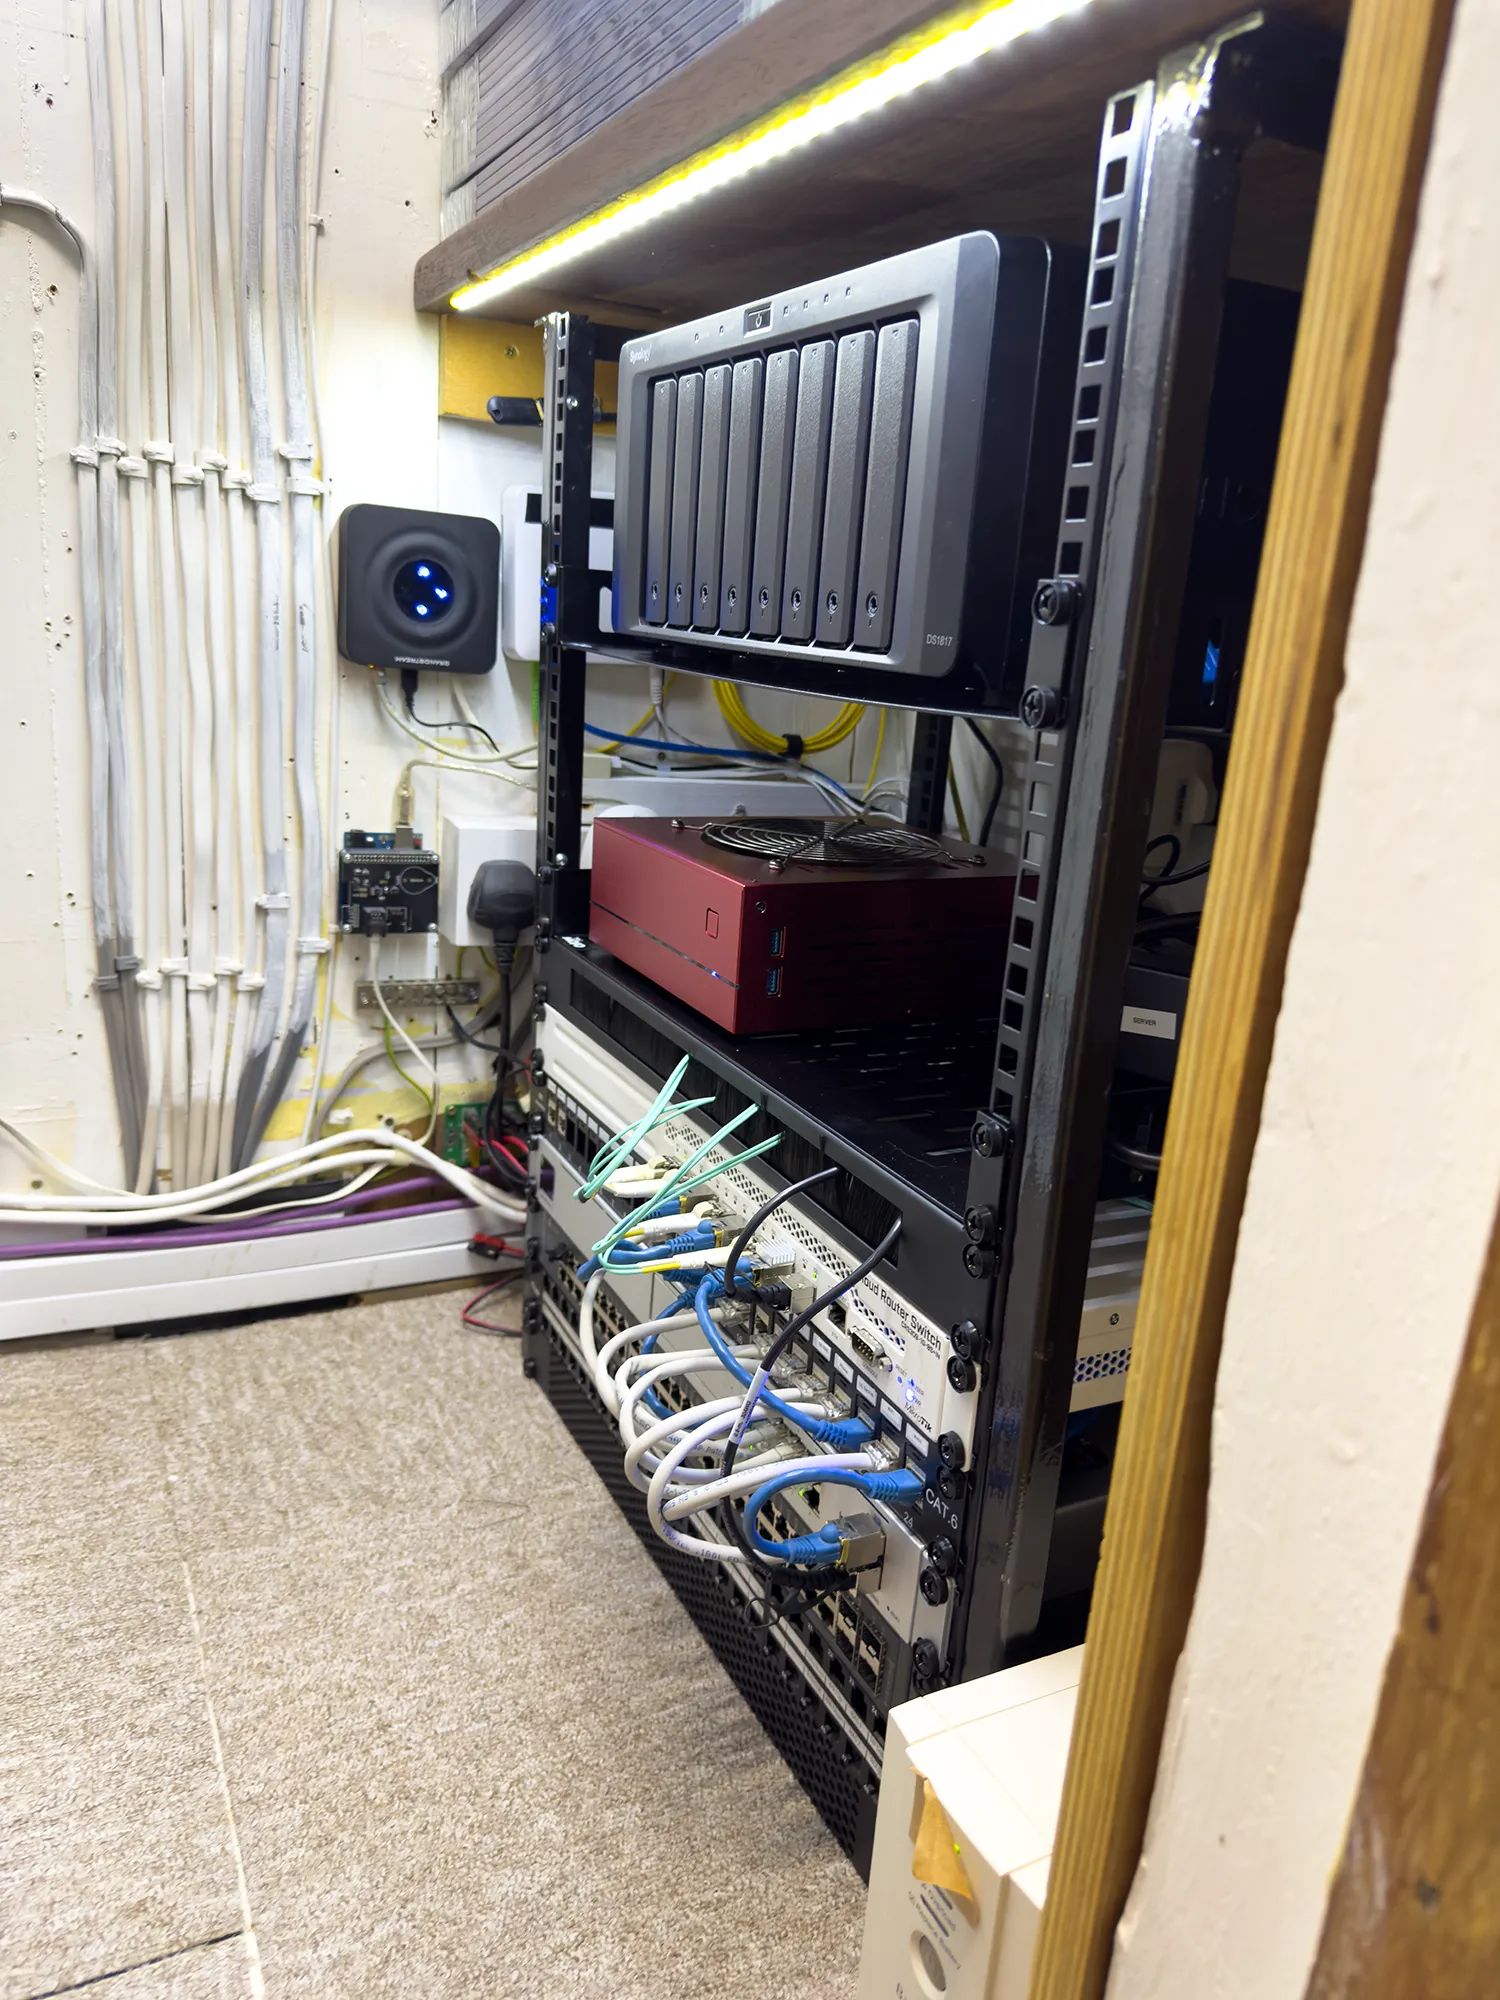
After extensive searching without finding a suitable commercial solution, we decided to build a custom rack frame welded from steel tubes designed to be fixed to the floor, the shelf above, and the wall behind for rigidity.
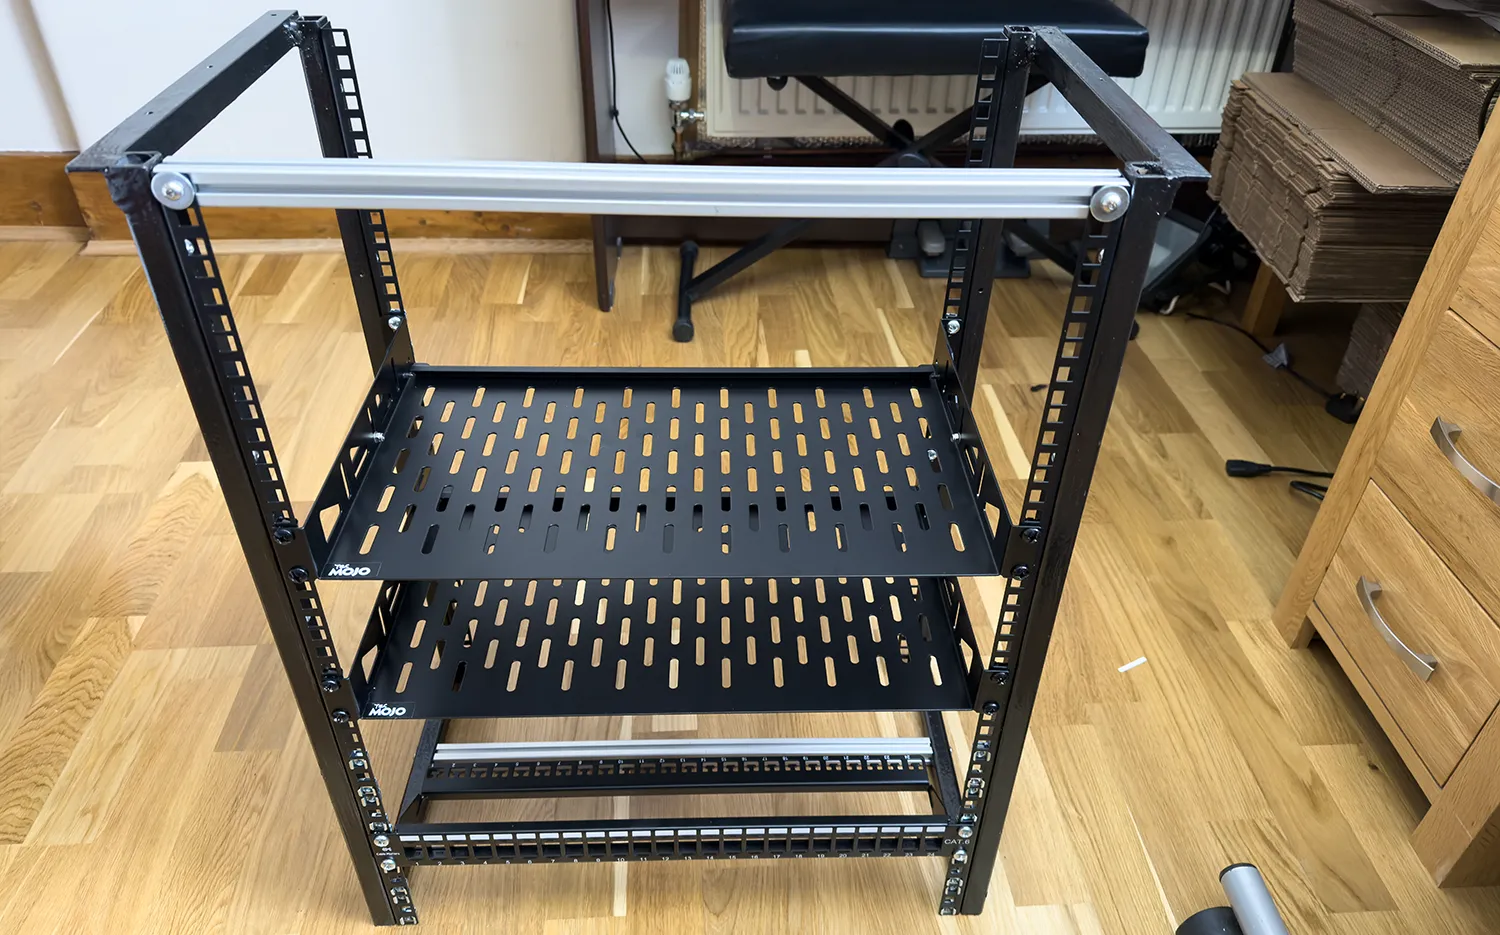
With 68cm of usable height available, we had enough room for a set of 15U rack rails (667mm).
We initially considered 2040 aluminium extrusion (which we've used before on a DIY pick-and-place robot build), but prices have risen significantly and the material cost for the aluminium alone would have exceeded £100. We instead used some spare steel square tube, already in the shed from an old Land Rover project which was a much more cost-effective option. Buying the steel new would also have cost less than a fifth of the price of aluminium extrusion.
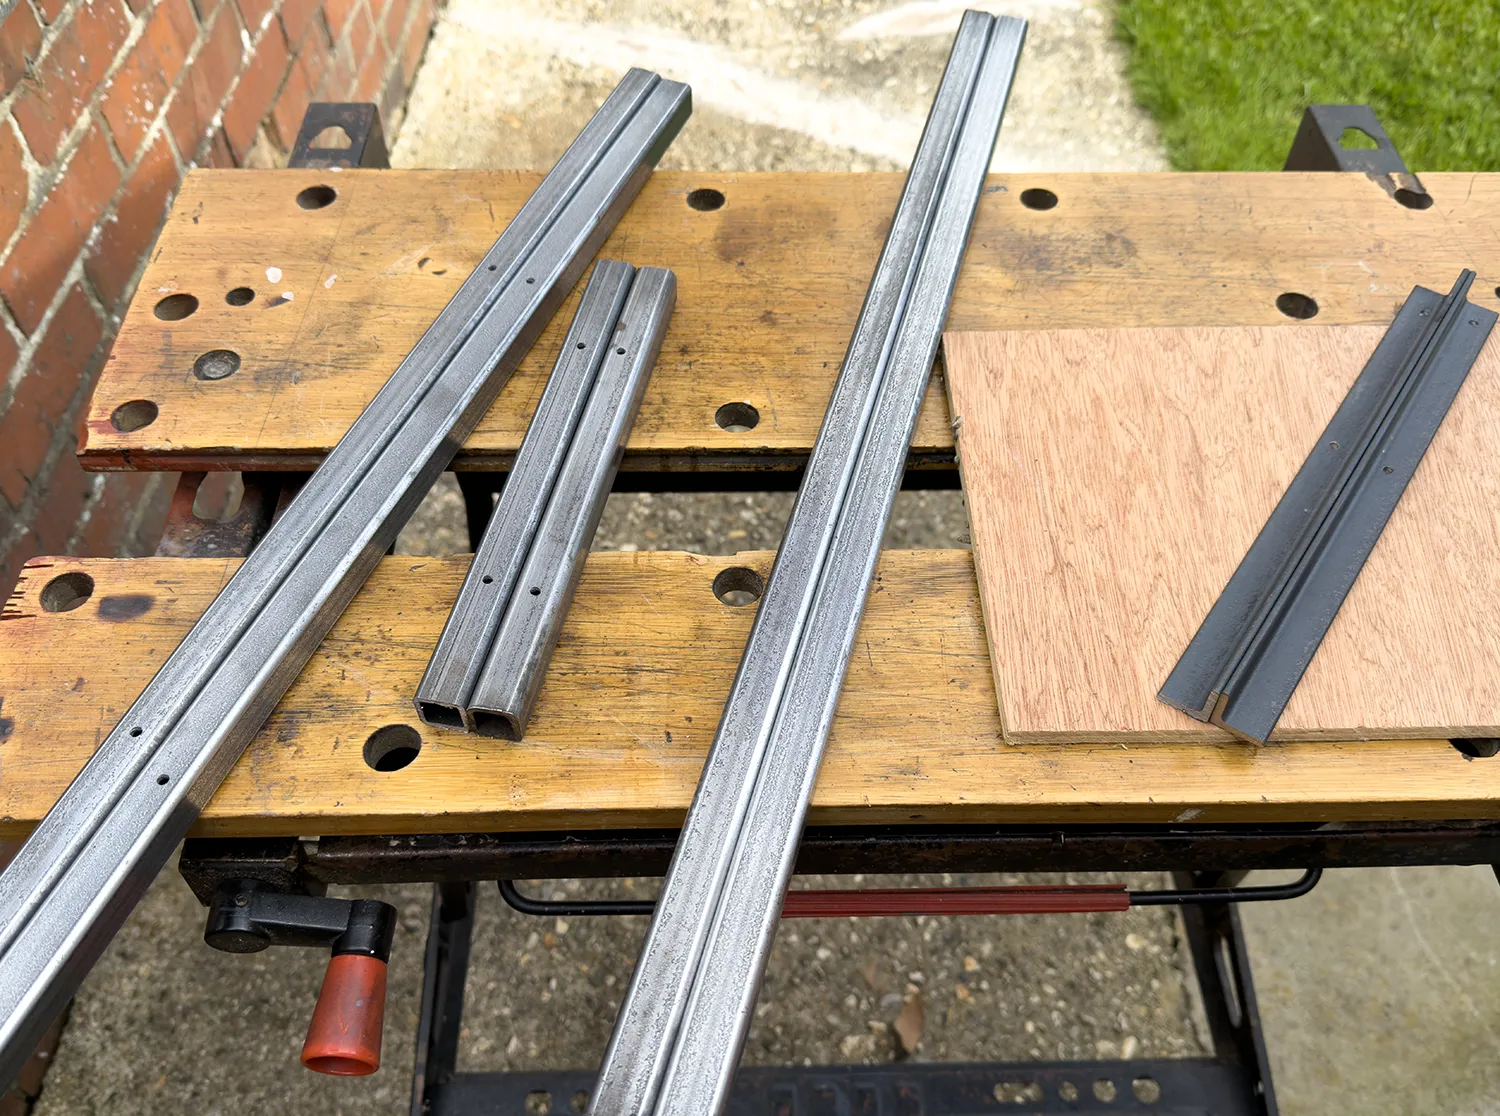
How We Built the Rack Frame
- Frame uprights and base bars: 20 x 20mm steel square tube, 2.5mm wall thickness
- Top brackets: 25mm angle iron, screwed into the shelf above for a solid fixing.
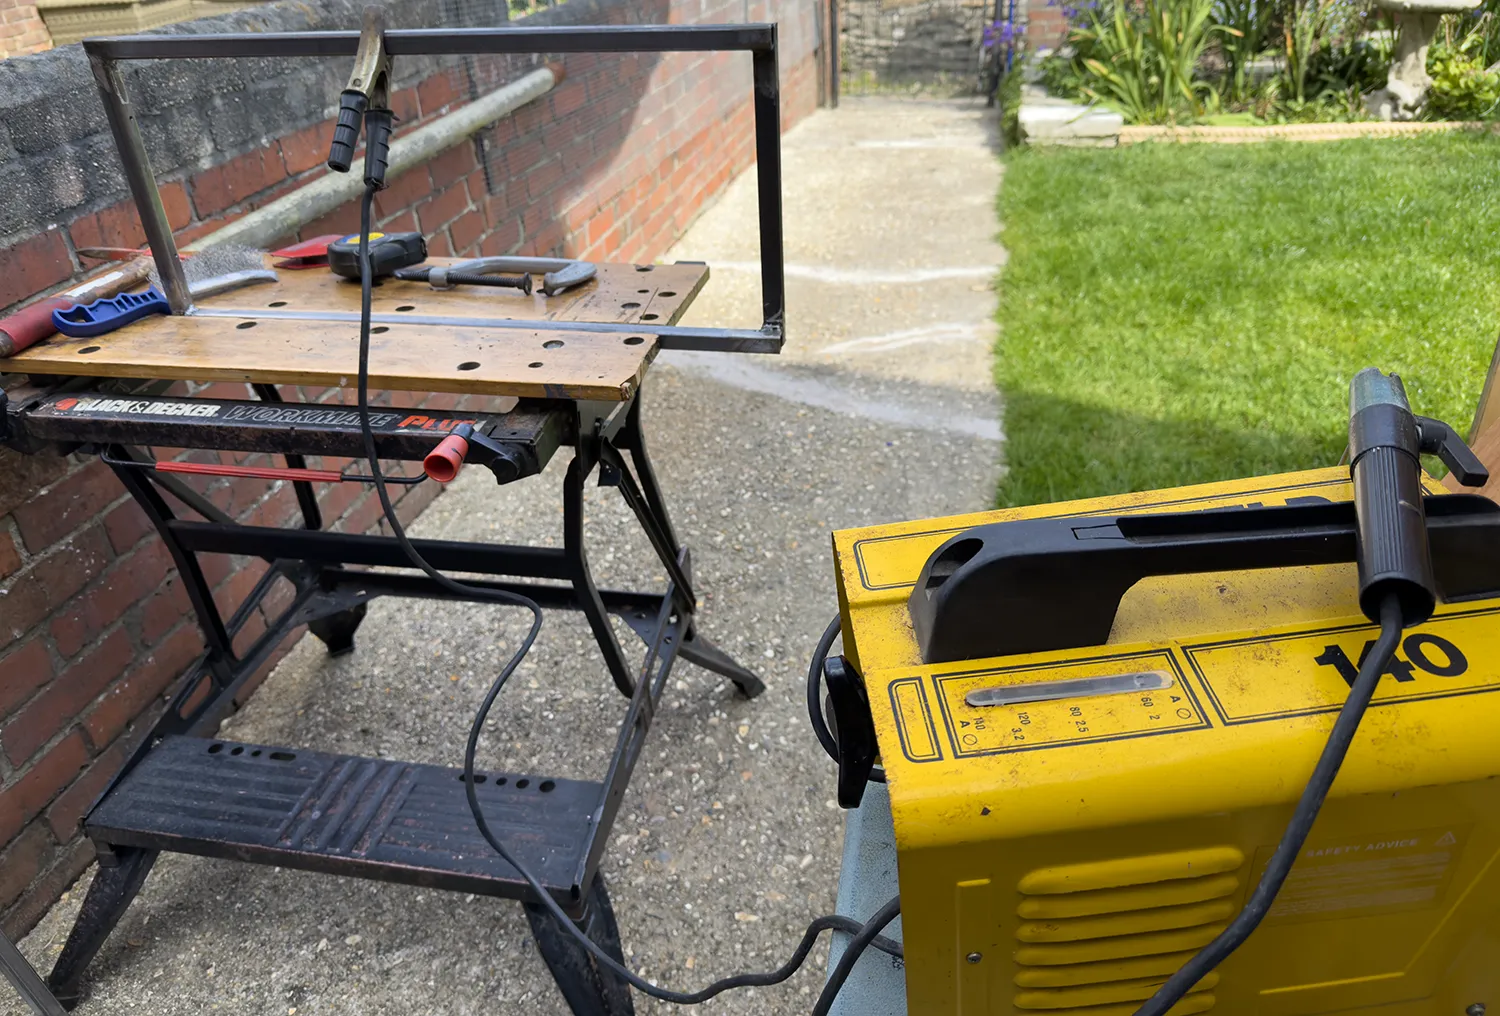
- Welding: Arc-welded using 1.2mm welding rods. We had a MIG welder available but were low on gas and it had been over a decade since I last used the arc welder, so the early welds were not very good but quality improved by the time it was finished).
- Rack post attachment: 15U rack posts bolt to the steel tube sides via M5 bolts, with the tube drilled and tapped to accept M5 threads and short bolts.
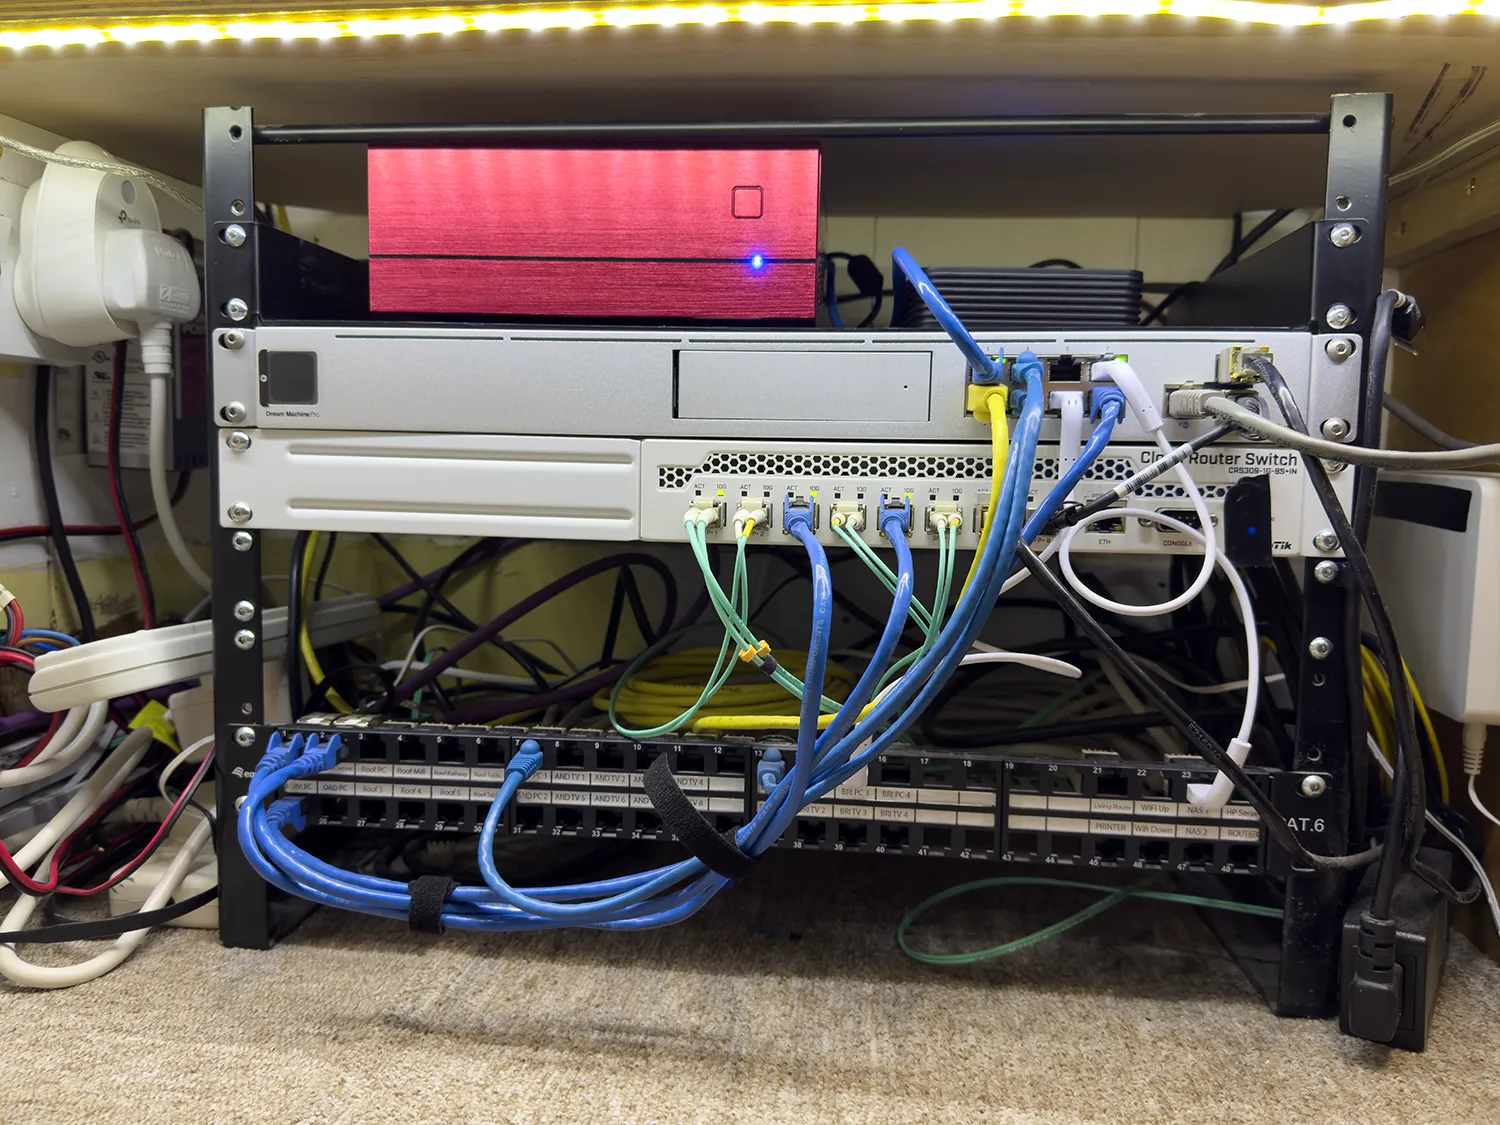
At the base, a single crossbar between front and back rails allows patch panels or vent blanks to be fitted at the lowest unit positions. The top of the rack is open shelving with one shelf for the Synology NAS, one for the Linux server. Whilst building and installing the rack we added a top spacer but this was removed once the frame was screwed into the cupboard.
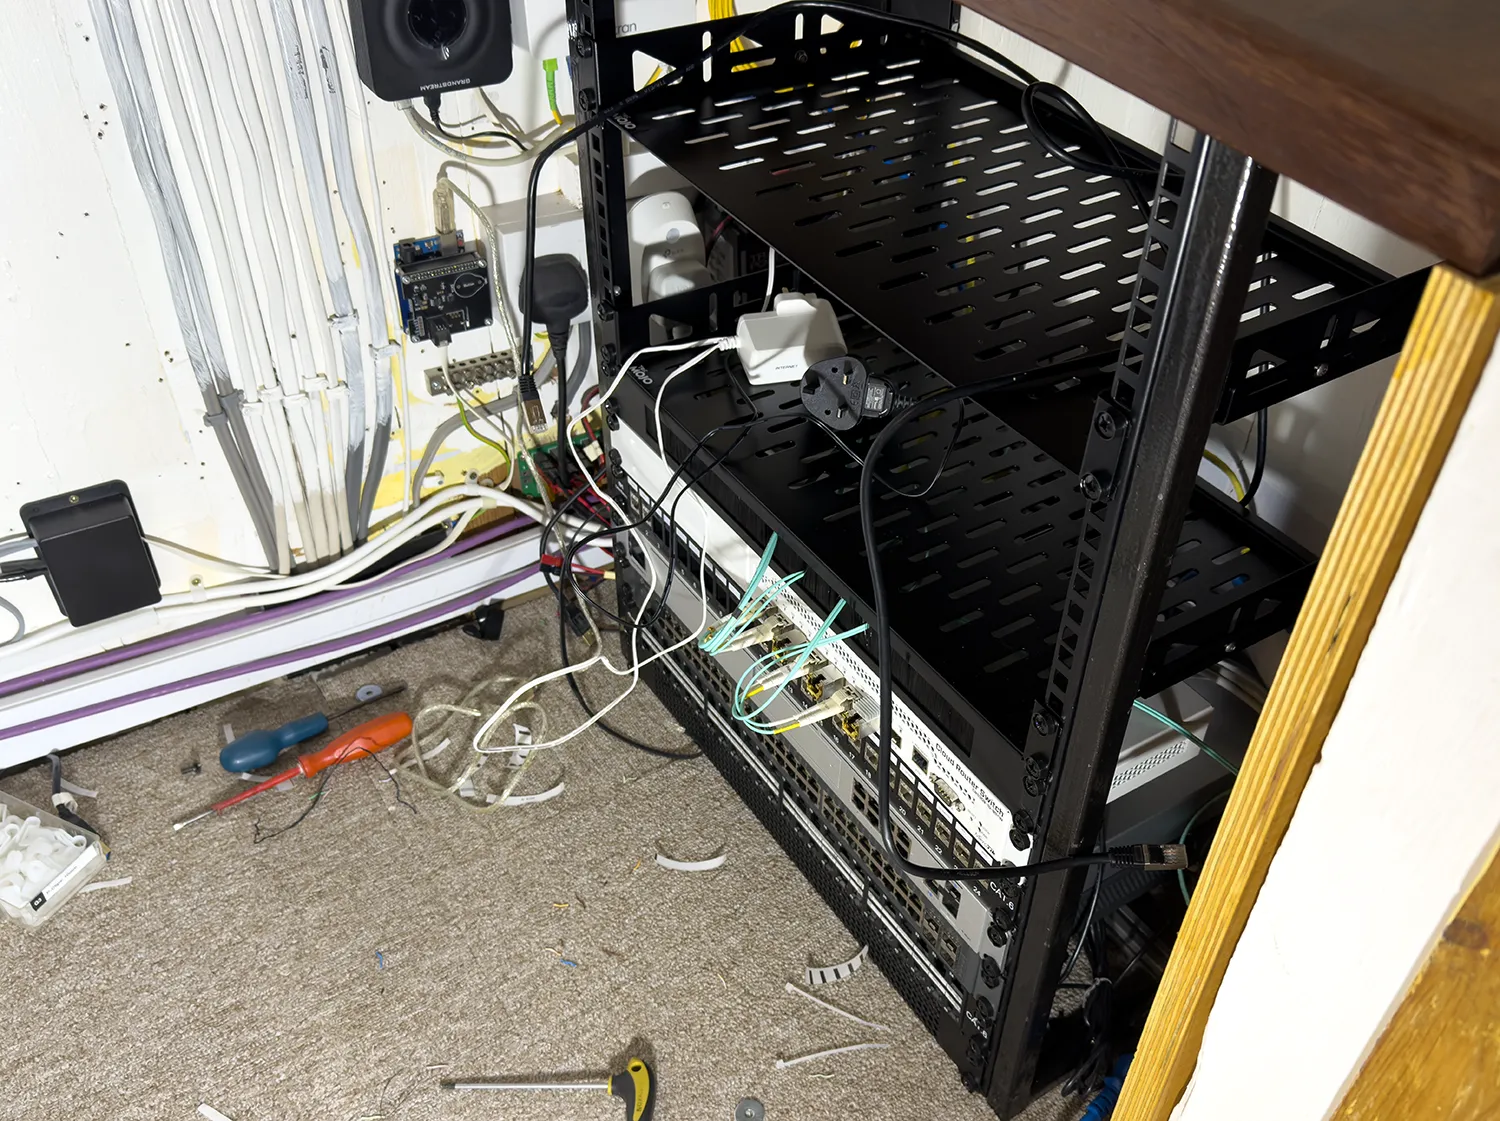
Power Distribution
We moved from using several multi-way UK mains plug power strips to a used Dell AP6022 Power Distribution Unit, sourced from eBay. Its C14 sockets allow us to use standard C13-to-C14 IEC power cables and the PDU is powered by the UPS which is much tidier than the previous setup. For plugging in low voltage adapters we made a multiway power strip to C13 plug to connect to the new power block.
We had plans to retrofit power monitoring and relay switching to each outlet, but after examining the Dell PDU internals, there wasn't sufficient space for the additional circuitry. That will be a future project using a larger enclosure.
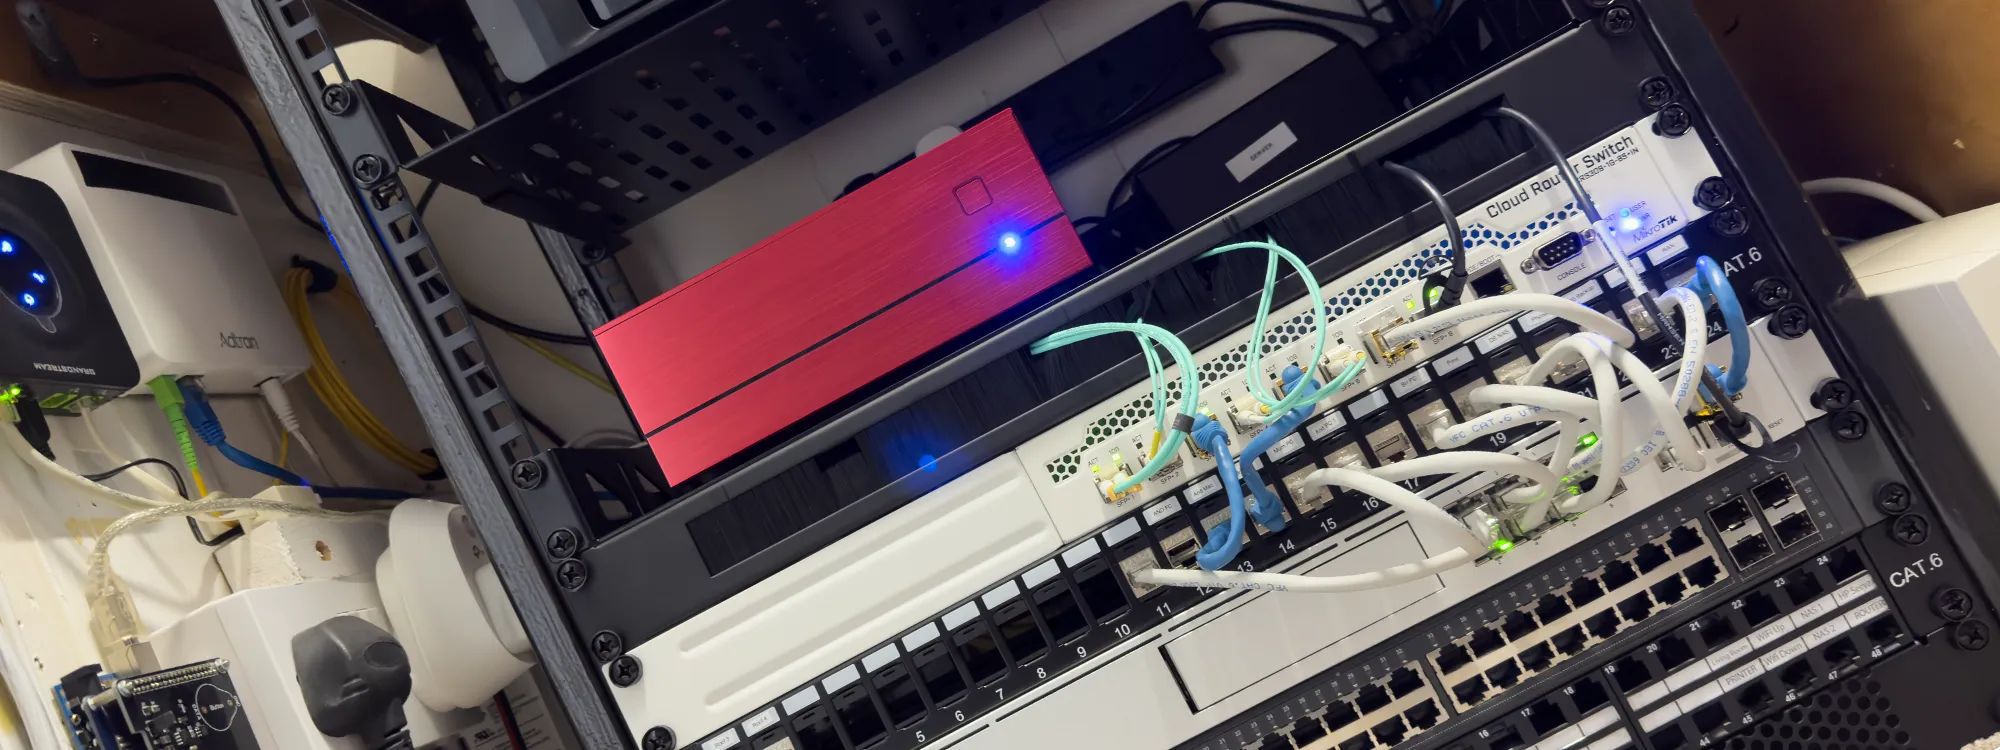
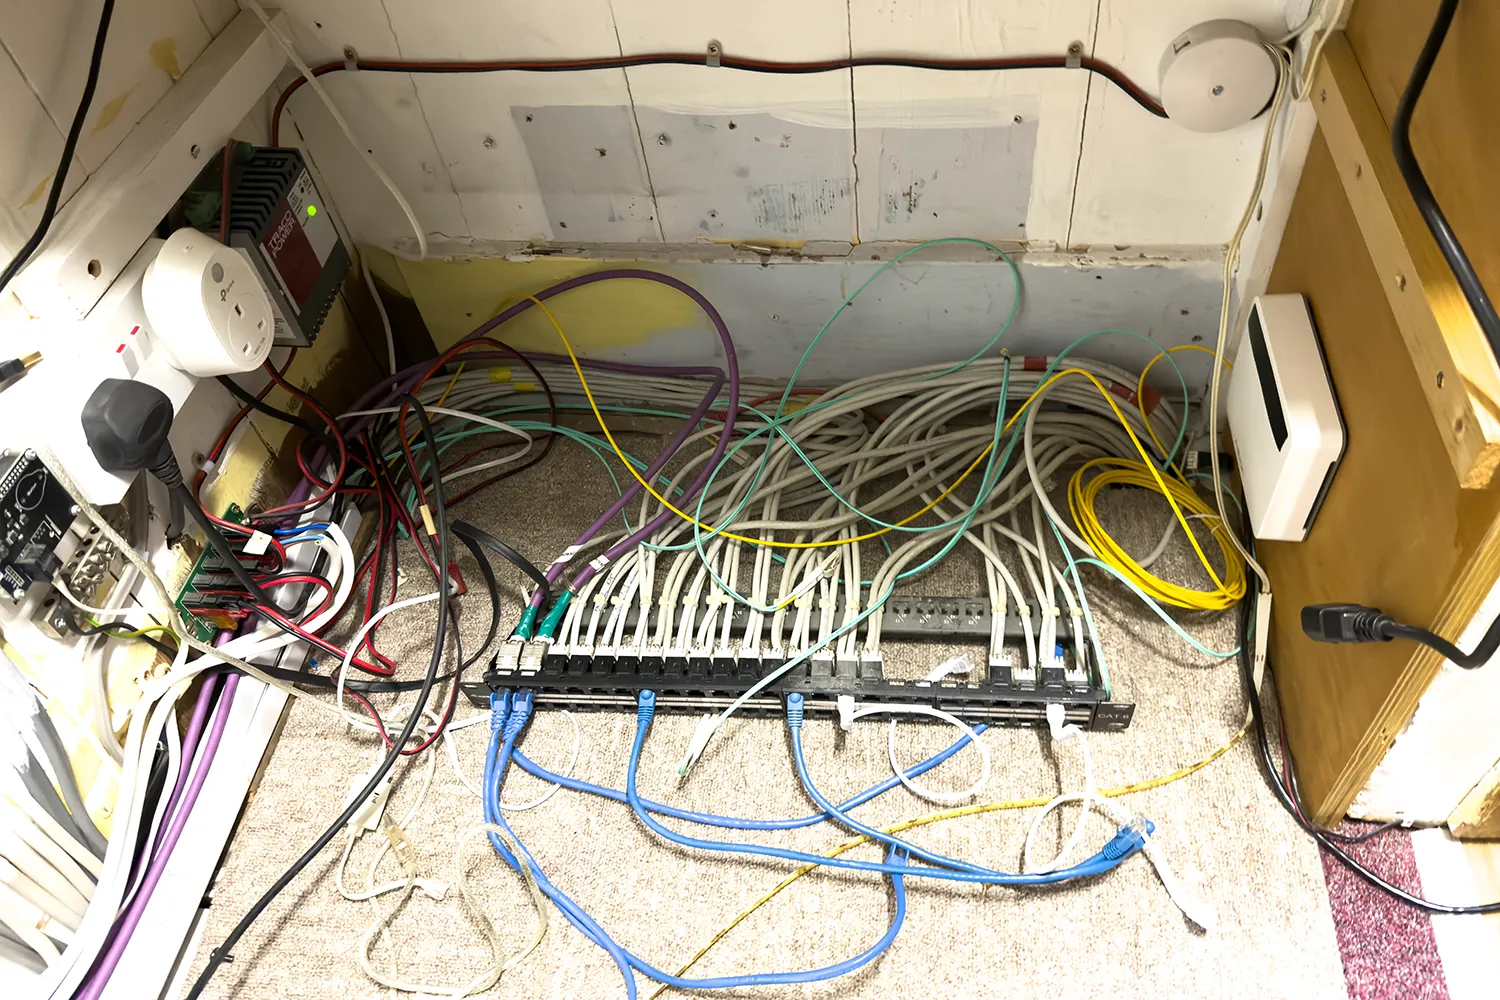
Cable Management
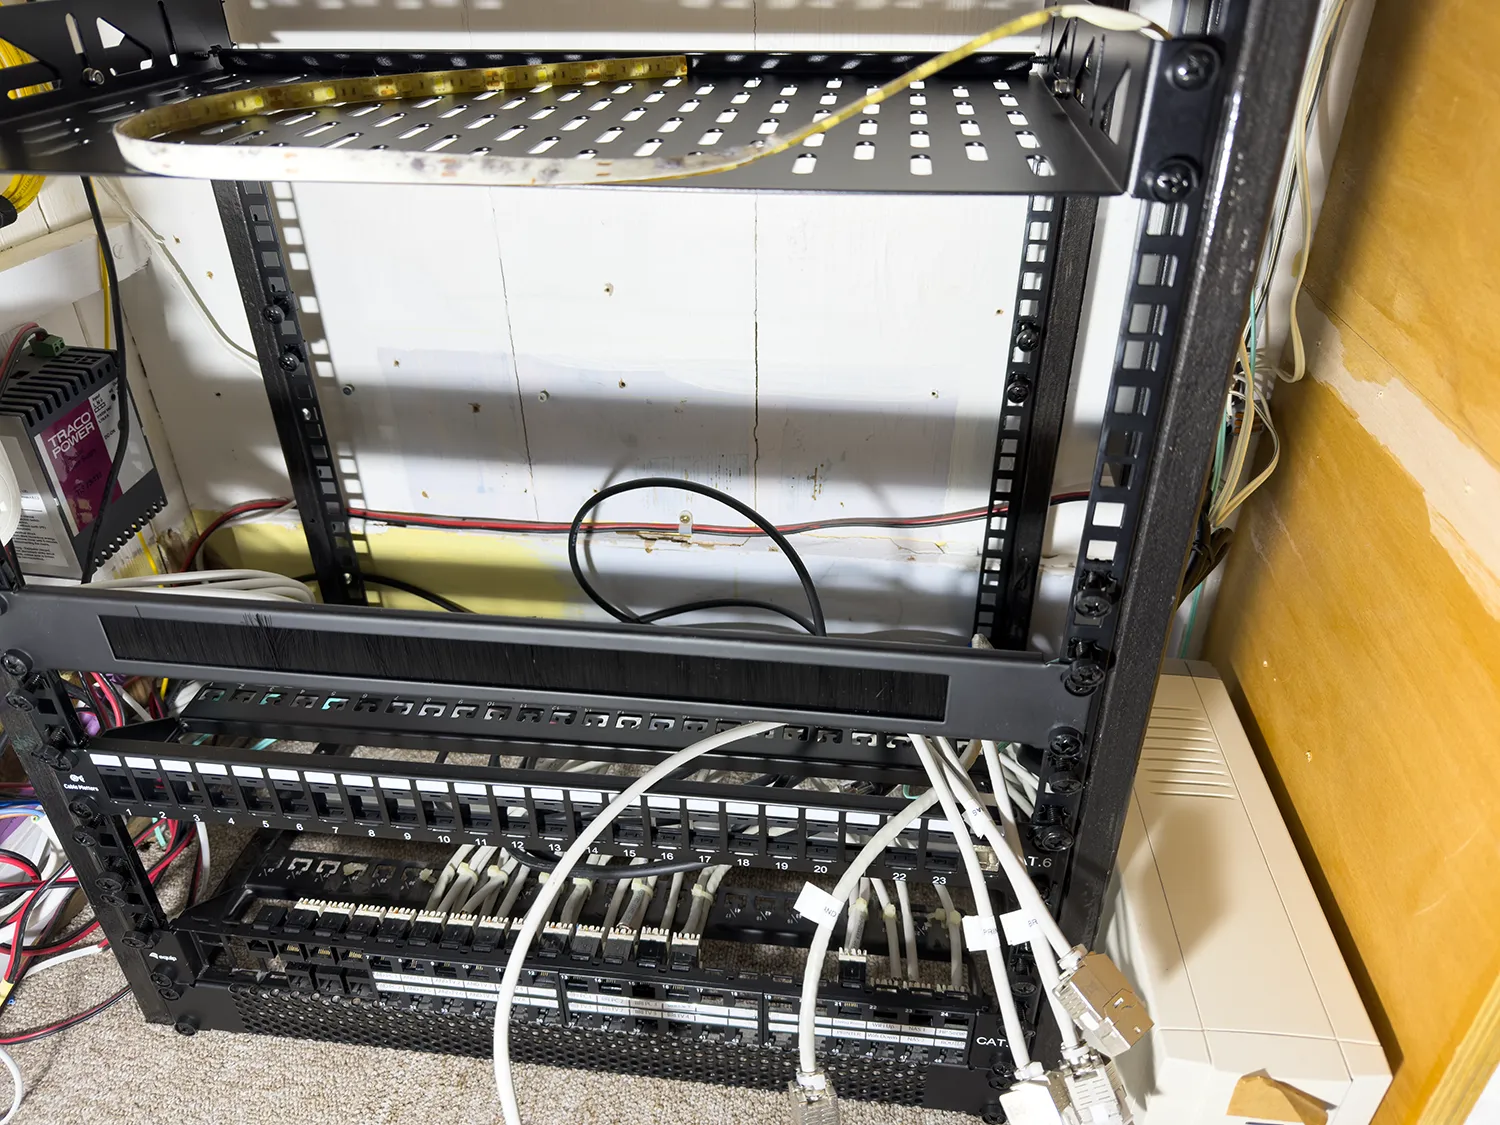
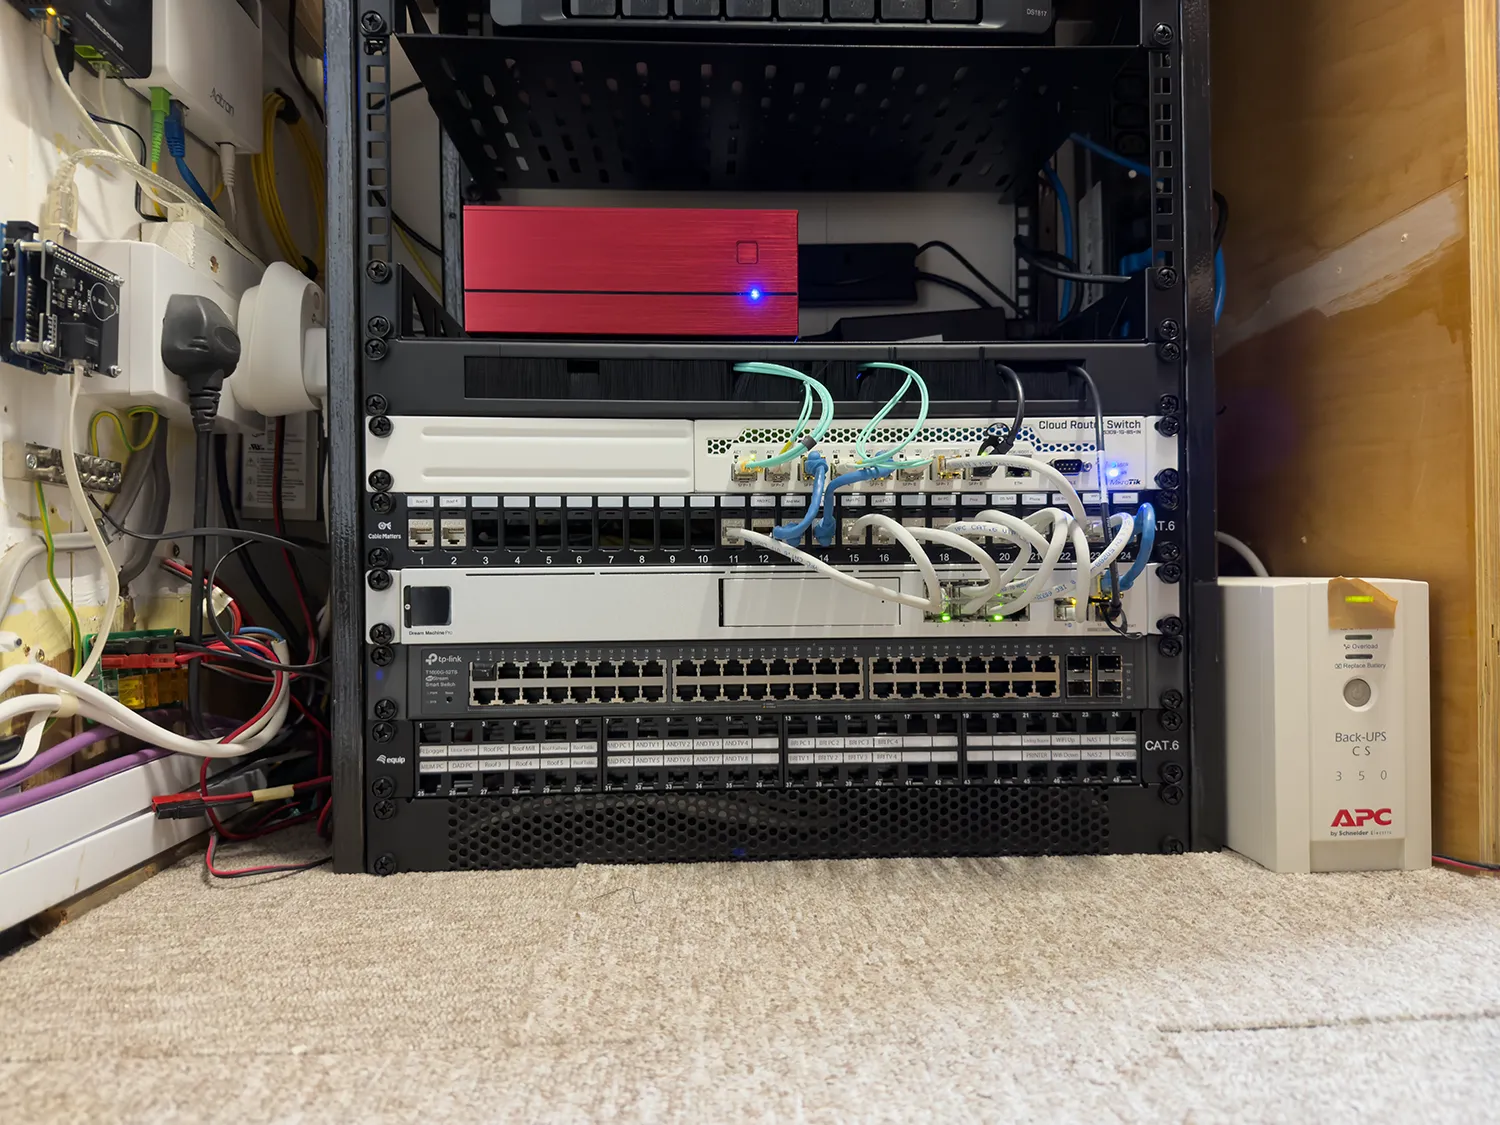
Cable management has historically been a problem with network and fibre cables frequently getting snagged on other items stored in the cupboard. To solve this, we fitted a brush cable management panel to the rack, allowing excess cable lengths to be tucked away cleanly between rack devices.
The Dream Machine and 10Gb switch were also repositioned slightly further apart, with a keystone patch panel added between them. This allows cables to be routed in both directions, keeping 10Gb and 1Gb connections organised and accessible.
CAT6a network couplers were also installed to pass short patch leads from the switches to the cables running to the server, NAS and WiFi access point and its POE injector.
The original patch panel which has Cat 6a cables routed to rooms around the house was reinstalled at the base of the rack in case we need to use the connections again for wired devices.
Above the patch panel we fitted an old 48 port TP-Link switch. This switch is not being used at the moment but it gives us room to expand if we need to start using some of the connections in the original patch panel.
We moved several of the keystone jacks from the base patch panel to the new 24 way keystone patch panel but the plastic was very brittle and several broke when trying to remove them. To fix this we used some spare Cat 6a Shielded keystone jacks to replace the broken connectors.
We have 20cm patch cables to link between the keystone jacks and switches but these are slightly too long. We found a few 15cm patch cables which do not protrude as much from the rack and we will order extra cables soon to replace the longer ones.
Materials and Parts used
| Item | Price | Link |
|---|---|---|
| 20x20x2.5 steel tube, 3m length | £14.22 | metals4u |
| 25mm x 25mm x 3mm Mild Steel Angle Iron Hot Rolled | £3.49 | metals4u |
| Tecmojo 1U 2 Pack Cantilever Rack Mount Shelf, 10in depth | £26.90 | Amazon |
| 160 Pcs Cage Nuts and Bolts | £6.99 | Amazon |
| kenable Mesh Vented 1U Blanking Plate | £7.01 | Amazon |
| kenable Brush Plate Cable Management Panel 1U | £9.79 | Amazon |
| 10Gbps SFP+ DAC Twinax Cable 0.5m(1.65ft) | £12.59 | Amazon |
| CAT6A Network Cable Coupler (Pack of 6) | £6.79 | Amazon |
| IEC C14 to C19 Cable for PDU | £6.88 | Amazon |
| 1U 24 Port Keystone Patch Panel | £19.99 | Amazon |
| Single Socket Trailing Socket | £2.30 | Amazon |
| 3 Pcs AC250V 10A IEC320 C14 Male | £5.99 | Amazon |
| 15U rack strip single pair x 2 | £39.40 | Amazon |
| Dell PDU (Used) | £14.99 | eBay |
| Total | £159.62 |
Future Plans
The expanded rack now gives us room to grow without compromising on cable management or accessibility. The UPS-backed ONT, cleaner power distribution, and brush cable management panel have made the cupboard considerably more organised and safer from damage when storing things alongside the network rack and dealing with short power outages.
Future plans include adding power monitoring per outlet, additional rack devices including rack mounted Raspberry Pi computers and a POE switch to power a new higher quality webcam for our tourism website at Virtual Swanage.


Comments