
XBee Central Heating Control via Raspberry Pi
Following the previous post detailing the plans to build an XBee & Raspberry Pi central heating controller we have now built the control board and written the Microchip Pic code to connect to the Drayton Lifestyle LP522 central heating programmer.
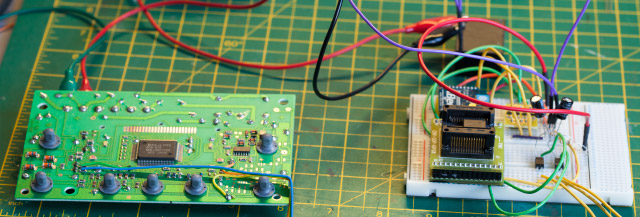
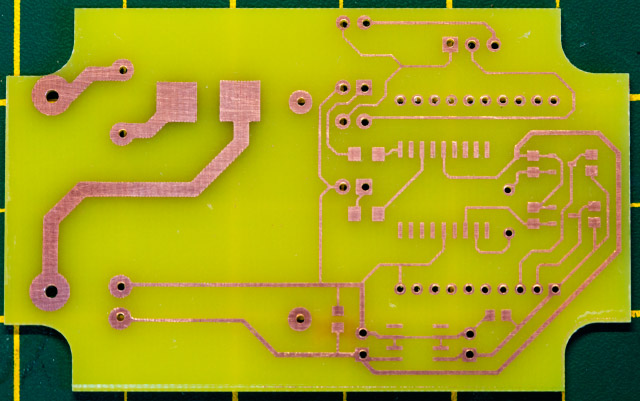
The circuit was mocked up on a breadboard (photo below) and then a custom PCB was designed using Diptrace and etched to build the new control board.
The code (available on GitHub) gives us the following commands when sent via the XBee serial port.
- h = Hot water on
- i = hot water off
- j = hot water status check
- c = central heating on
- d = central heating off
- e = central heating check
Each of these commands is read by the Pic processor and then switch Opto isolators which in turn activate the relay(s) in the LP522 programmer.
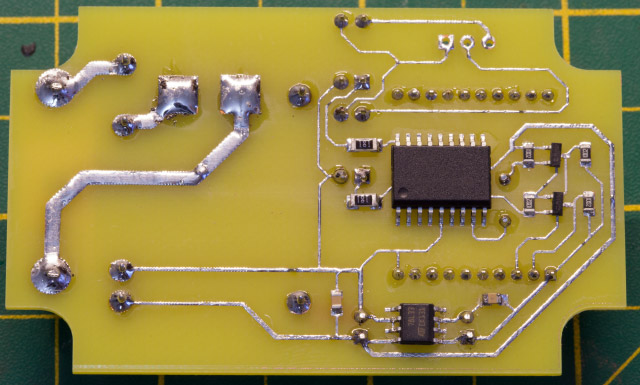
The new PCB had to be milled to fit a spare ABS plastic box and was then drilled ready to have the surface mount components added to the base.
Once the components had been fitted the tracks were tinned to improve connectivity.
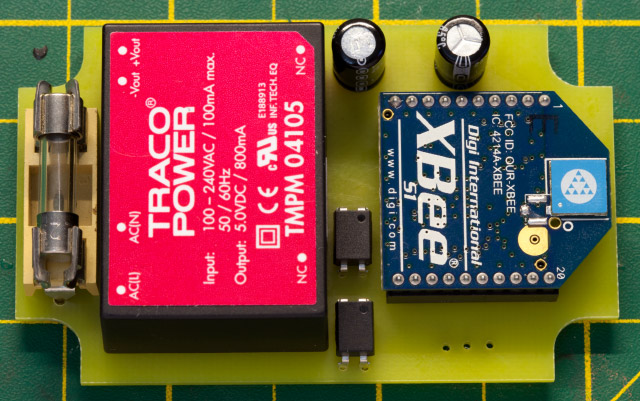
The top view of the board shows the mains fuse, power supply, opto-isolators, smoothing caps and the XBee module.
The Mikro C code for the PIC processor and PCB layout can be downloaded from my project page on GitHub.


Comments