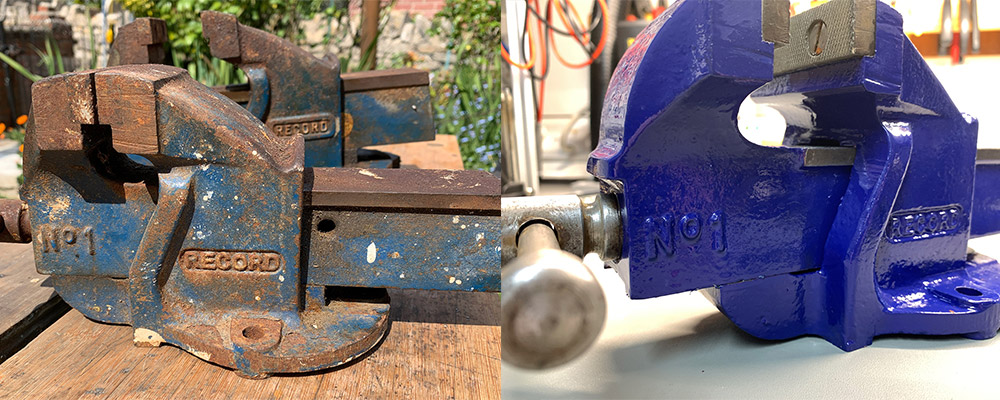
Earlier this year I purchased a pair of Record bench engineers' vices from a local house that resells gardening and other equipment and donate the proceeds to charity. I paid £20 for both.
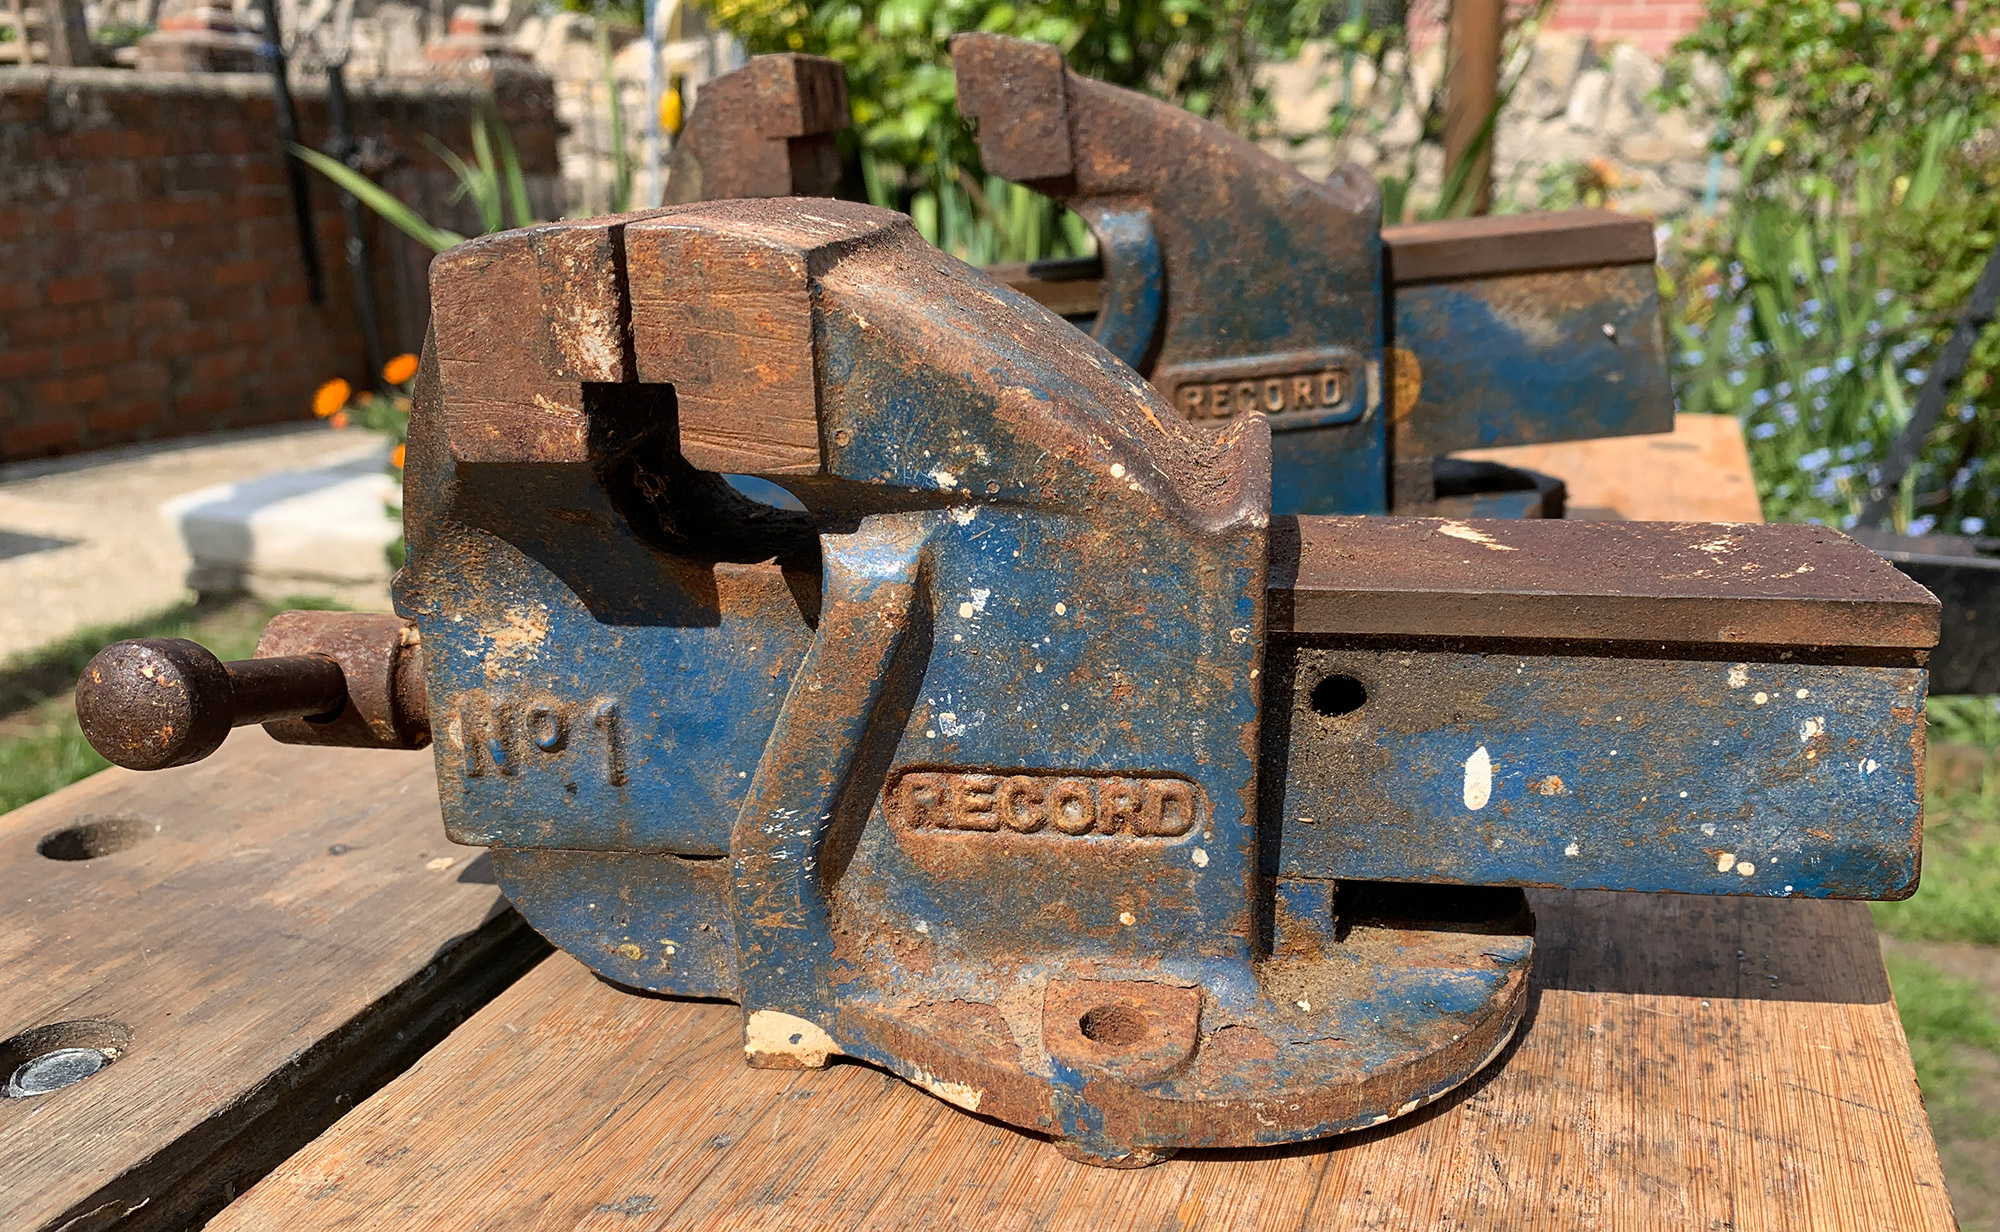
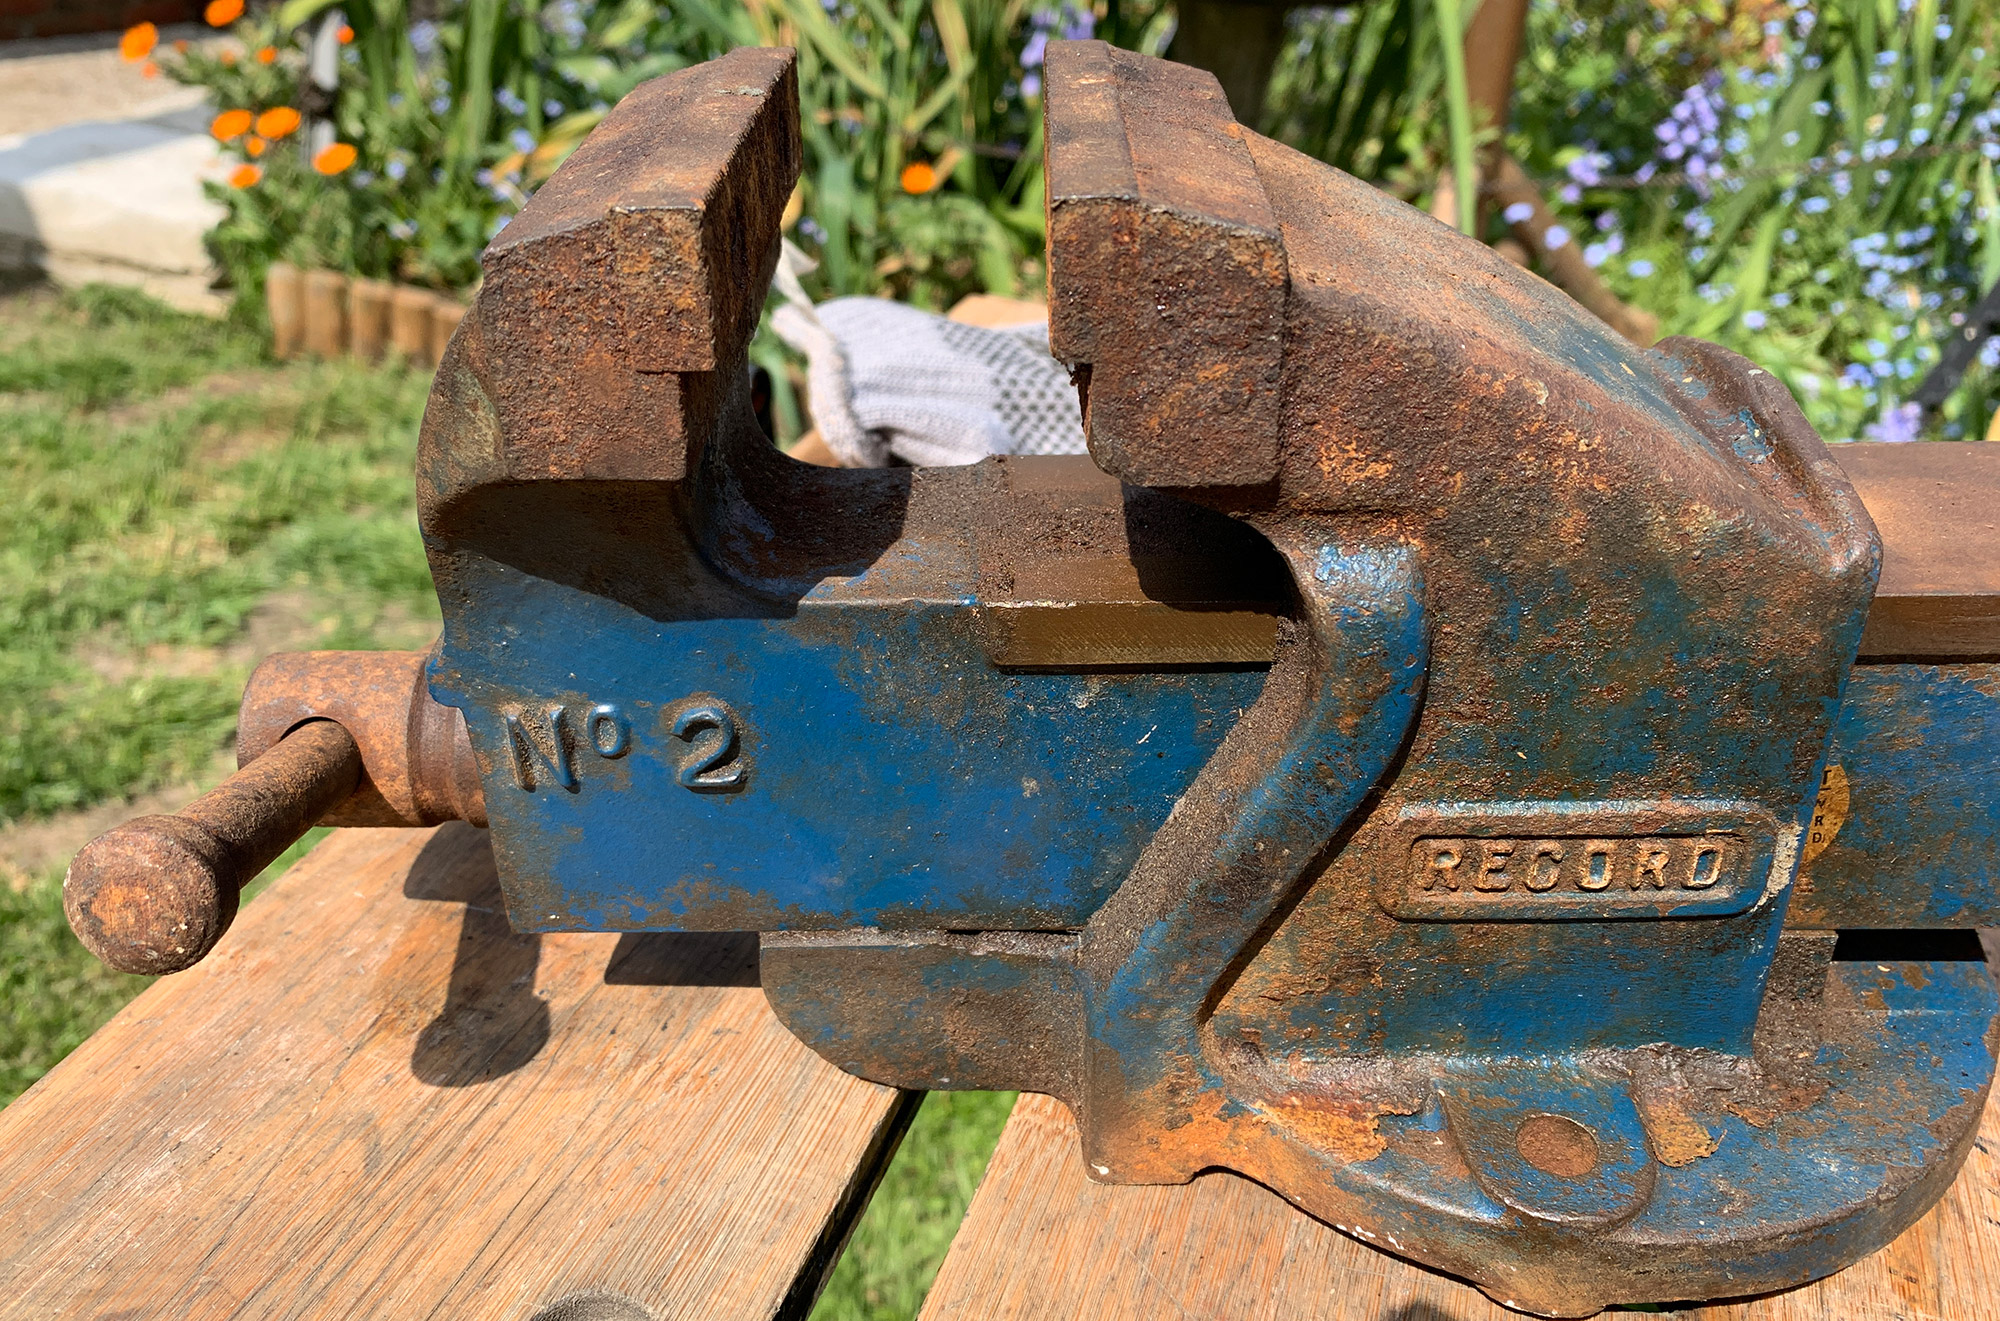
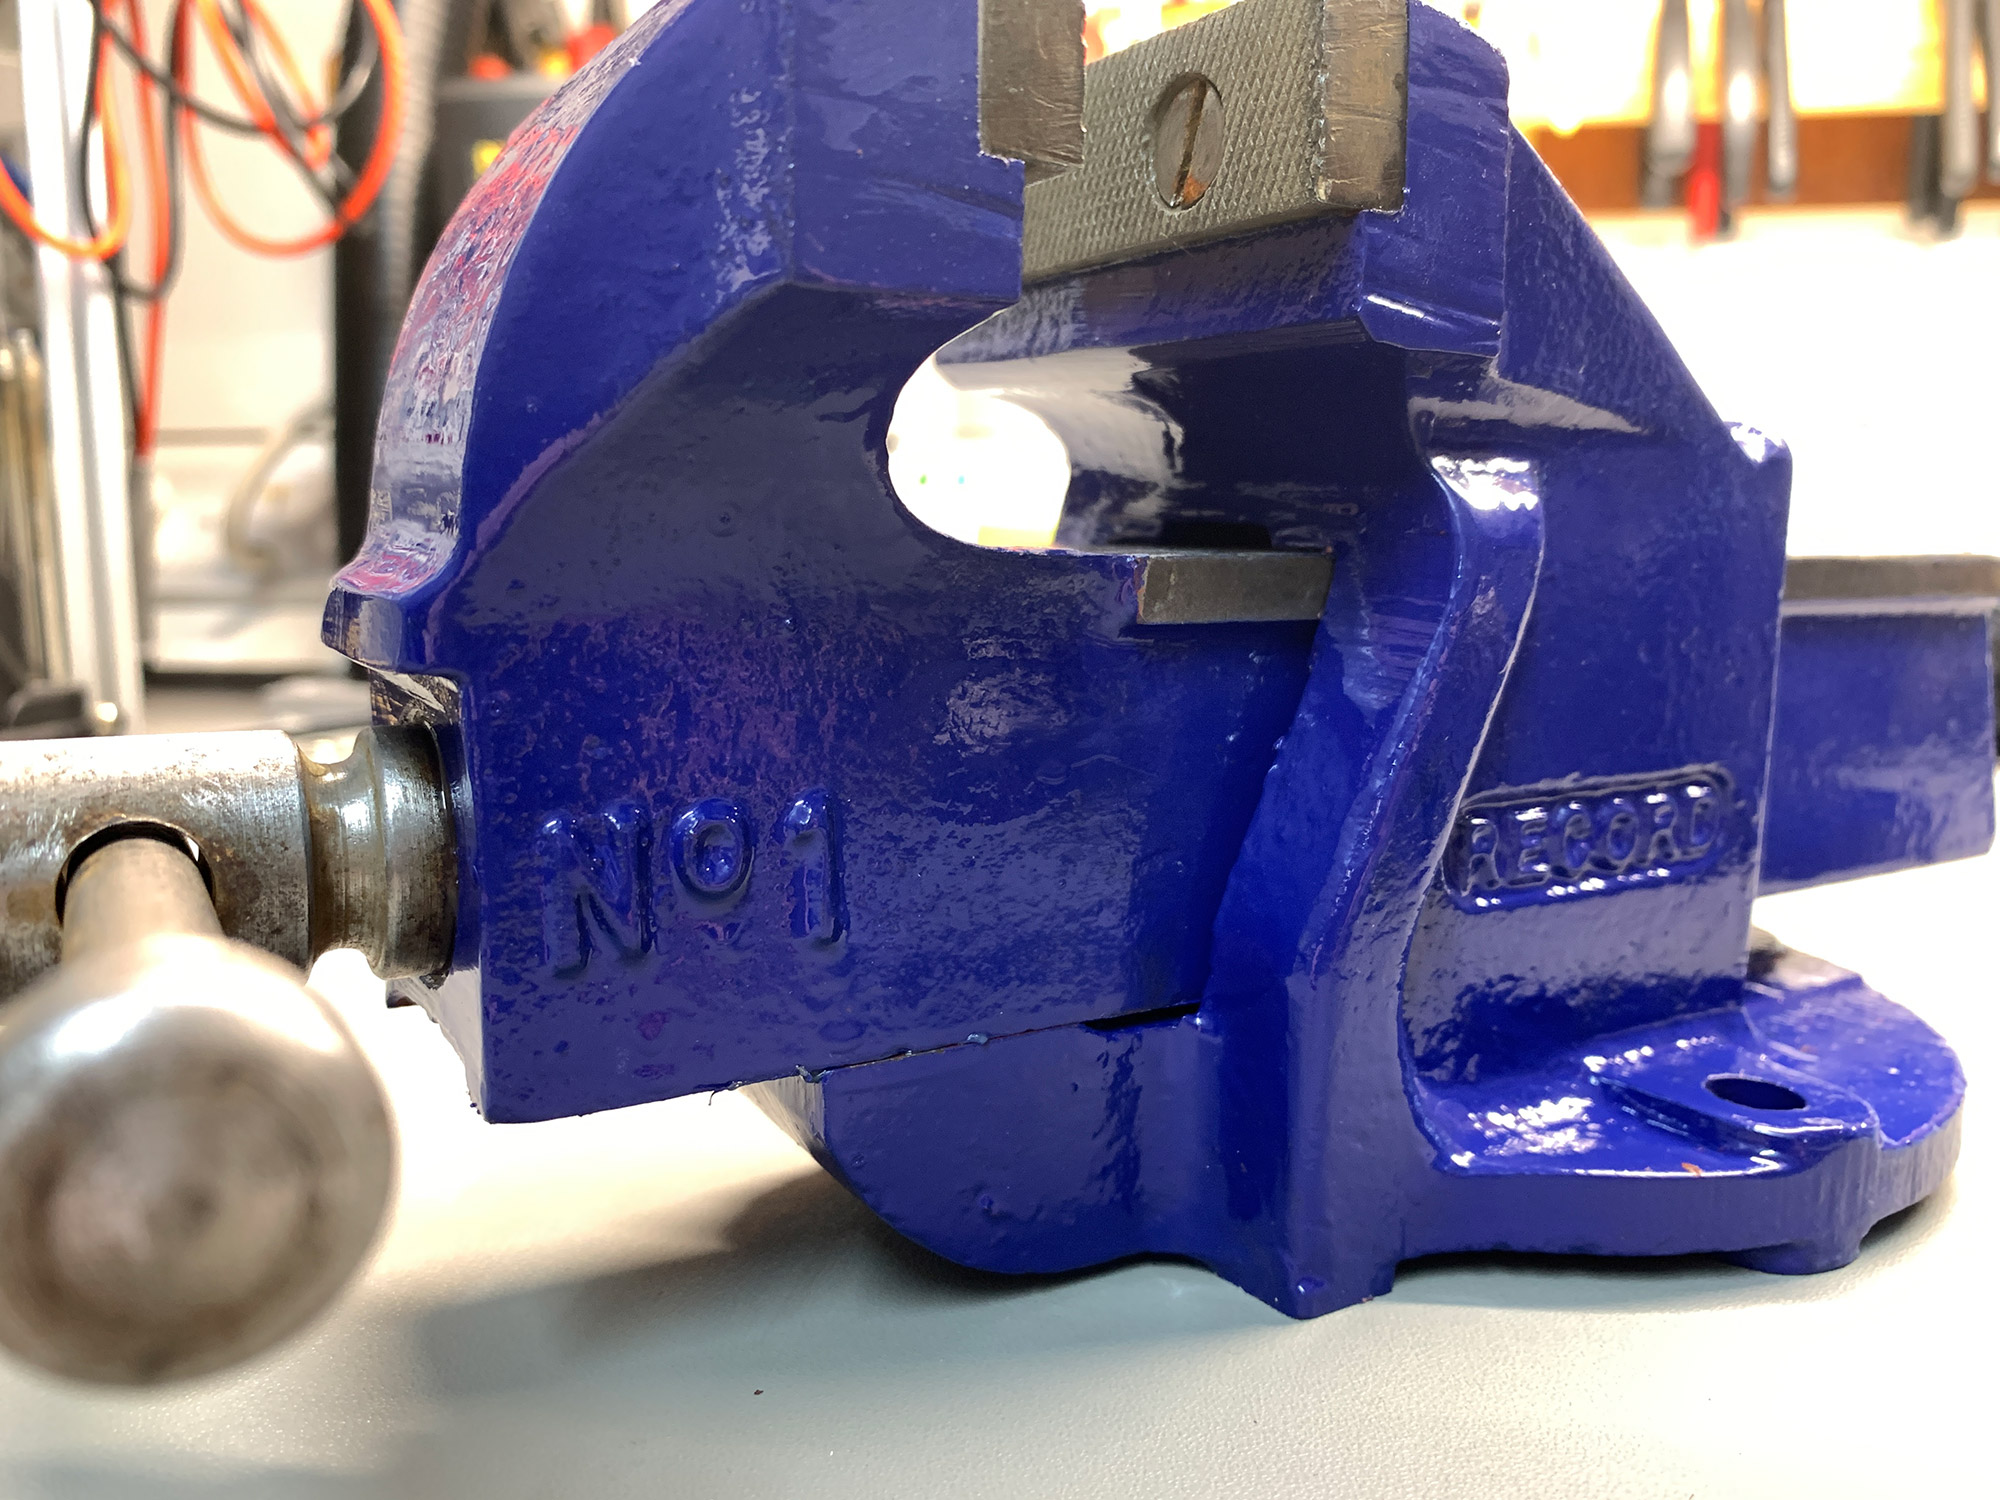
The vices are Record No 1 and No 2 models and are engineers' vices designed to be mounted onto a workbench or other strong surface.
For over 40 years we have had a No 1 Record vice in our shed/workshop and it has been well used and abused over the years with the clamping handle being very bent and twisted from using extension bars to increase the clamping force. The plan with the newer vices is to restore them and use the larger No 2 vice to replace our old No 1 model.
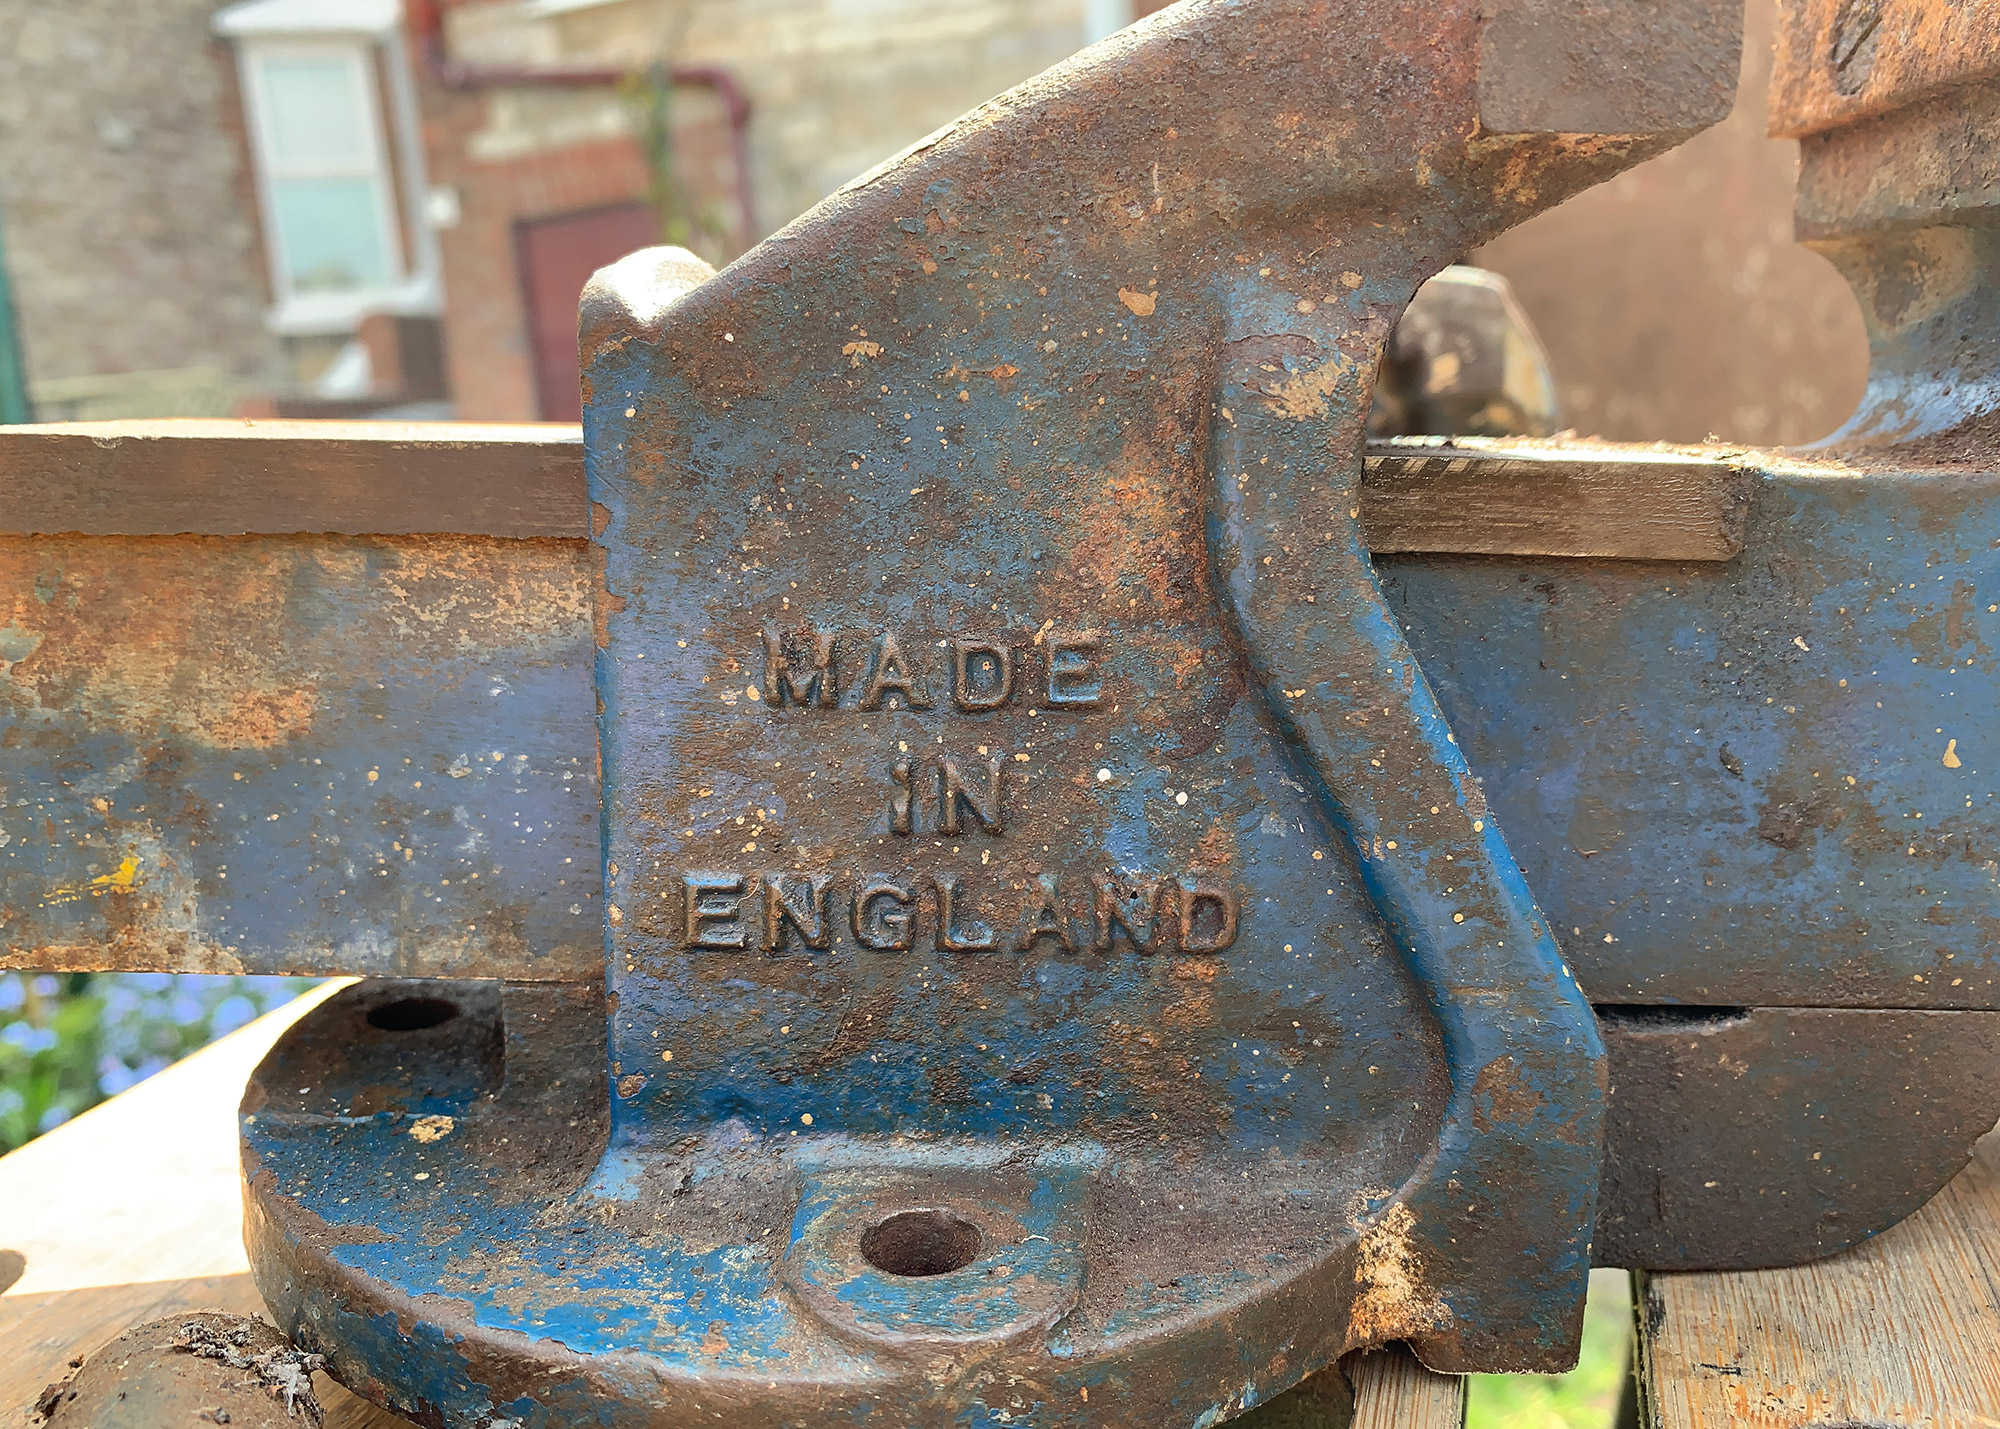
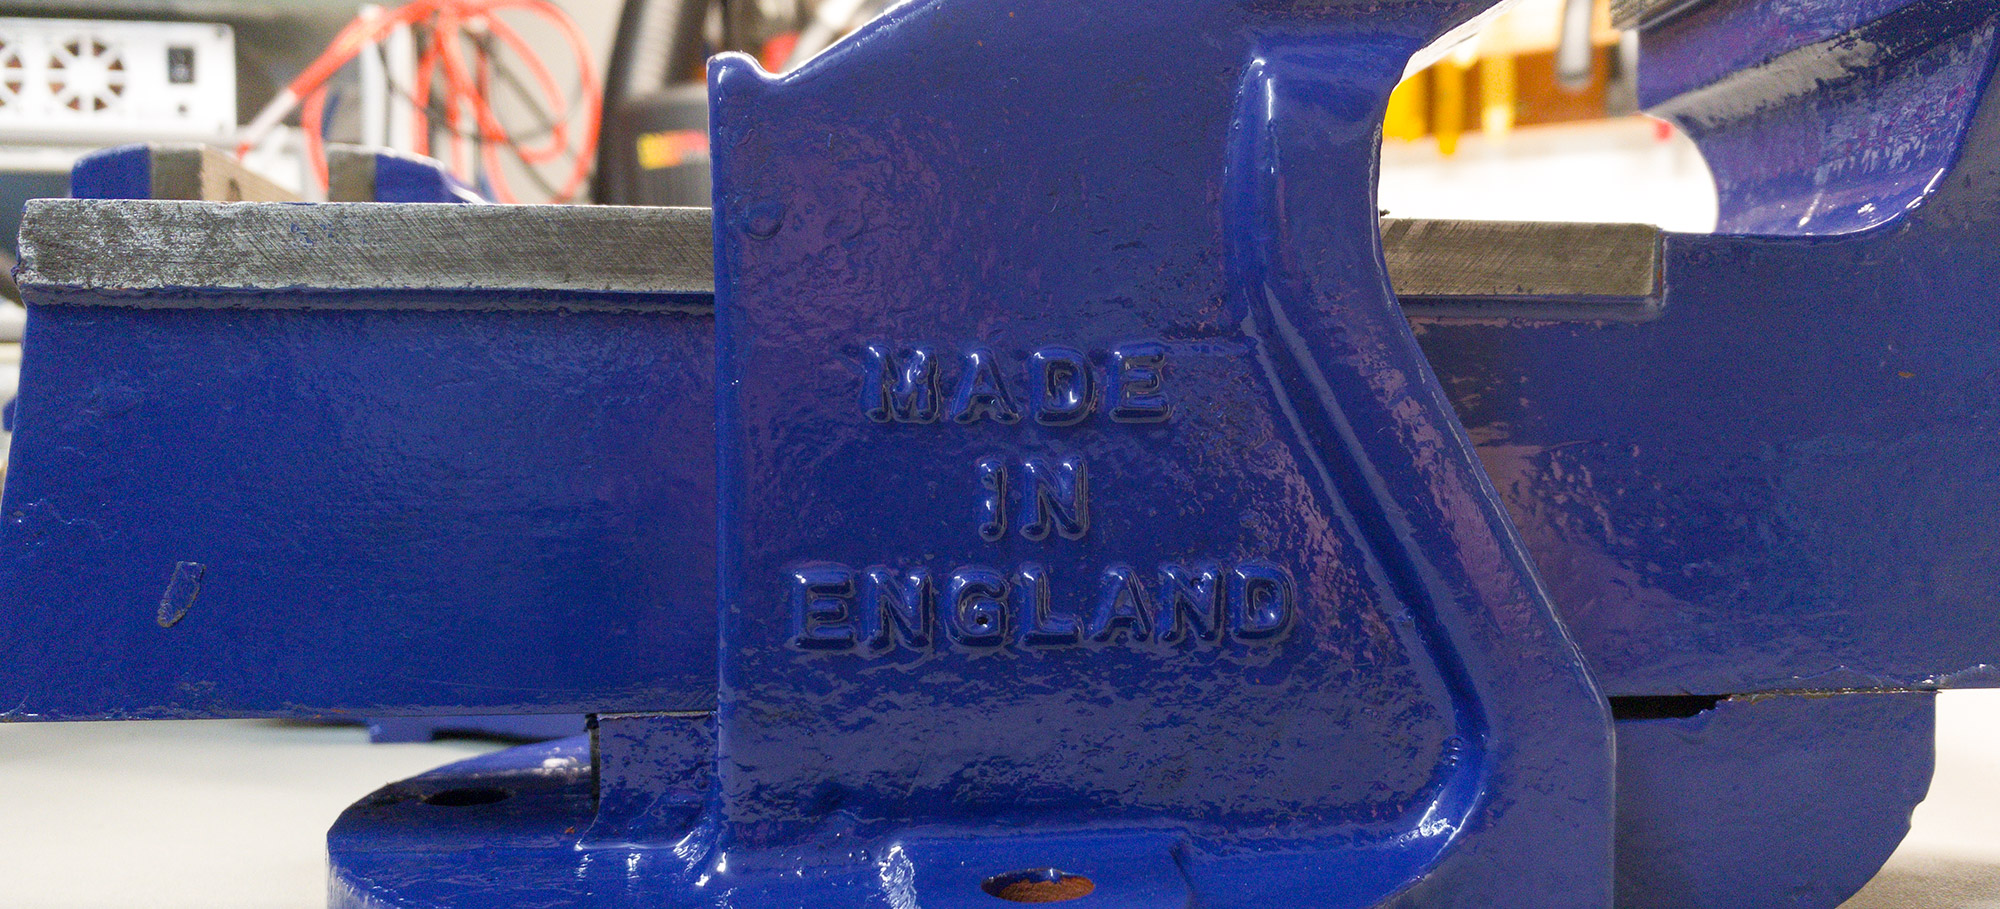
Record vices were made by The Record Tools Factory, Sheffield in the UK and manufactured vices between 1909 to 2000. The business was then taken over by Irwin Tools.
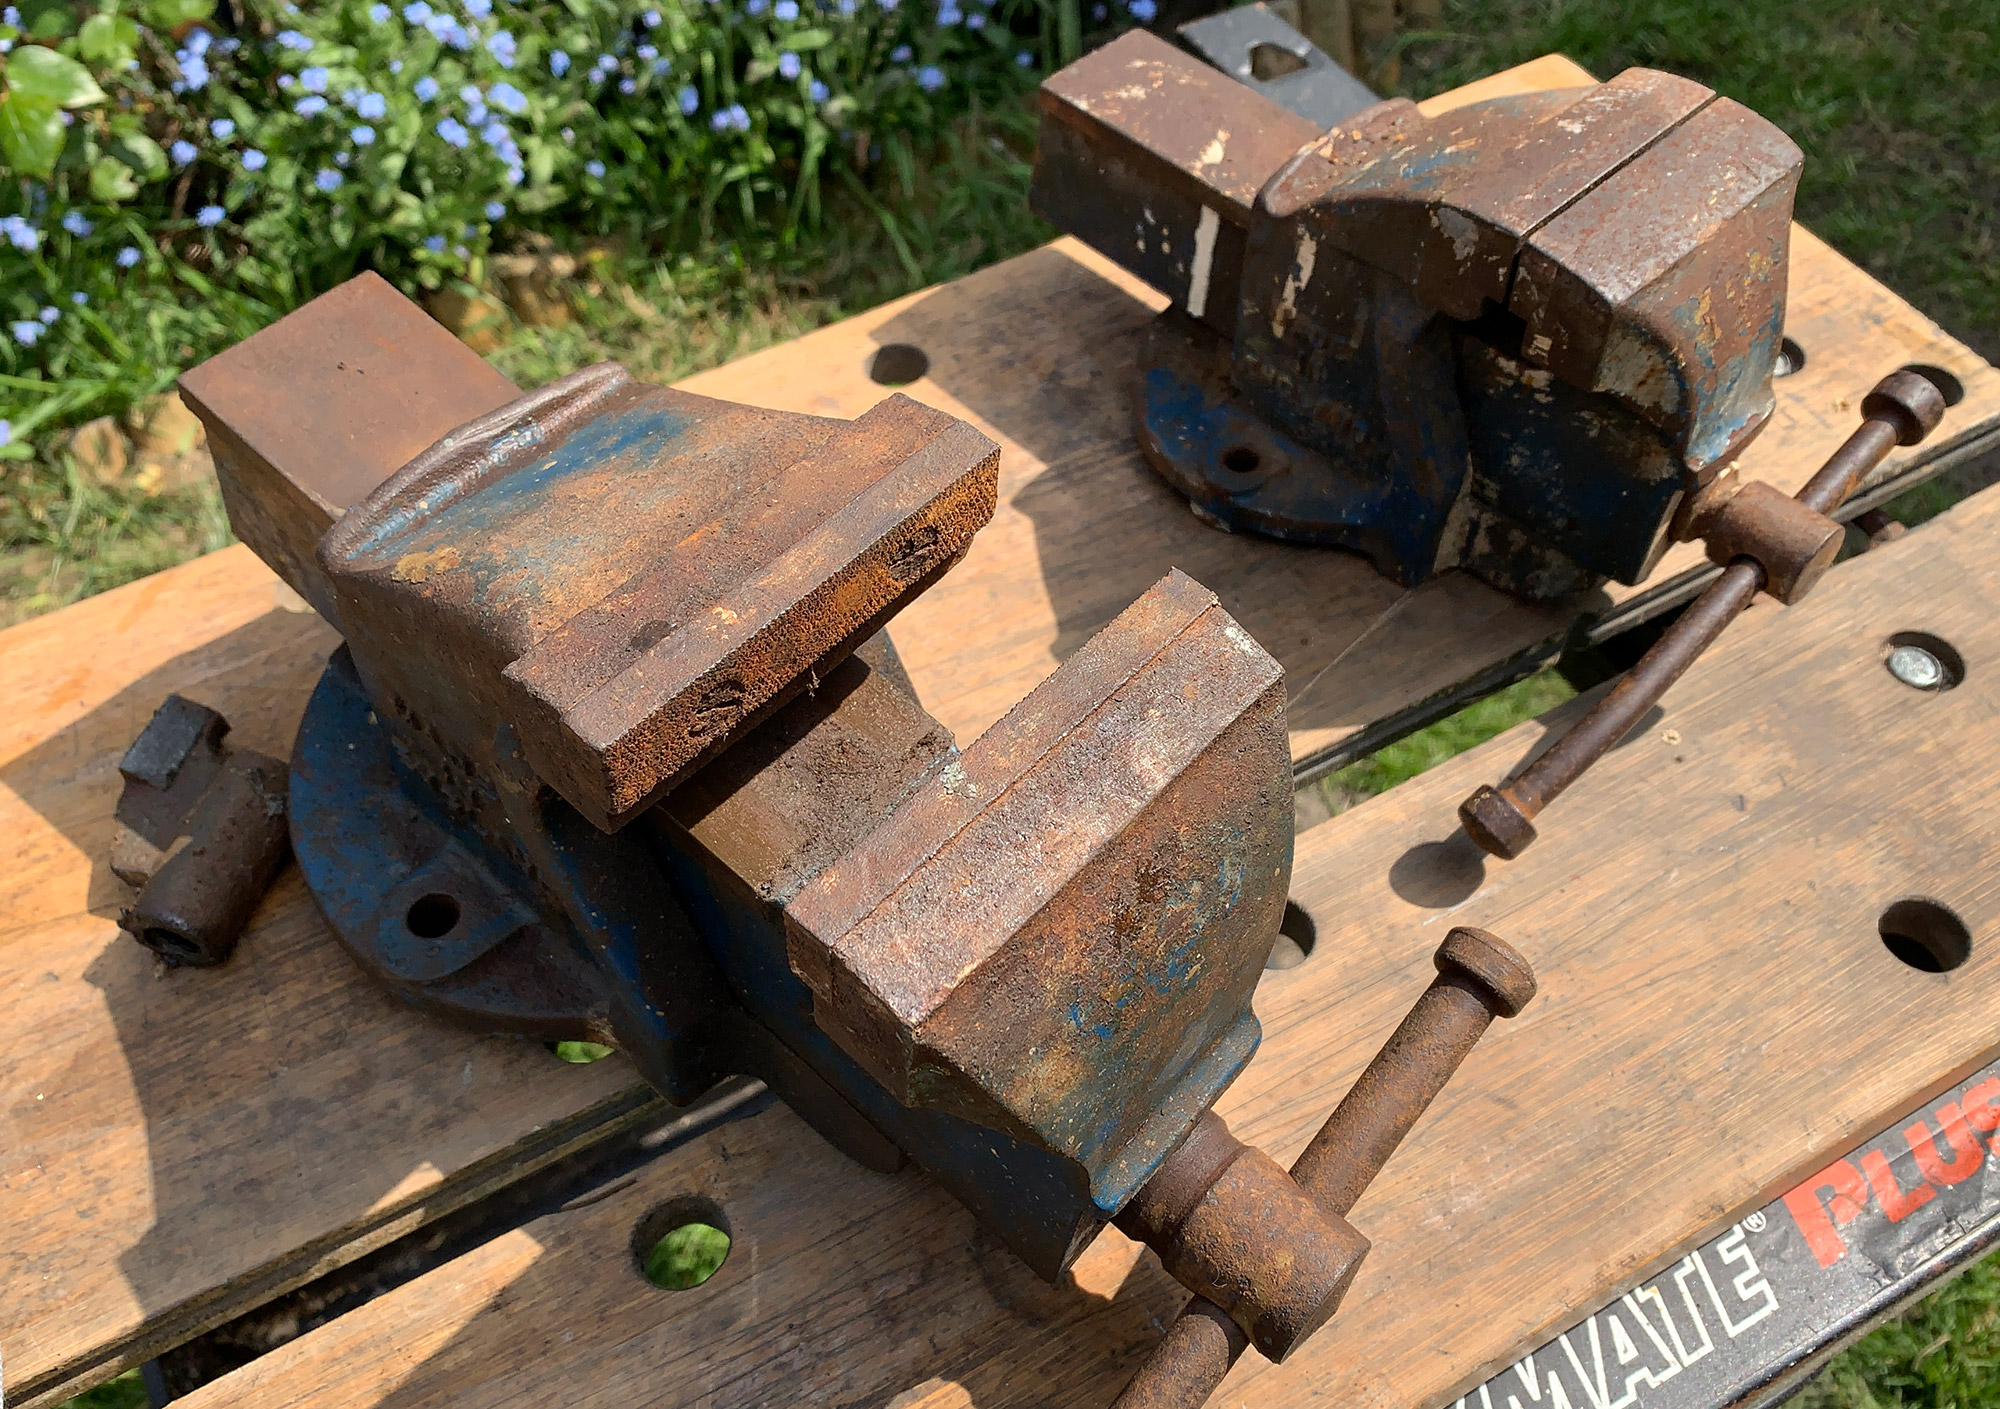
Both vices were very dirty and rusty where they had been kept outside for some time and on the threaded parts and undersides were years of grease and grime.
The first step to restoring both vices was to take them apart and clean all the components.
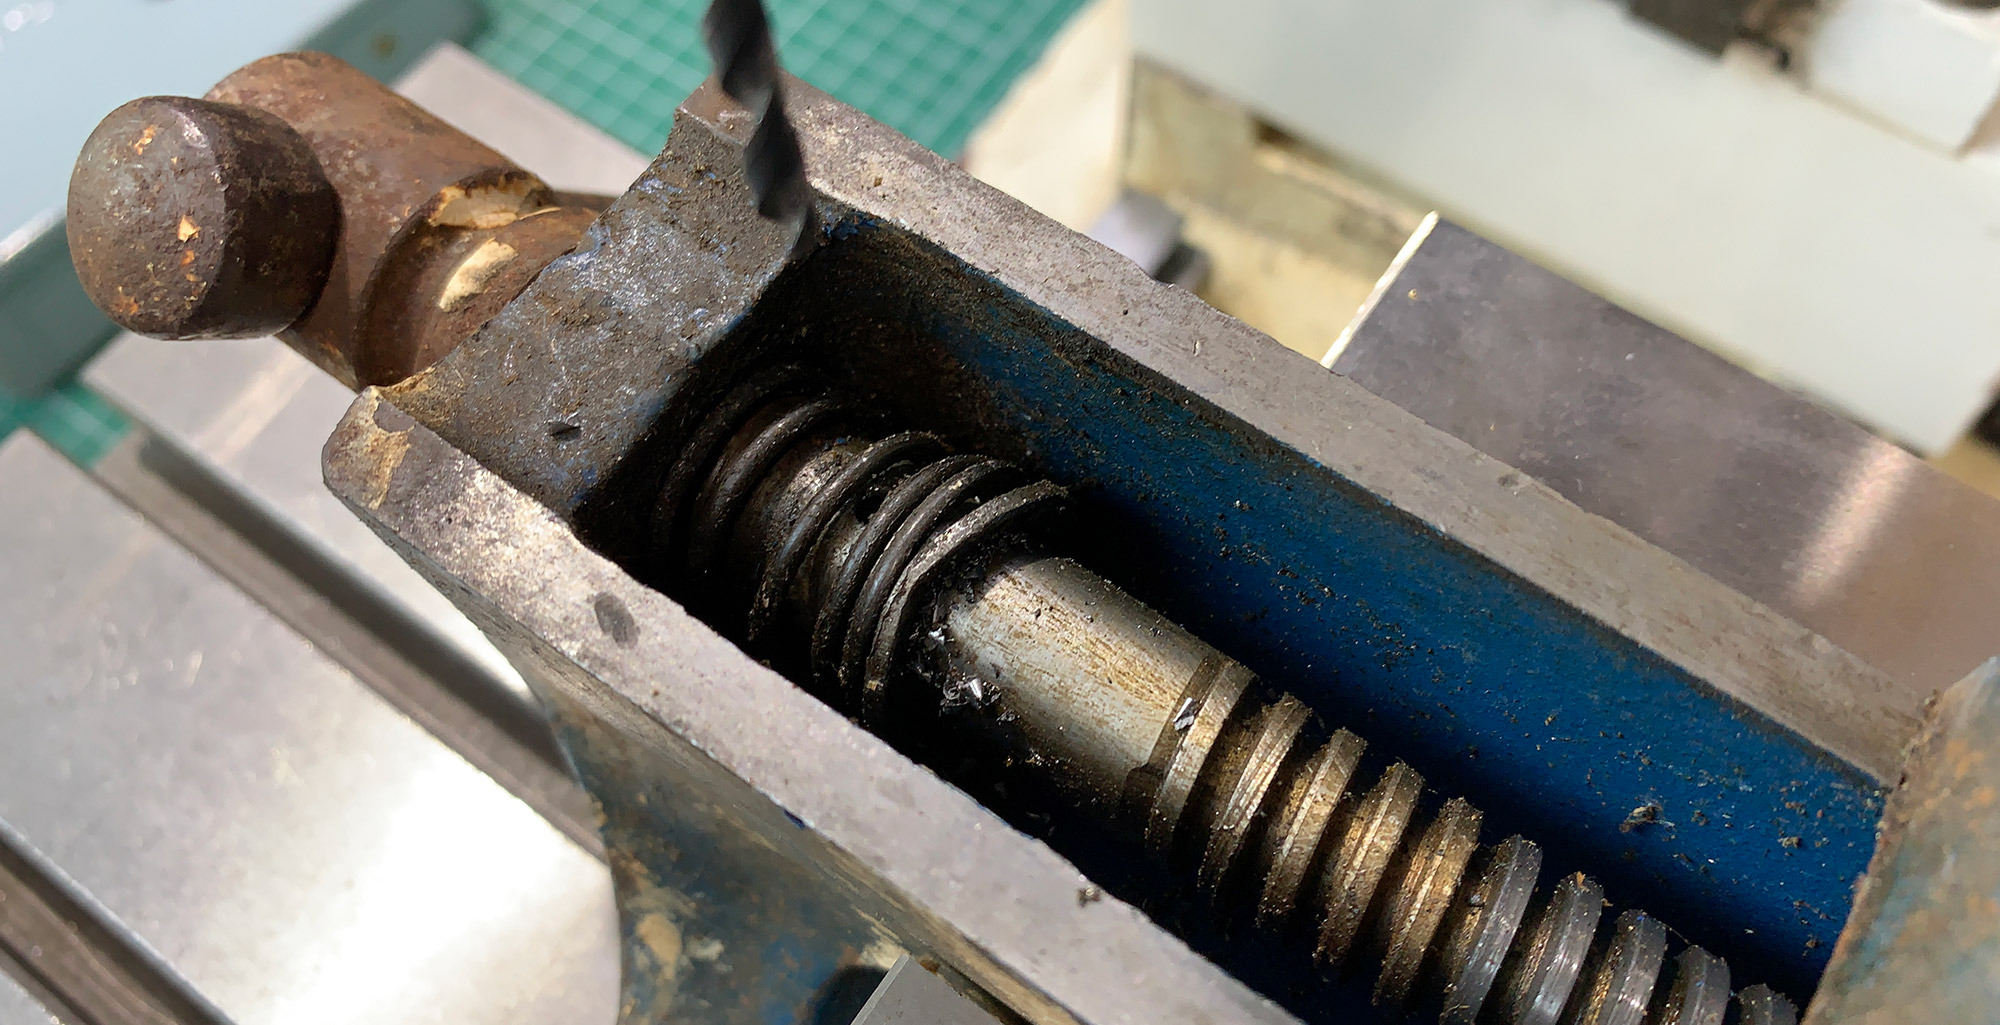
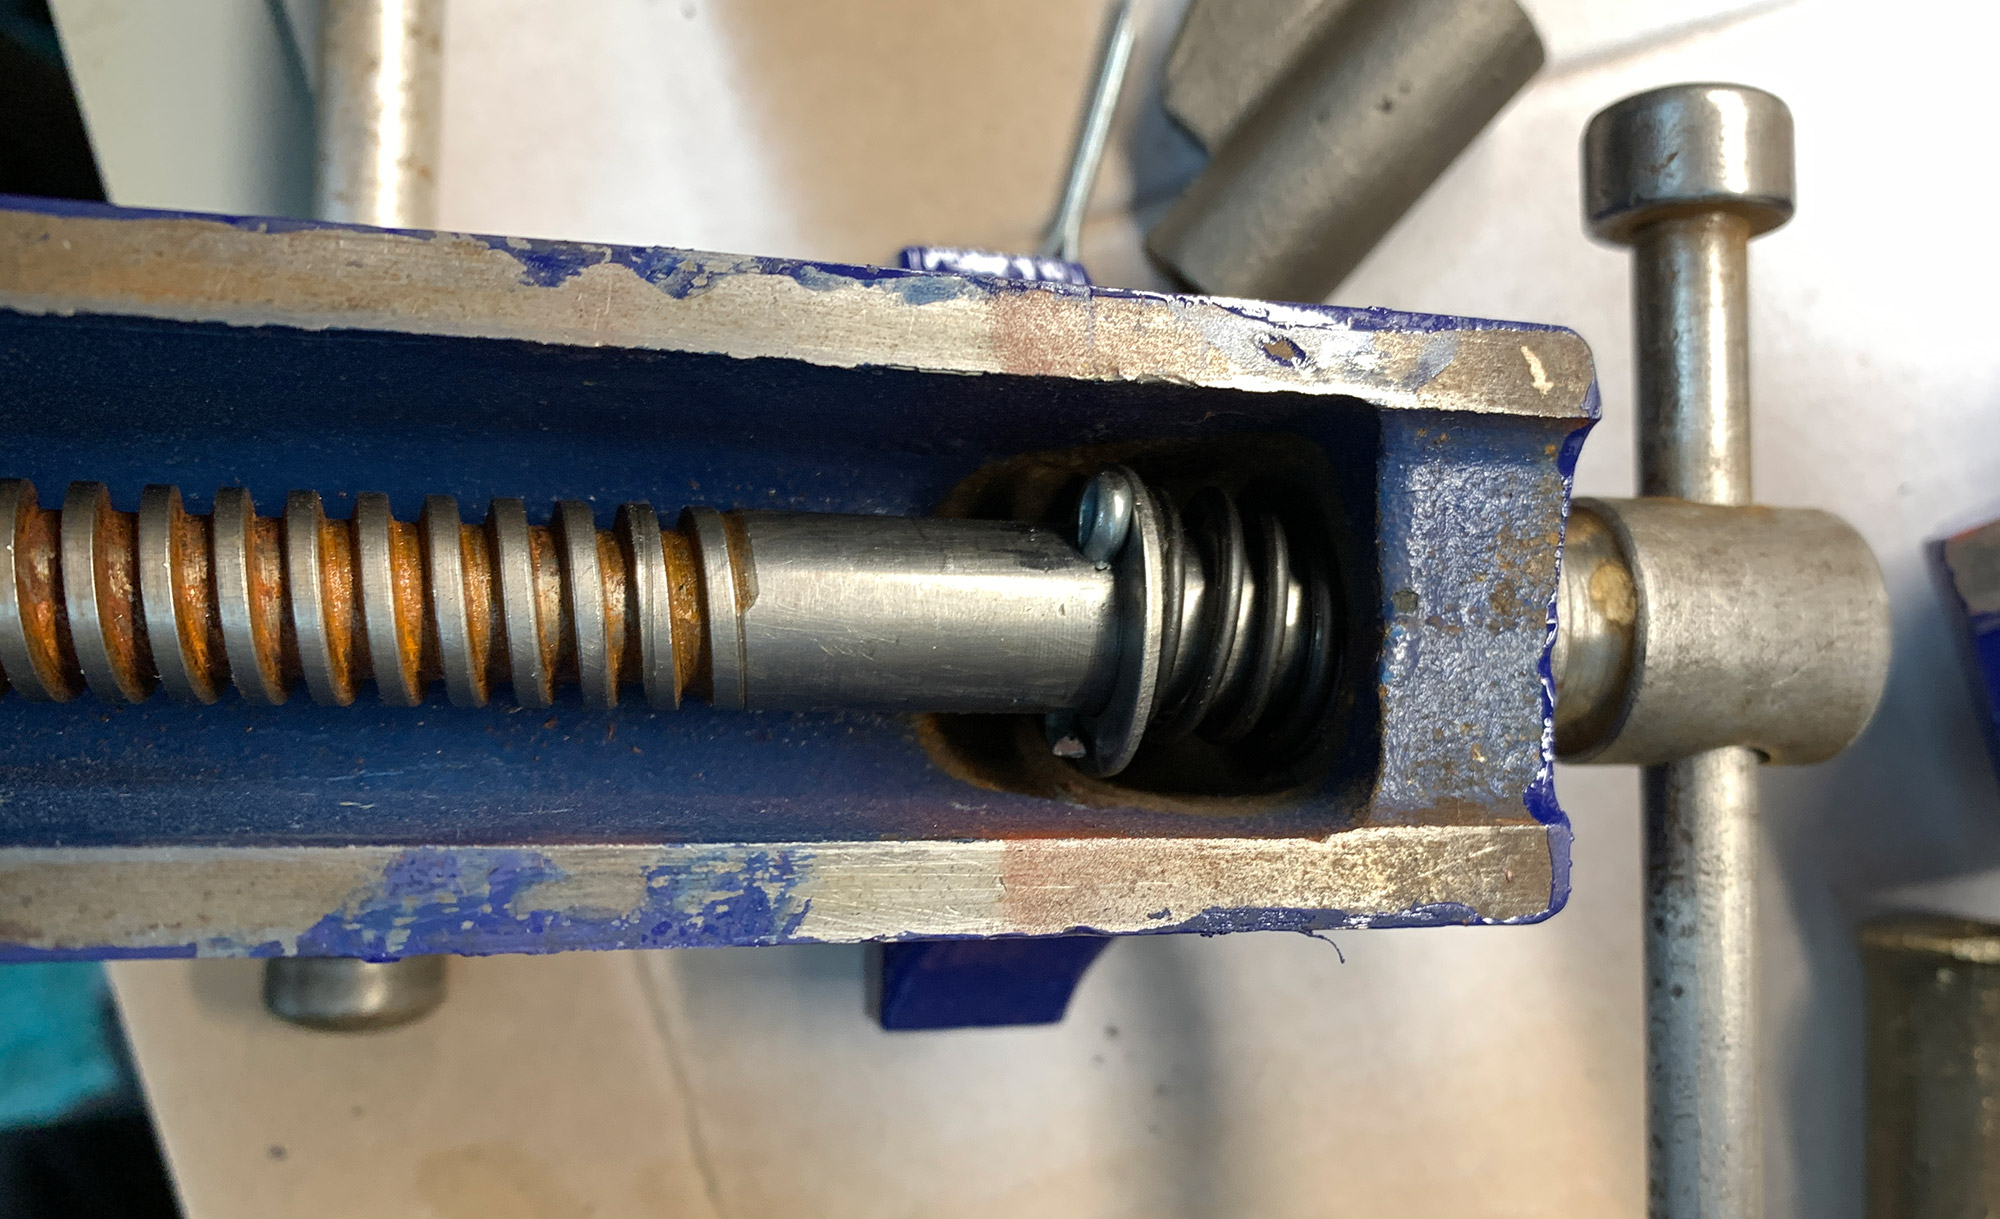
The larger Record No 2 vice was missing the spring and washer which opens the jaw when unscrewed on the clamping screw and the roll-pin which was supposed to hold the spring and washer in place was sheared off in the shaft and needed to be drilled out. A new spring, washer and pin would be needed for the reassembly.
The smaller Record No 1 vice had the spring and washer in place but the retaining pin was rusted in place and buckled, I initially cut this flat using the CNC Mill and used a drift to remove it fully.
Cleaning the rust and grease
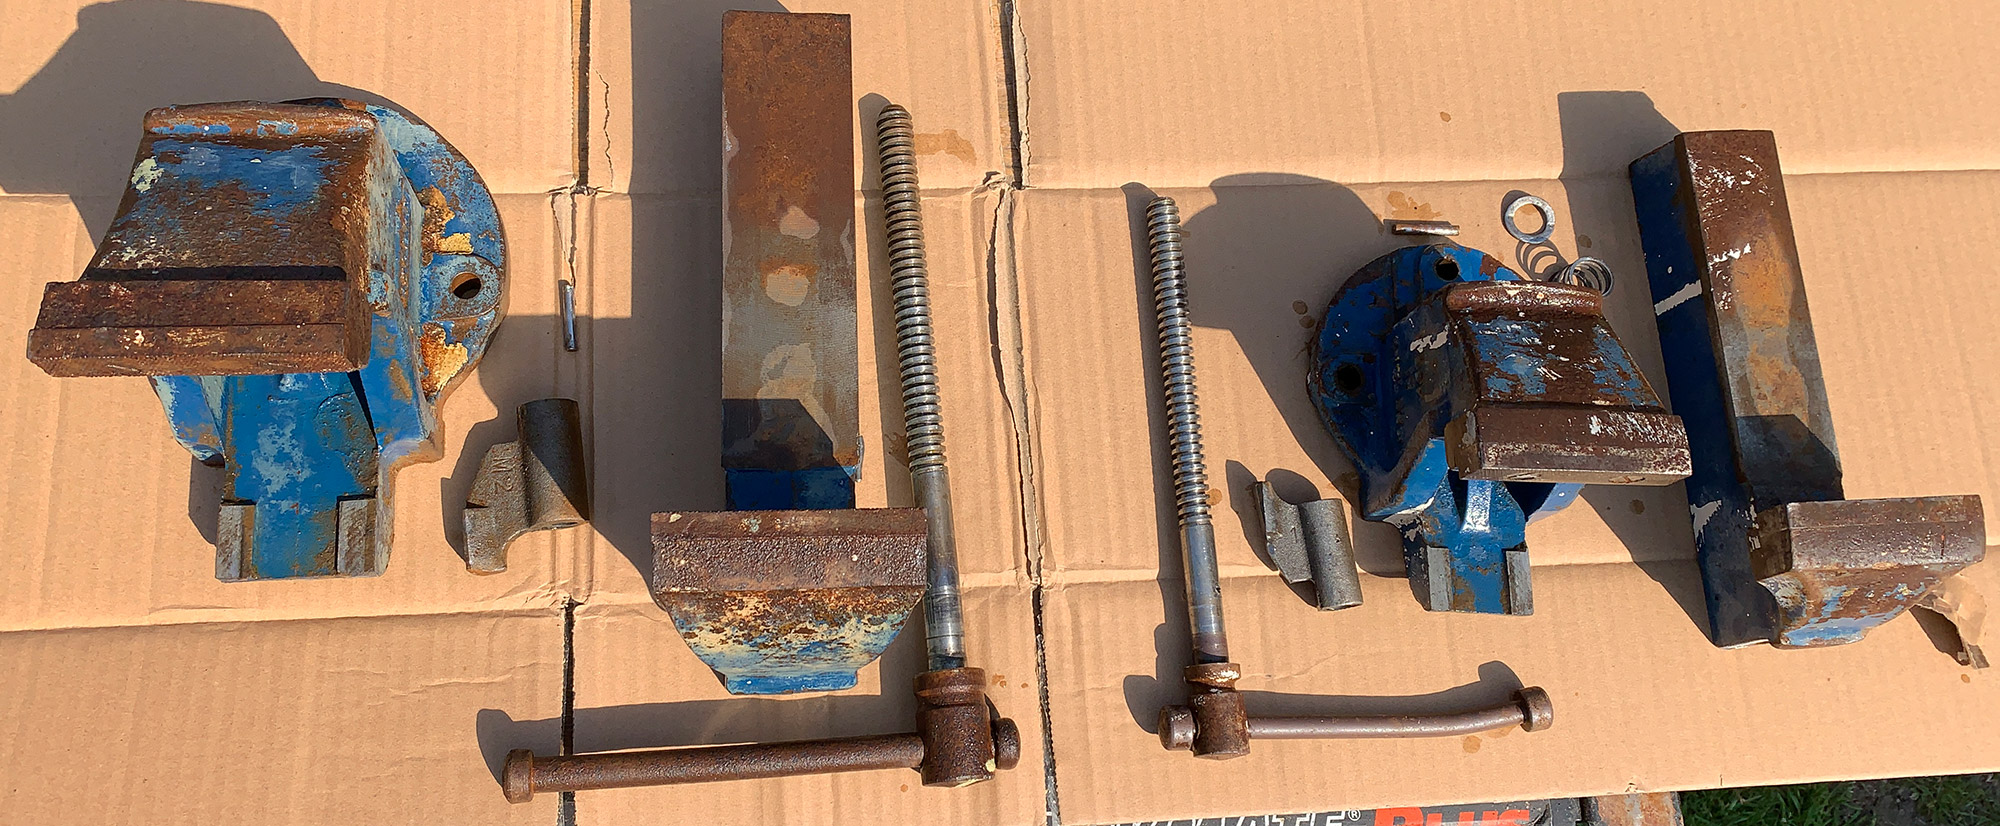
Once both vices had been disassembled, the parts were soaked overnight in degreaser and any remaining grease and grime were removed using an old paintbrush. The degreaser was washed away using hot soapy water and then the parts were left in the sun for several hours to dry.
The screws holding the jaws on the larger vice could not be removed and I did not want to risk causing more damage by drilling the screws out, so I decided to leave the jaws in place when removing the rust.
I did not have any chemical paint stripper to remove the original blue paint and with the lockdown due to Covid 19 none of the local shops was open so we removed as much paint as possible and sanded all the surfaces to allow the primer to be applied.
The rust was removed from all the parts using a mixture of power tools with rotary wire brushes, hand wire brushes, sandpaper and wire wool.
Priming and Painting
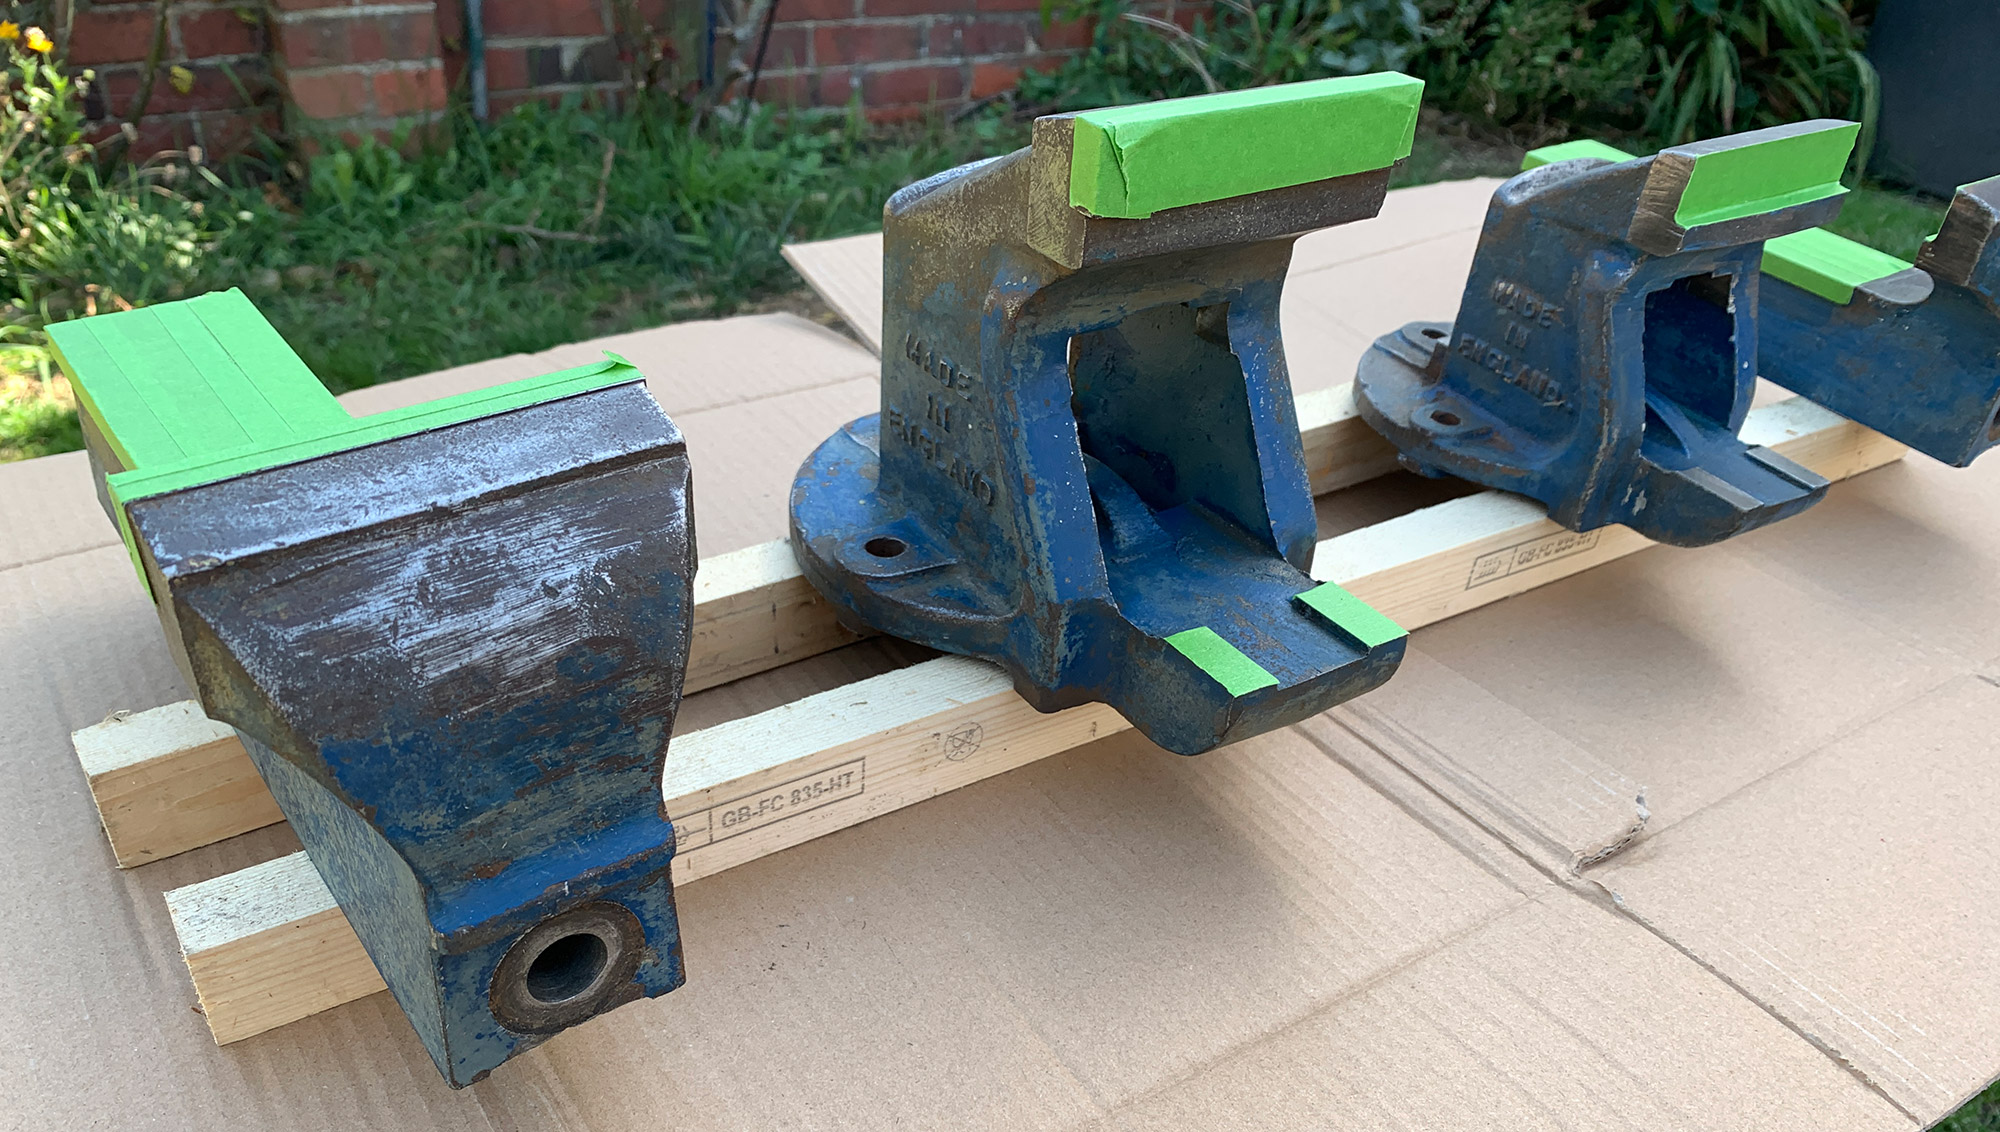
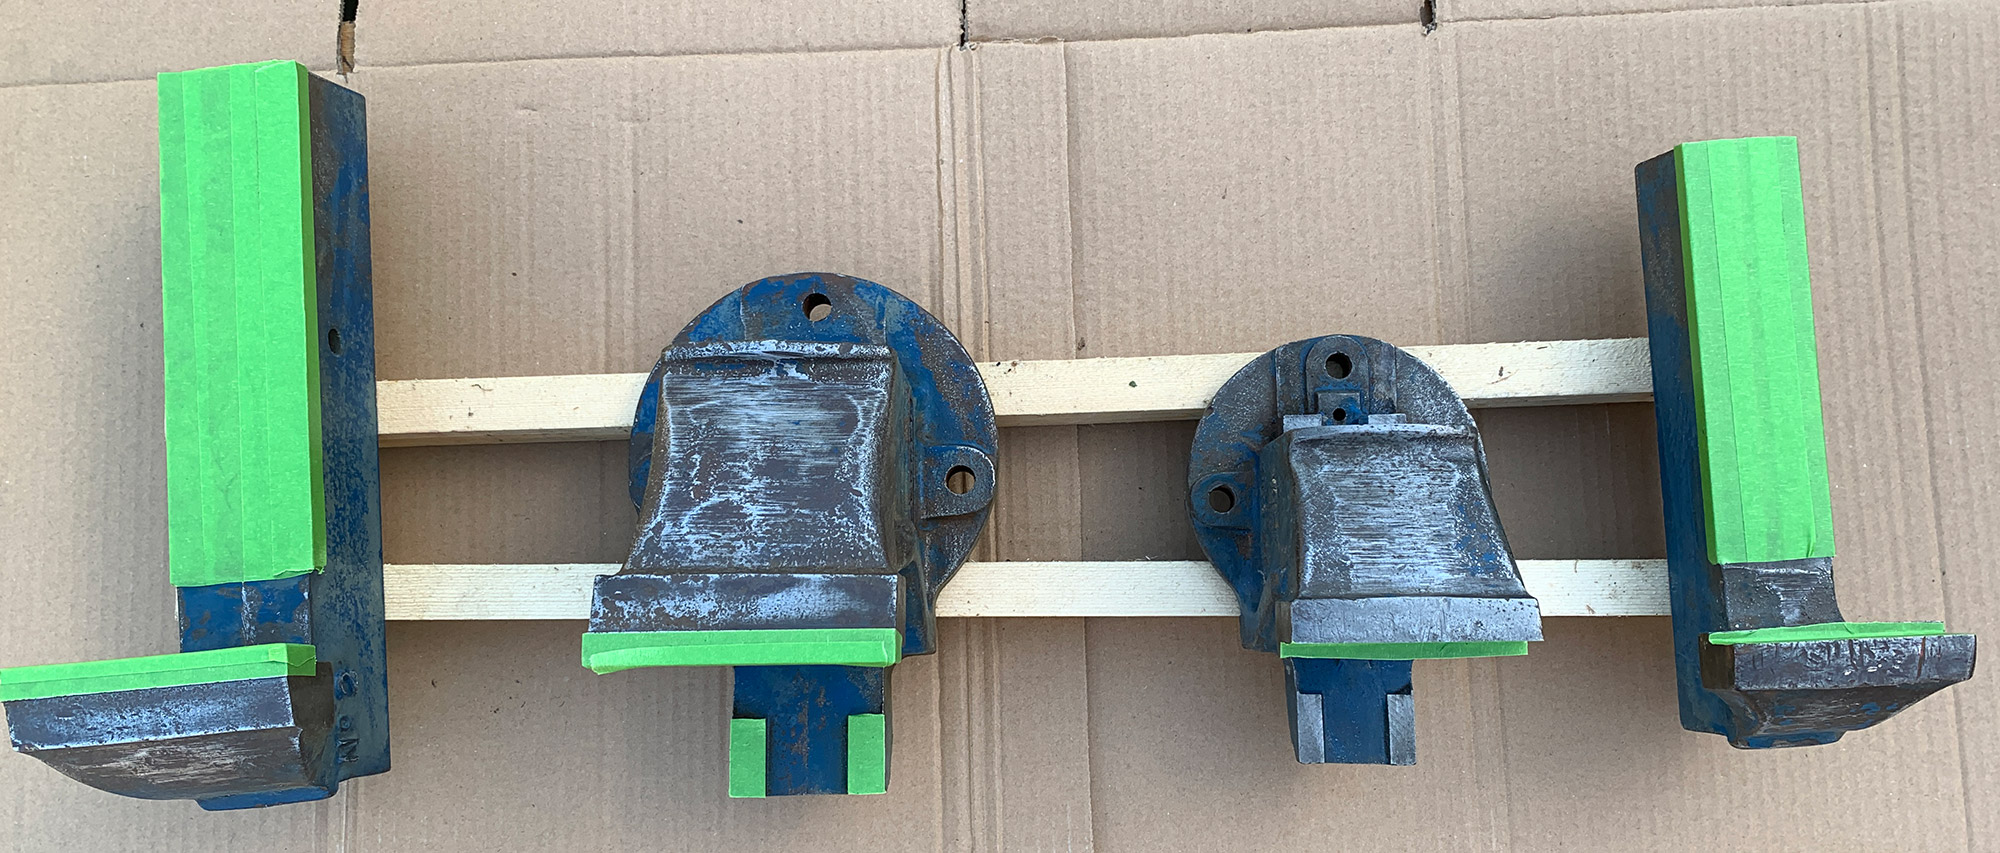
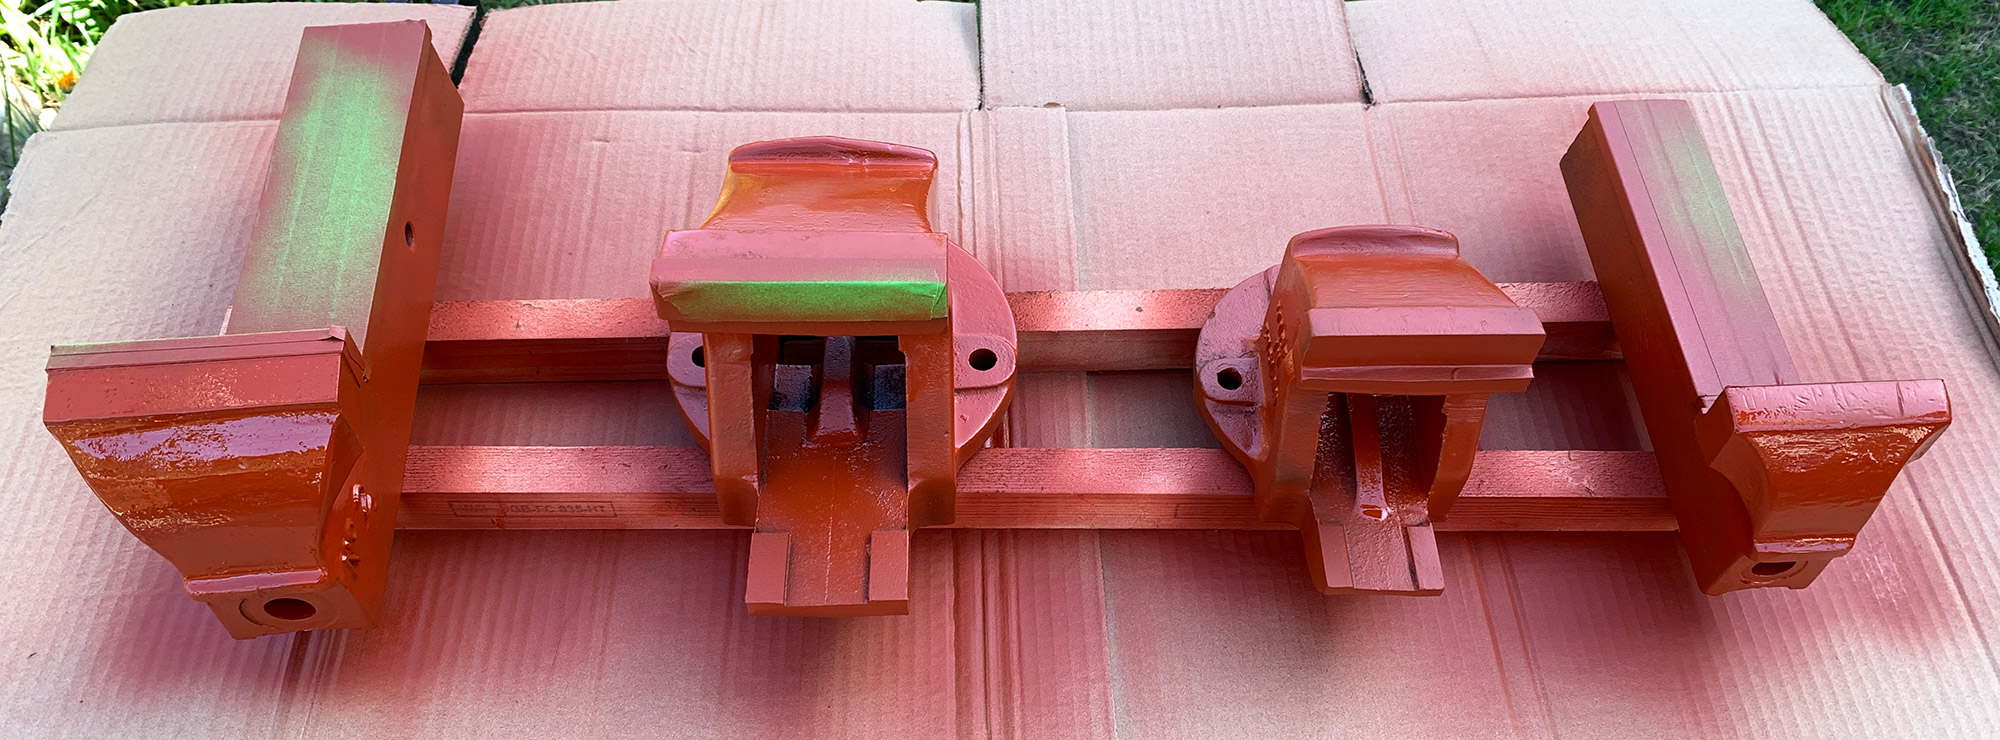
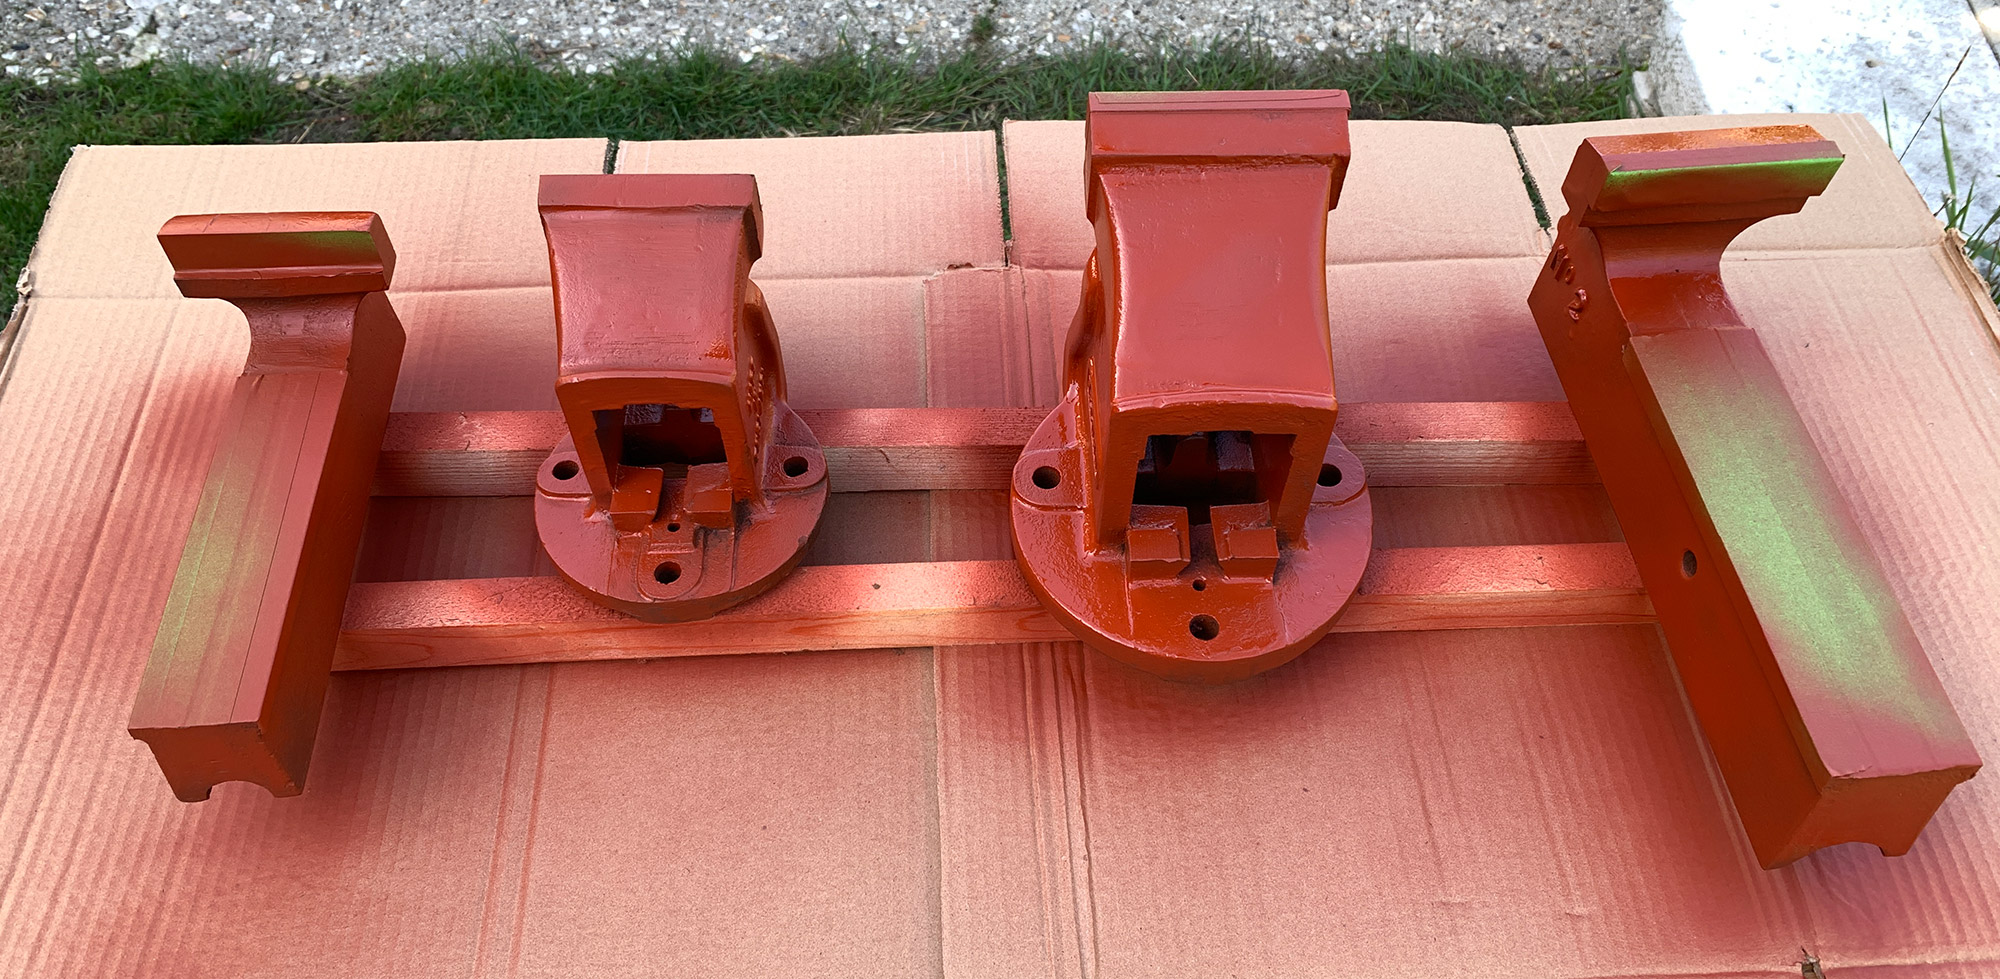
Before the vices could be primed and painted any remaining dust and dirt had to be removed using isopropyl alcohol and clean rags. The areas which did not need to be painted were covered in masking tape and then sprayed using Red Oxide primer and left for two days to fully dry.
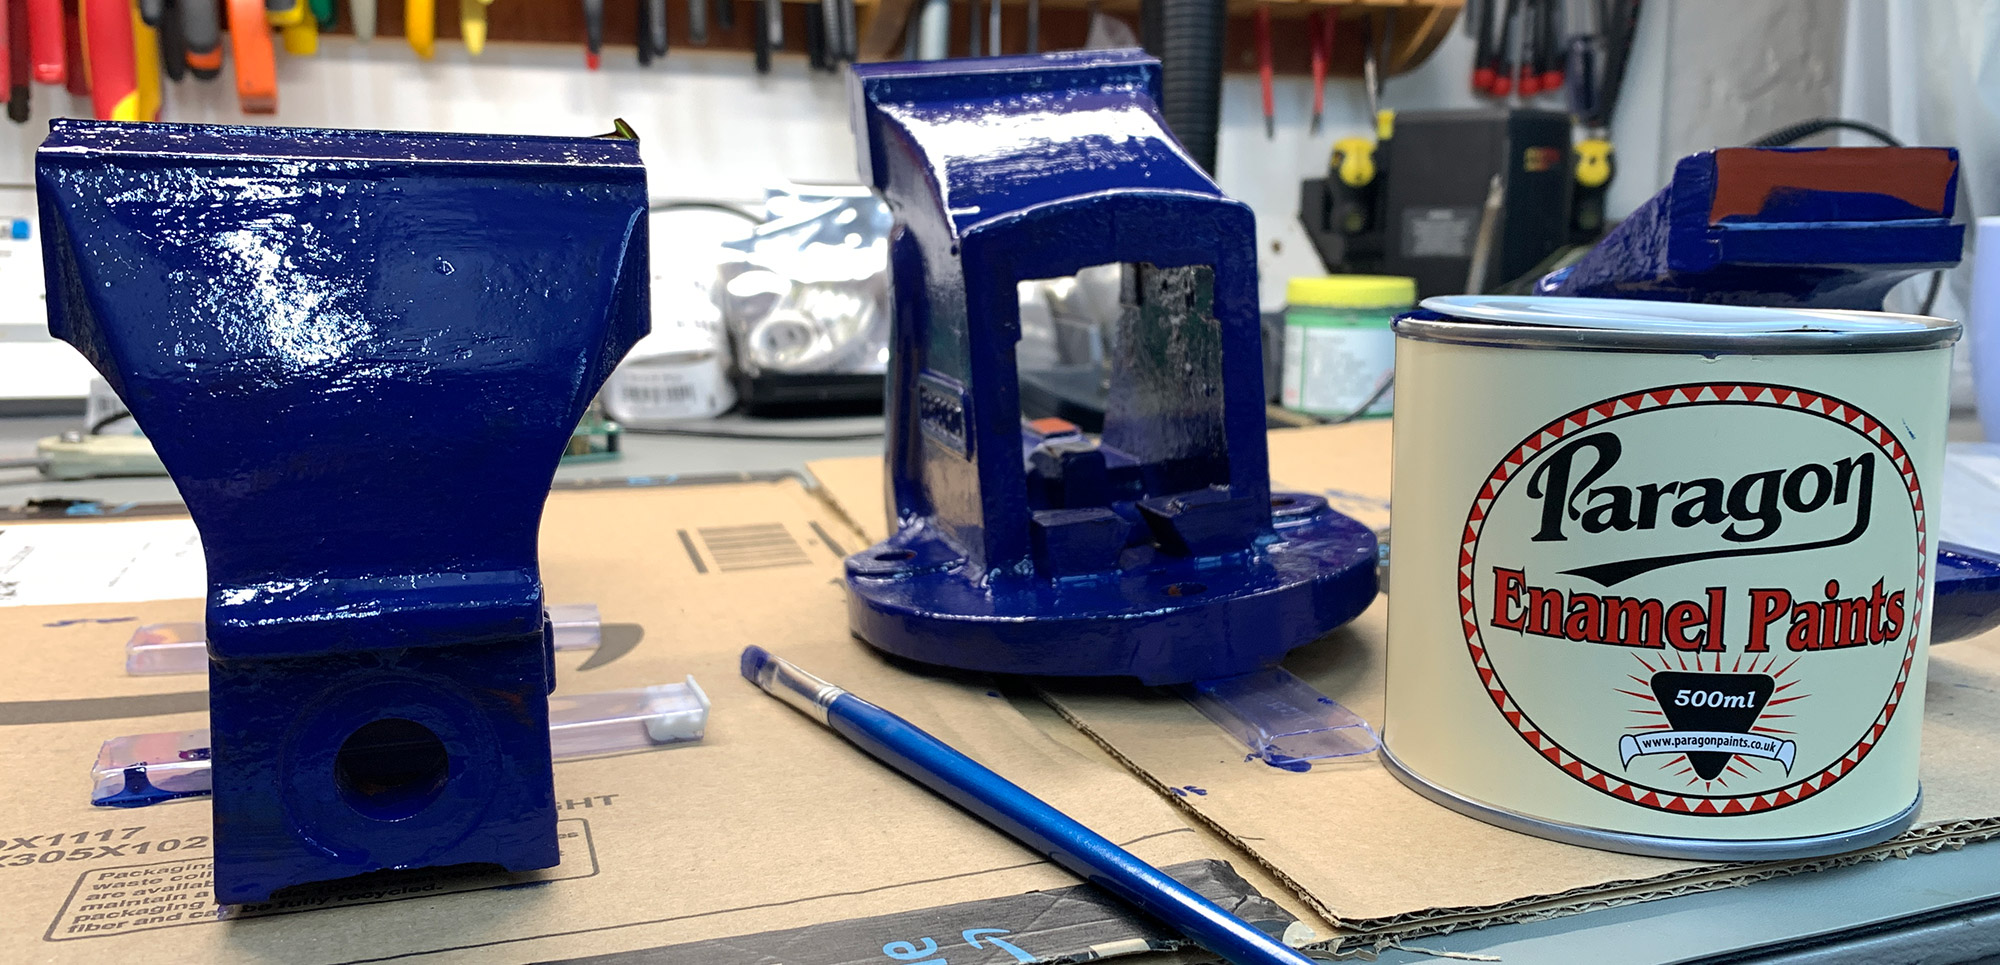
I found a business called Paragon Enamel Paints which sells a very wide range of paints in modern and vintage colours. They sell a blue paint which is the same as the original Record vice paint called “BS381C 110 Roundel Blue - Record Vice Blue” https://www.paragonpaints.co.uk/BS381C-110-Roundel-Blue-Record-Vice-Blue.html
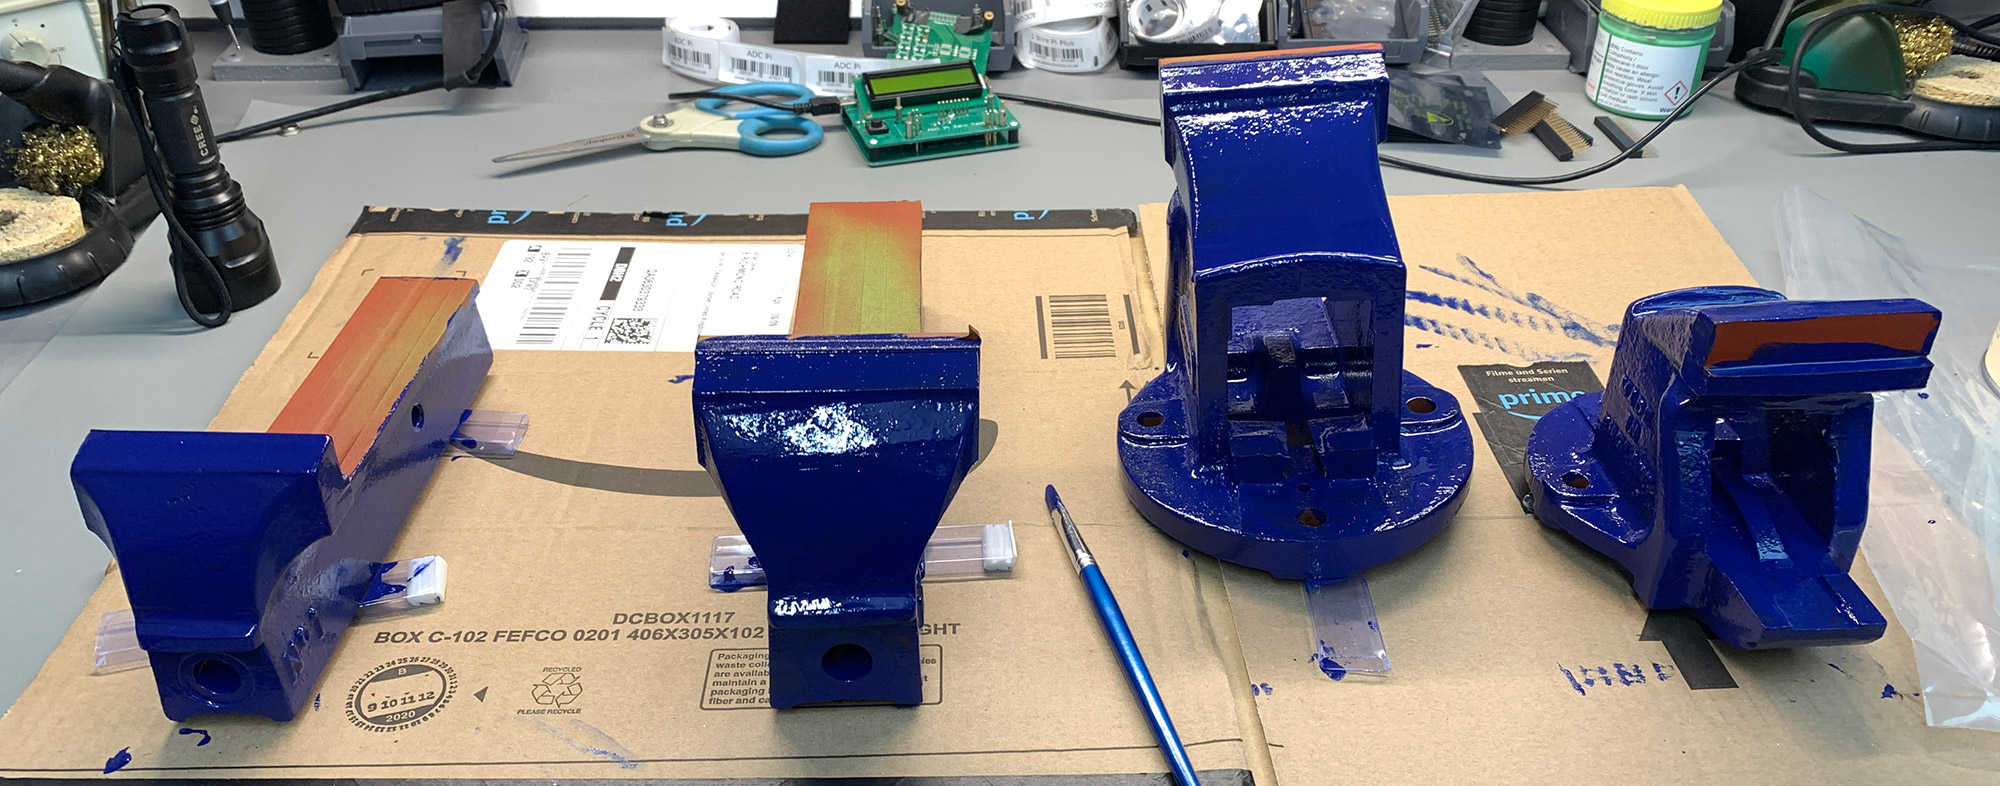
The two coats of enamel paint were applied using a small brush as we do not have access to spaying equipment and were left to dry for 24 hours between each layer. It was left for several days to fully harden before assembly. Using a spray system would have given a smoother overall finish but as they are being used in our workshop the brushed finish was good enough.
Final Assembly
The No 1 vice was reassembled and a new roll pin was installed to hold the opening spring. We initially tried using a split pin but had clearance issues when turning the vice handle.
Grease was added to the threaded sections and mating surfaces.
As we need a new spring and washer for the larger No 2 vice, we shortened an old air rifle spring to fit and found a suitable washer from our nuts, bolts and washers’ buckets which needed to be modified on the lathe. The rest of the assembly was the same as the No 1 vice.

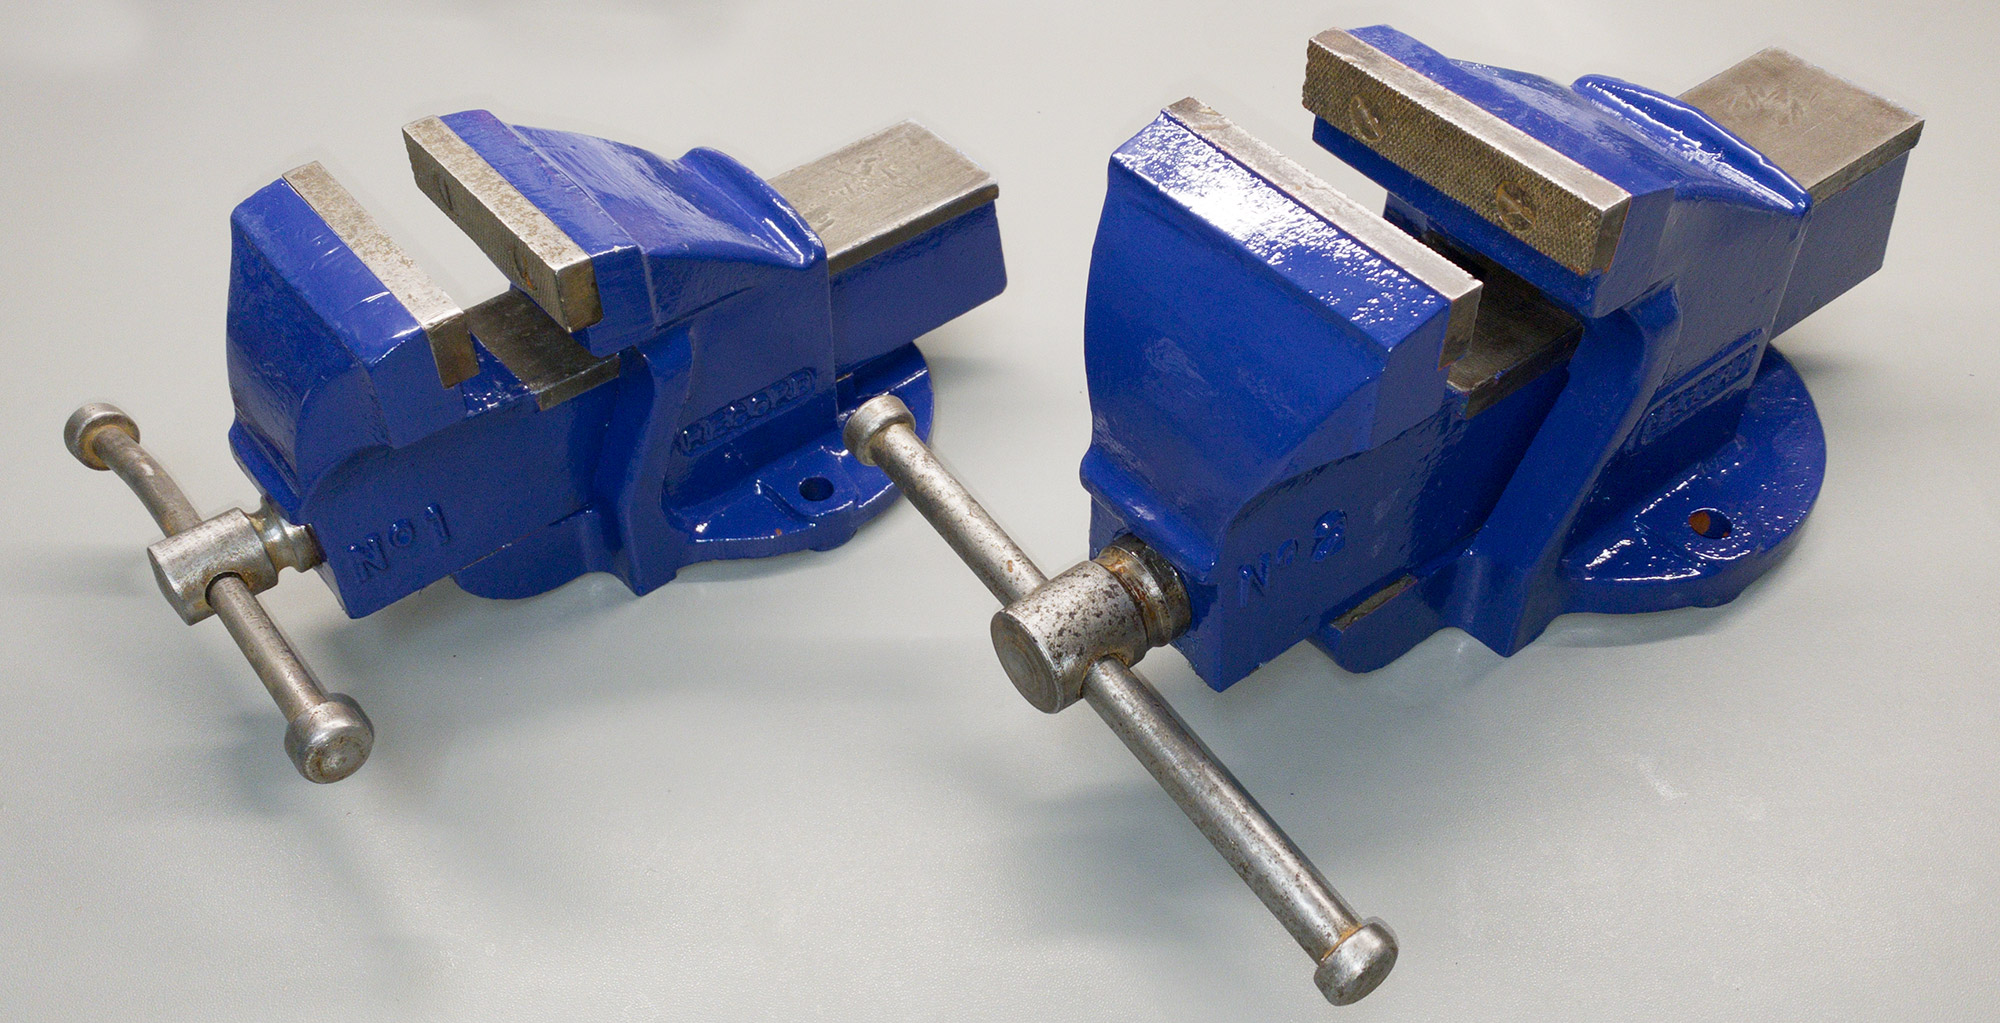
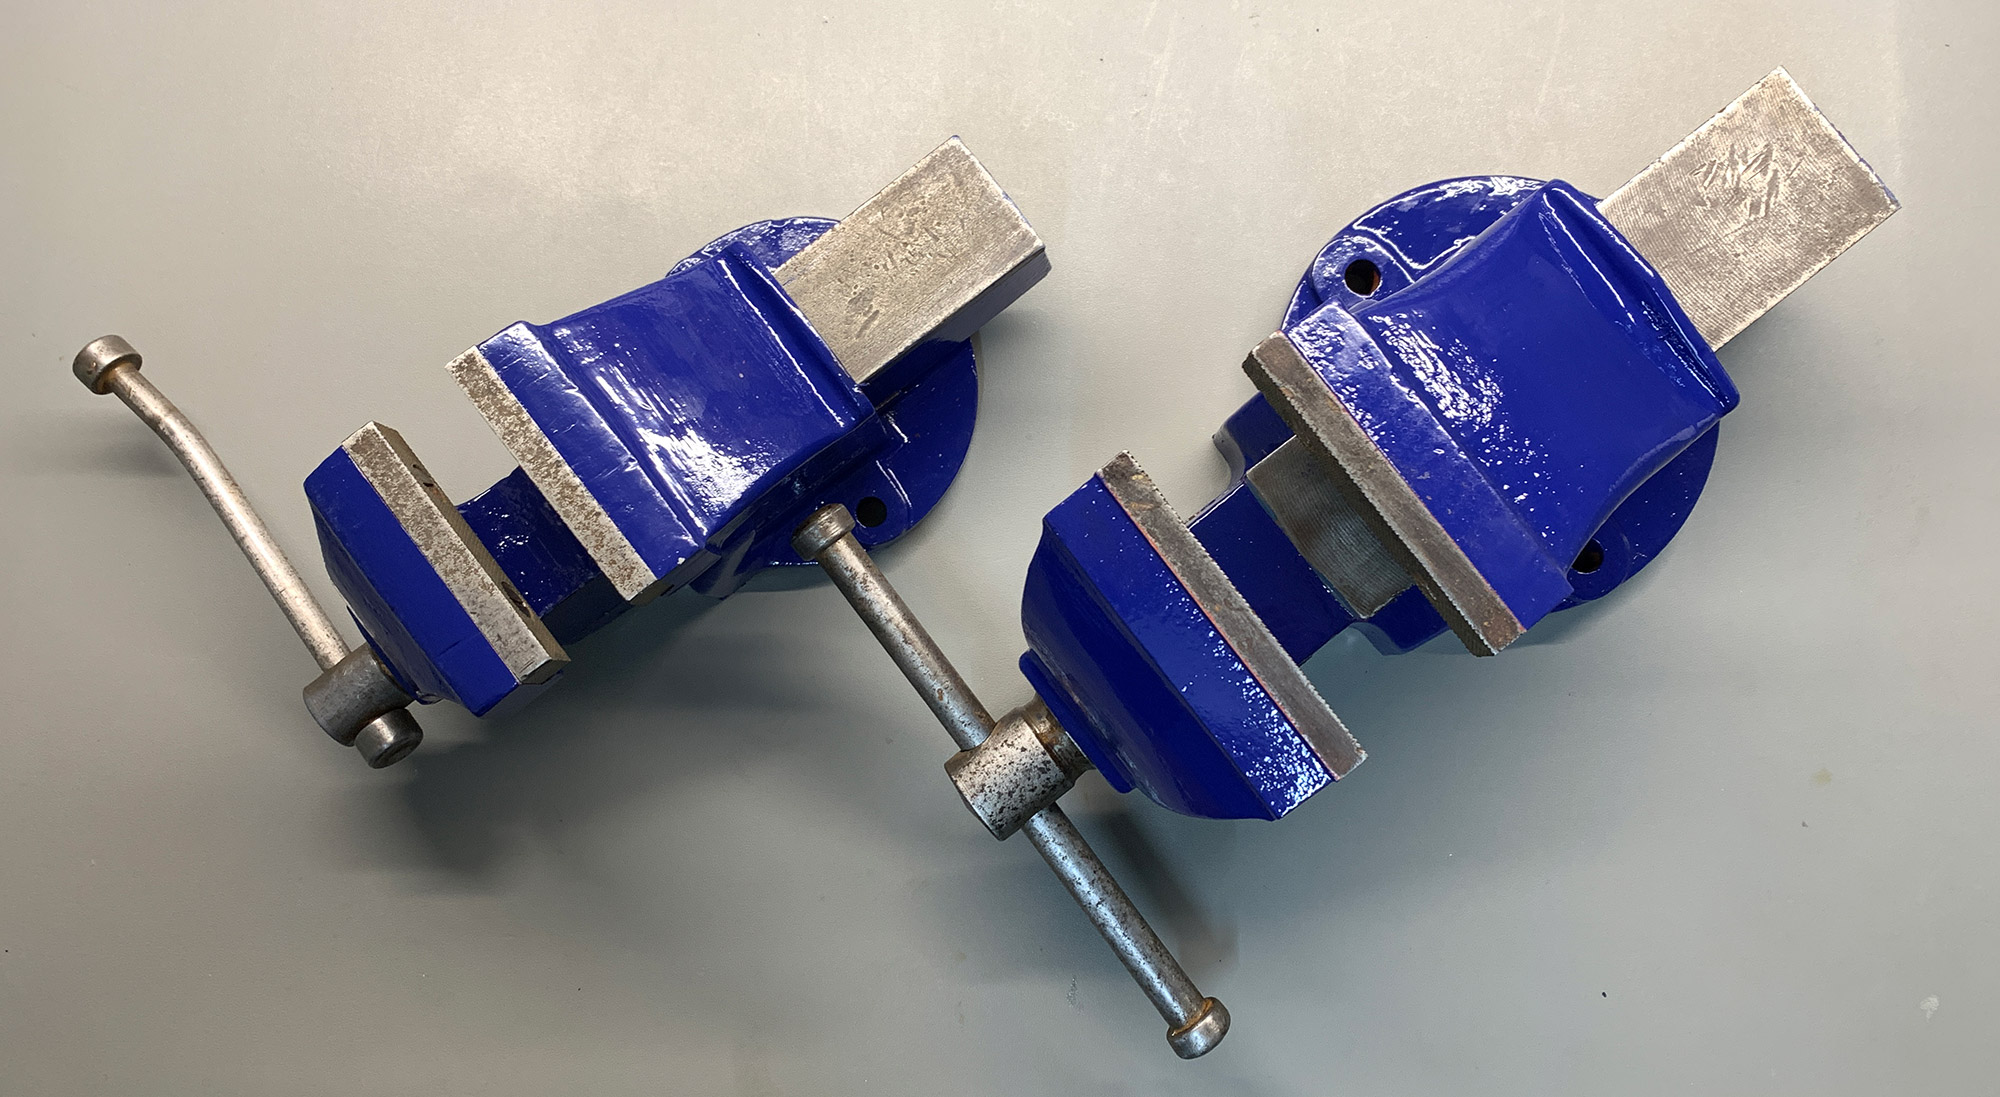
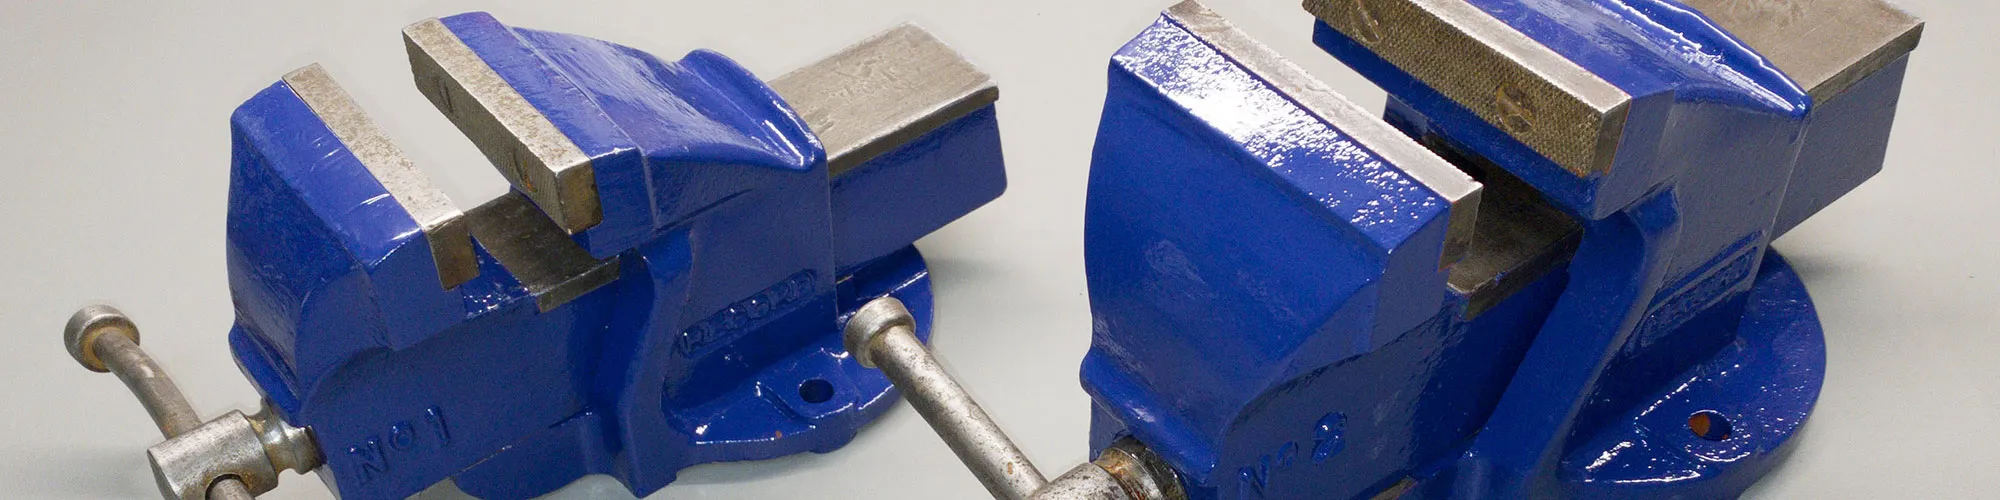
With both vices now finished and the larger No 2 model installed in our shed/workshop they should both outlive me and be passed on to future generations to use.


Chris
Nice restoration ??
jim gray
Do you know where I can get a spring for a Vintage Record No.2 Engineering Bench Vice?
Brian
Jim, I used an old air rifle spring which was cut using an angle grinder to replace the missing spring on my vise
Jason
I’ve just started restoring a No 2 which I inherited from a previous generation. It was passed onto me over 10 years and had become quite rusty. I’ve started with a citric acid bath, using the solution left over from my main project, the restoration of my childhood BMX. The results with citric acid are quite amazing so I just decided to drop the vice in for a couple of days to see what happened. I now need to work out how to remove the string retaining pin and remove the last of the rust. Your post is great inspiration about the results that are possible. Thanks, J
Alex
Nice job! Did you use Matt or Gloss paint? How much of that 500ml can was left after you'd done both vises?
Brian
Alex, I used gloss paint, I think i only use a 1/5 of the 500mm can after giving them both two coats of paint.
James
Hi, I recently picked up a number 2 to restore, its missing the half nut and I was wonder if you know anywhere to get spares like that. thanks
Peter
Hi
I have an old record no 3 vice which occasionally jumps open if you know what I mean , under load. I have dismantled it and found the back of the cast nut Looks broken . There is no hole for the retaining pin which just seems to act as a back stop. Would this cause this effect . The screw and nut seem not too worn .
Dave
I have a record 21 vice were can I get it refurbished thanks dave I'm in Kent area
Billy Shannon
For the No1 vise, w hgv at size of bolts do you need to bolt it to a bench?
Brian
I think the bolts are M10 bolts, I have a bucket of bolts and didn't measure the ones I used.
Alister
I am the 3rd generation owner of a Record No.2,how do I find out how old it is?
Brian
I am sorry but I dont know how to find the age of the vise.
Dave
Just finished refurbishment my No 2 vice. Came across a company called Viceman for the replacement spring. Seems to have loads of vice stuff.
Anders EKroll
Hello.
i just want to say thank you so much for the great pictures and explanation, really helped me restore my Nr.1 ?
Mick
Hi I got a no 5 I don't know how to date it can eney help me out plz
Alan Fraser
Hi my friend I have just purchased a no 2 record Vice .
I was just wondering if you know where I can get new jaws a one side is broken
Brian
This website https://www.viceworks.co.uk/products/jaws-for-record-vice-hand-made sell replacement jaws for the vices