In the workshop we often take photos and create videos of projects we are working on. Having enough light has always been a problem due to space constraints in the small loft space and not having enough room to use our studio lighting equipment.
I looked at several commercial flat studio lights, but they are expensive and much larger than we need so we decided to build our own. Links for the parts we purchased are at the end of the post.
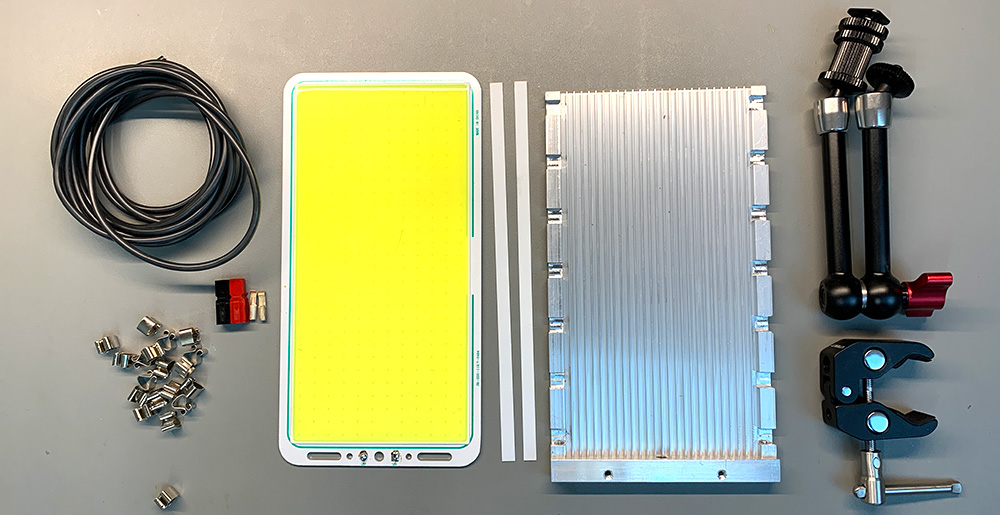
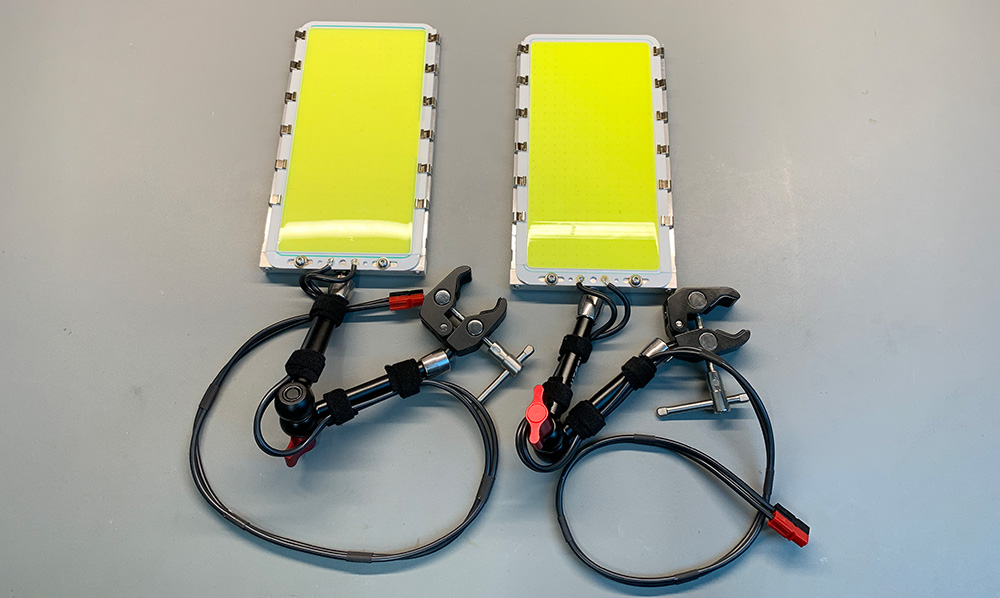
Andrew found some COB LED chip panels on Aliexpress for only £6.95 each which are rated at 70W and run from a 12 volt supply. The panels measure 220mm x 112mm. We ordered a pair of the panels and they arrived several weeks later.
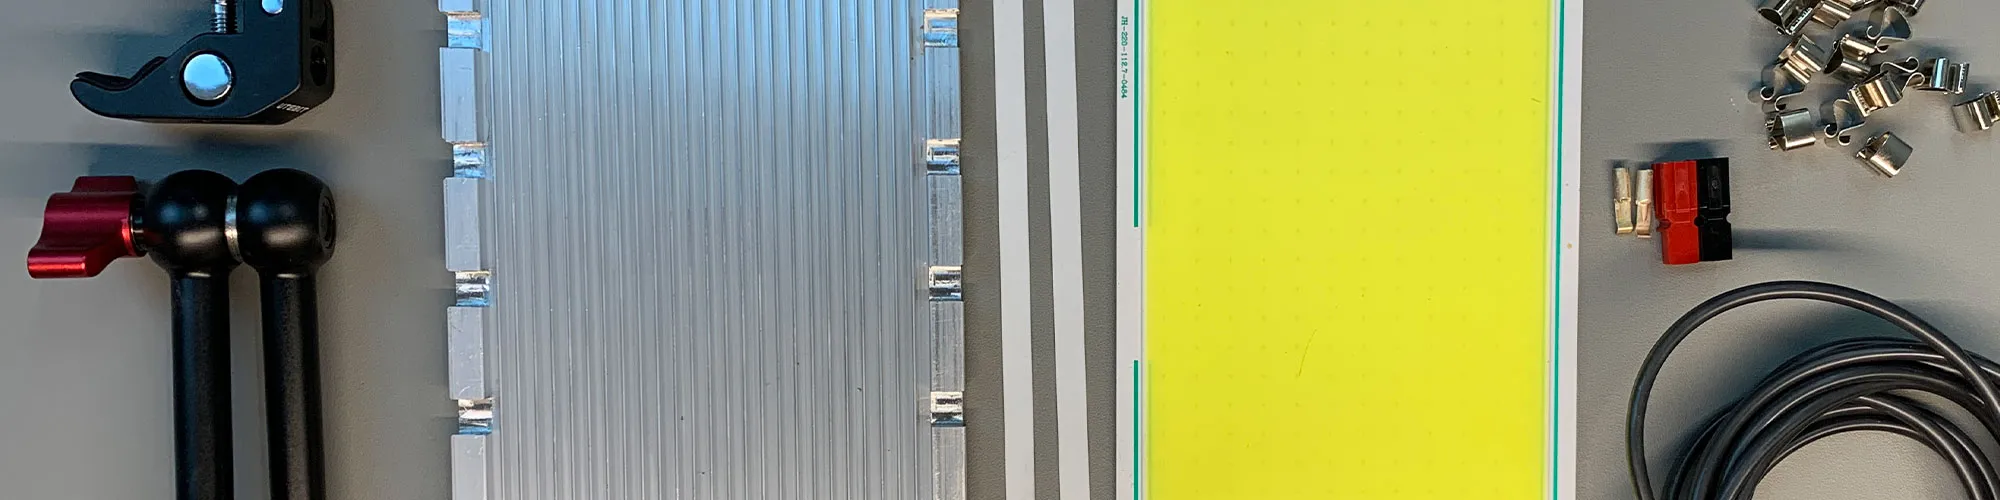
The led panels are a flat led array encased in resin and mounted on an aluminium backplate. The power is supplied via a pair of solder pads at one end of the board.
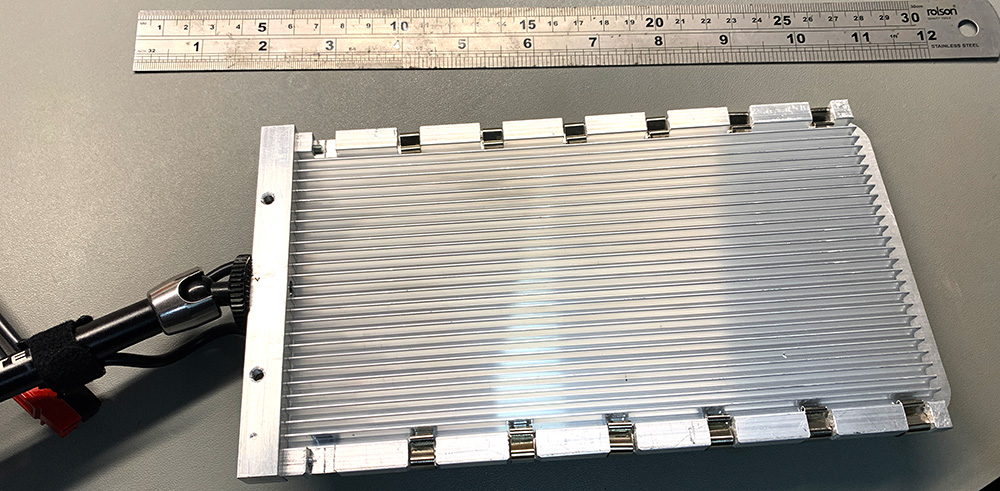
The panels needed to be attached to a heatsink to dissipate the heat generated and we found some suitable aluminium heatsinks measuring 120x7x200mm on Aliexpress for £7.70 each.
We initially tested the panels using our constant current power supply and found that at 40w they are too bright to use so purchasing a 70 watt power supply would have been wasteful.
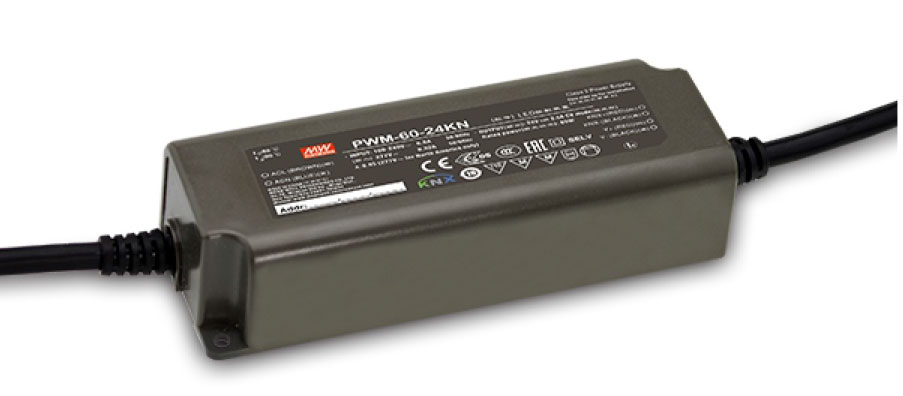
RS Components sell a wide range of power supplies and we purchased a pair of Mean Well PWM-40 AC-DC, DC-DC Constant Voltage LED Driver 40W 12V supplies which the output can be adjusted by adding a 100k variable resistor to the control wires.
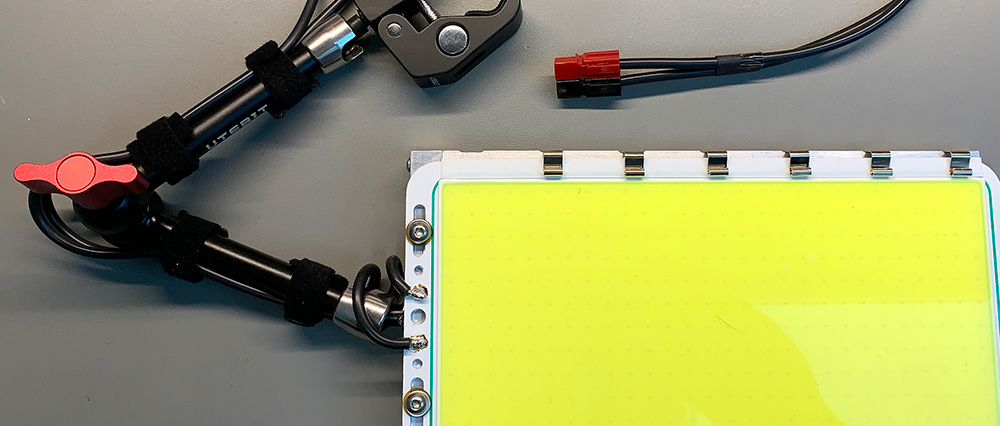
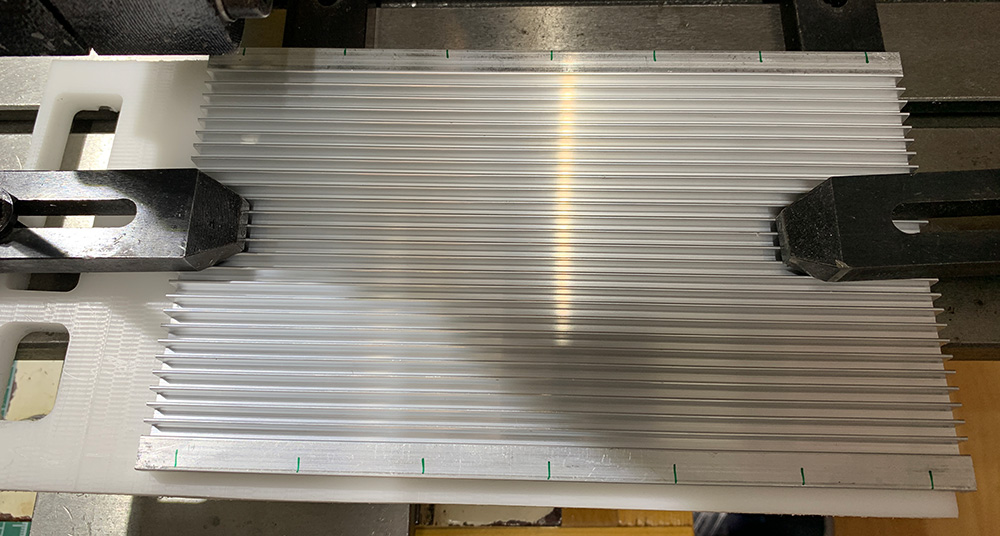
To mount the panel to the heatsink we found some clip frame clips on ebay, 8mm x 7mm and they are supplied with tools to install the clips. On the heatsink we milled slots to allow the clips to fit on each side and on the edge of the LED panel we used two thin strips of plastic to keep the metal clips away from the PCB surface.
We wanted the led panels to be moved around in the workshop and mounted on different surfaces, so I found a 11 Inch adjustable articulated arm with a clamp on one end and threaded with a ¼ unf thread for camera accessories.
To mount the adjustable arm to the led panel and heatsink, we used a square length of aluminium bar and this was drilled to be mounted on the end of the heatsink and bolted to the two mounting holes in the led panel. A ¼ thread was cut in the centre of the bar and the arm was secured with thread locking compound.
To transfer the heat from the led panel to the heatsink, we applied a thin layer of thermal paste between the surfaces.
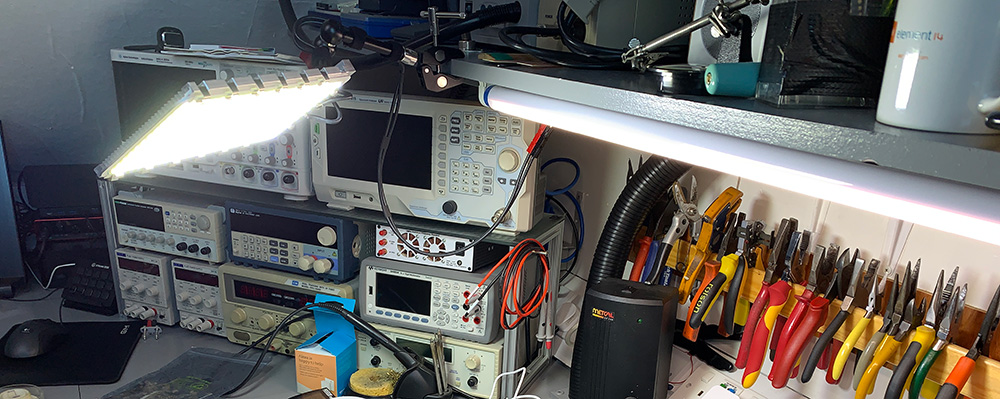
Once the lights were assembled, we mounted the power supplies below our workbench and created a control panel in a spare mains backing box with the two variable resistors and power switches for each supply. 12V cables were run to the shelf above the workbench and we used PowerPole connectors to terminate the cables to allow us to easily connect the lights.

Parts Used:
Super Bright LED Panel Light 70W 12V COB LED Chip Panel £6.95
www.aliexpress.com/item/1005001817244729.html
Aluminium Radiator Heatsink for LED,120x7x200mm £7.70
www.aliexpress.com/item/10000050909834.html
SIFF silicone conductor 1.5 mm² Hook Up Wire £13.36
uk.rs-online.com/web/p/hookup-equipment-wire/2227178/
Mean Well PWM-40 AC-DC, DC-DC Constant Voltage LED Driver 40W 12V £25.70
uk.rs-online.com/web/p/led-drivers/8762563/
1 Gang Rotary Carbon Potentiometer 100k £4.63
uk.rs-online.com/web/p/potentiometers/0168178/
8mm x 7mm clip frame clips £8.99 for 50
UTEBIT Magic Arm 11 Inch Adjustable Articulated Arm Camera Arm with Super Clamp £24.99
Total cost £83.33 each excluding the 2 Core 14awg connecting cable between the power supply and shelf connectors.
Now we have better workshop lights we will be able to take better photos and video of our new projects.


Comments