The clutch pedal on my Defender is very heavy and causes a lot of pain with my knee problems. After seeing several recommendations for a clutch servo kit online, I ordered a Redbooster kit from www.redbooster.com which is based in Sir Lanka.
The owner of the business called me personally after I placed the order and offered to assist in any way with the fitting but the provided instructions are very good and we got the new clutch servo kit fitted in a few hours. The actual fitting of the kit was very straightforward, just had a few problems bleeding the clutch which was solved by using a power bleeding kit.
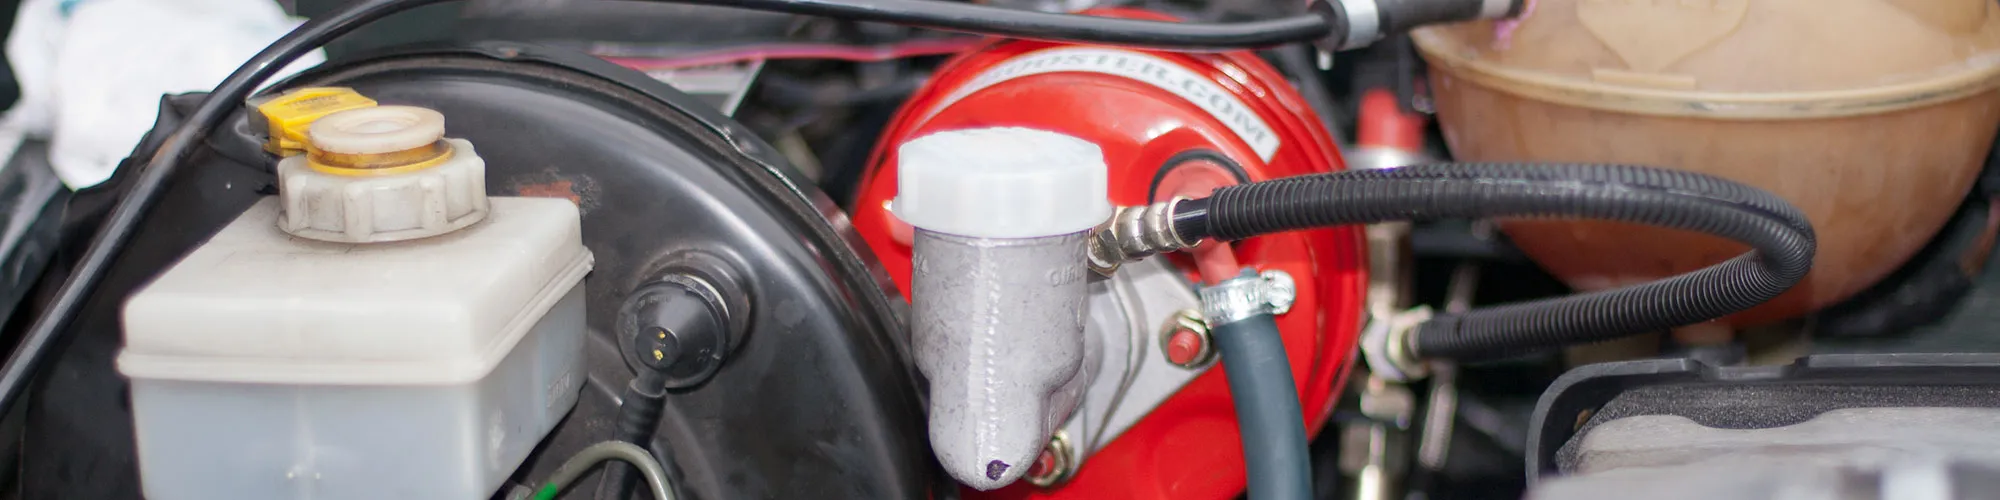
After fitting, the clutch pedal is very light and I had to add an additional return spring to the pedal so it offers some resistance to your foot.
Installing the kit
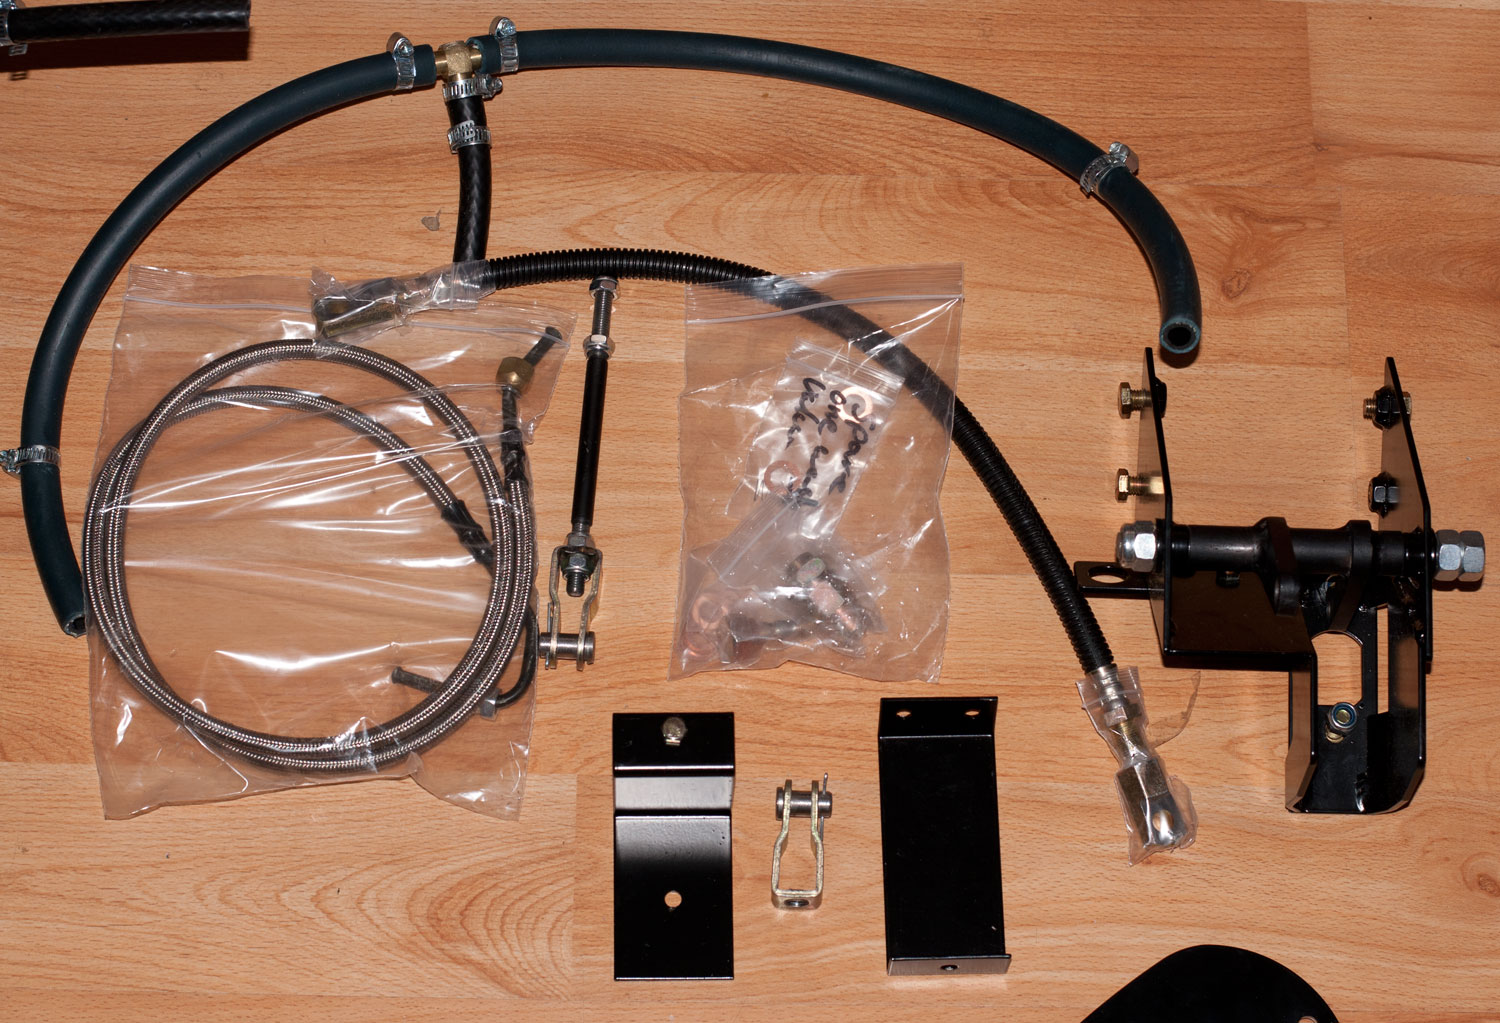
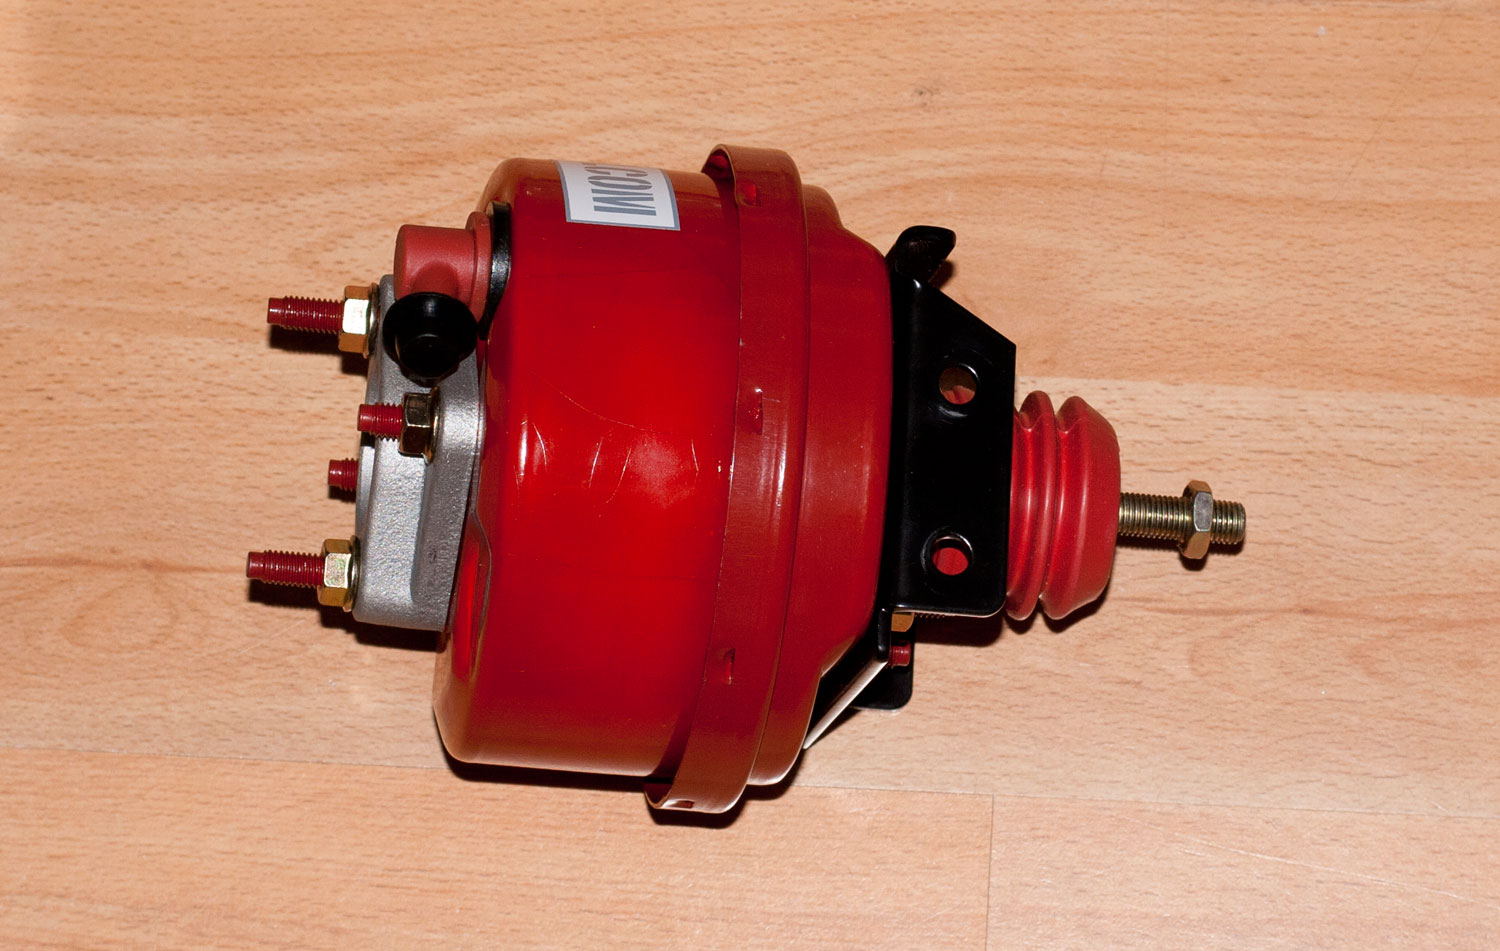
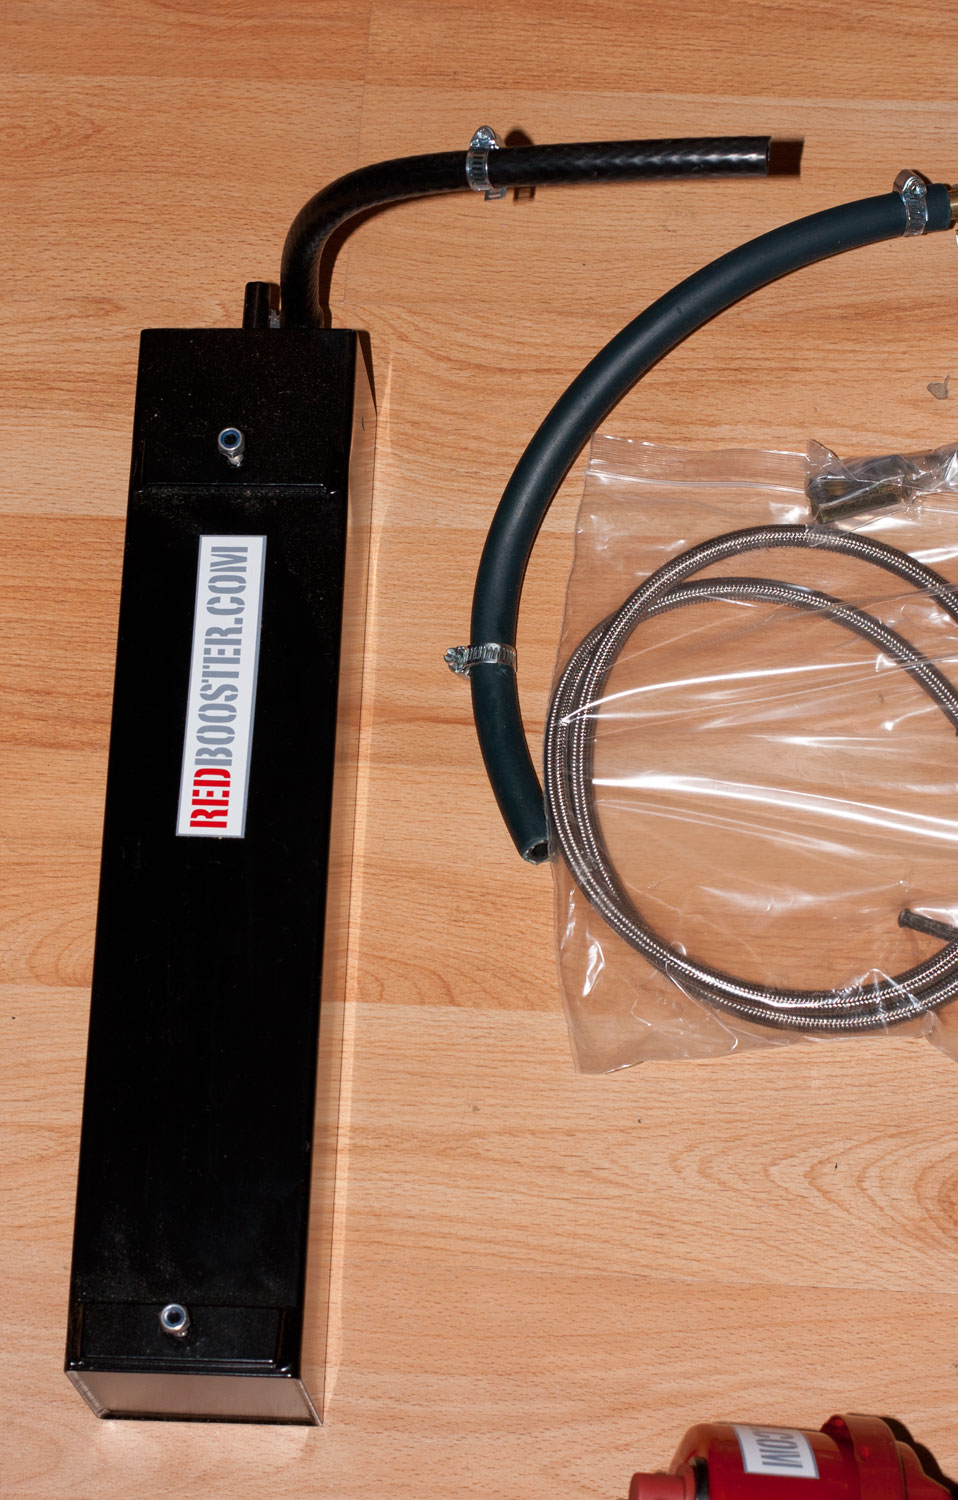
The kit came in a well-padded box with very comprehensive instructions with photos. There are also photos on the company's website which you can download and print.
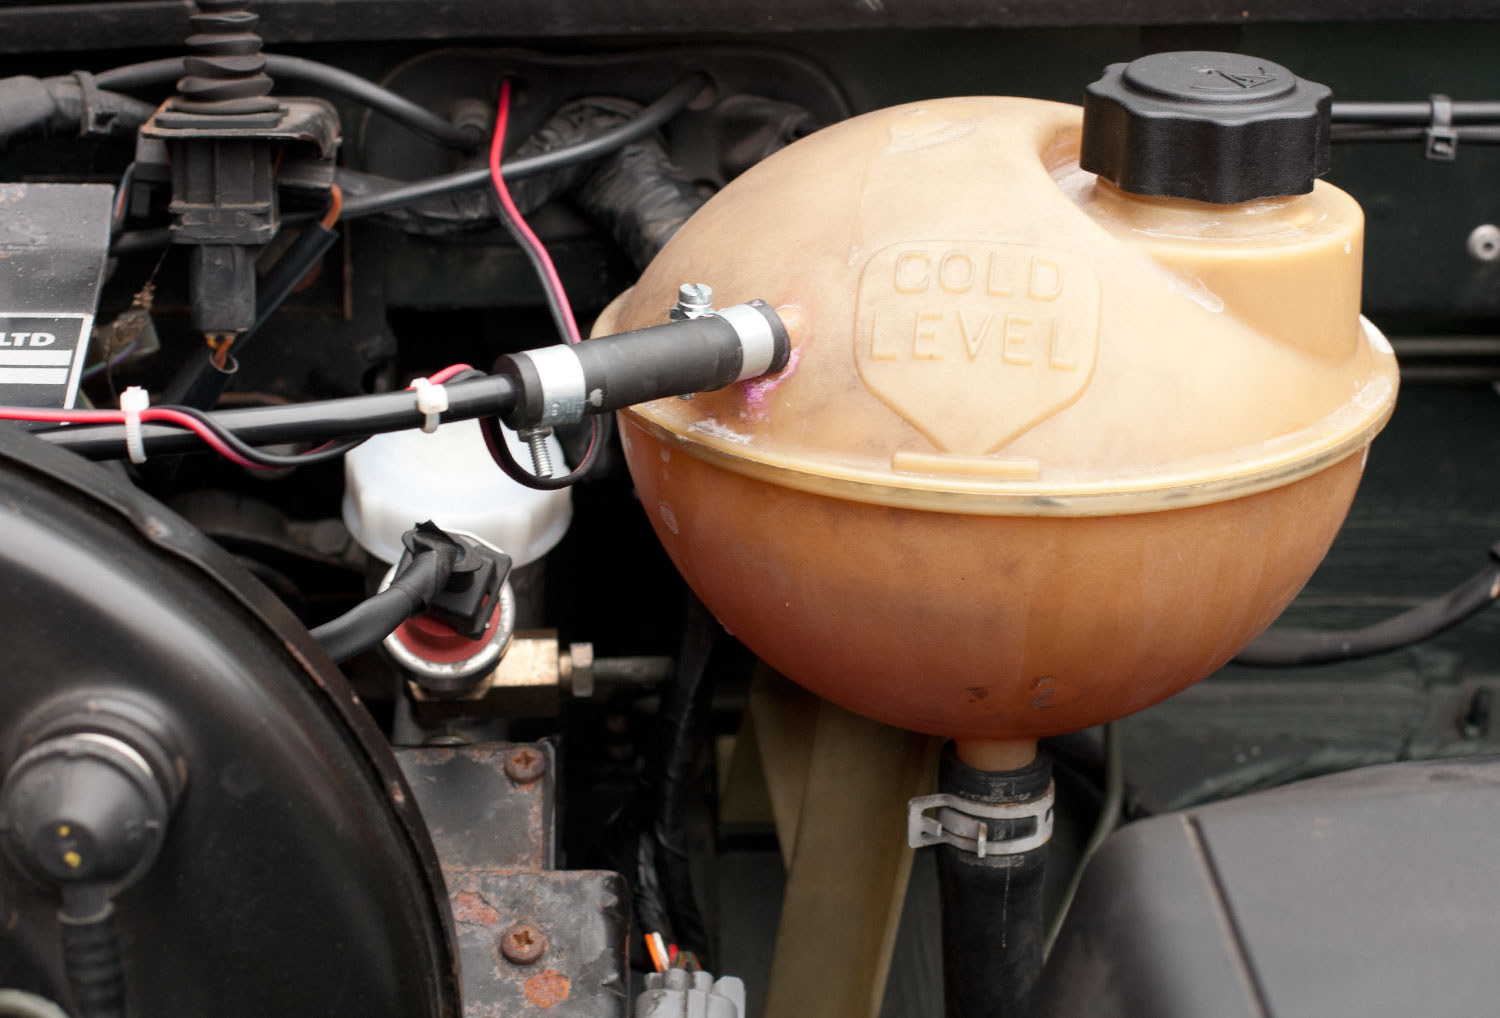
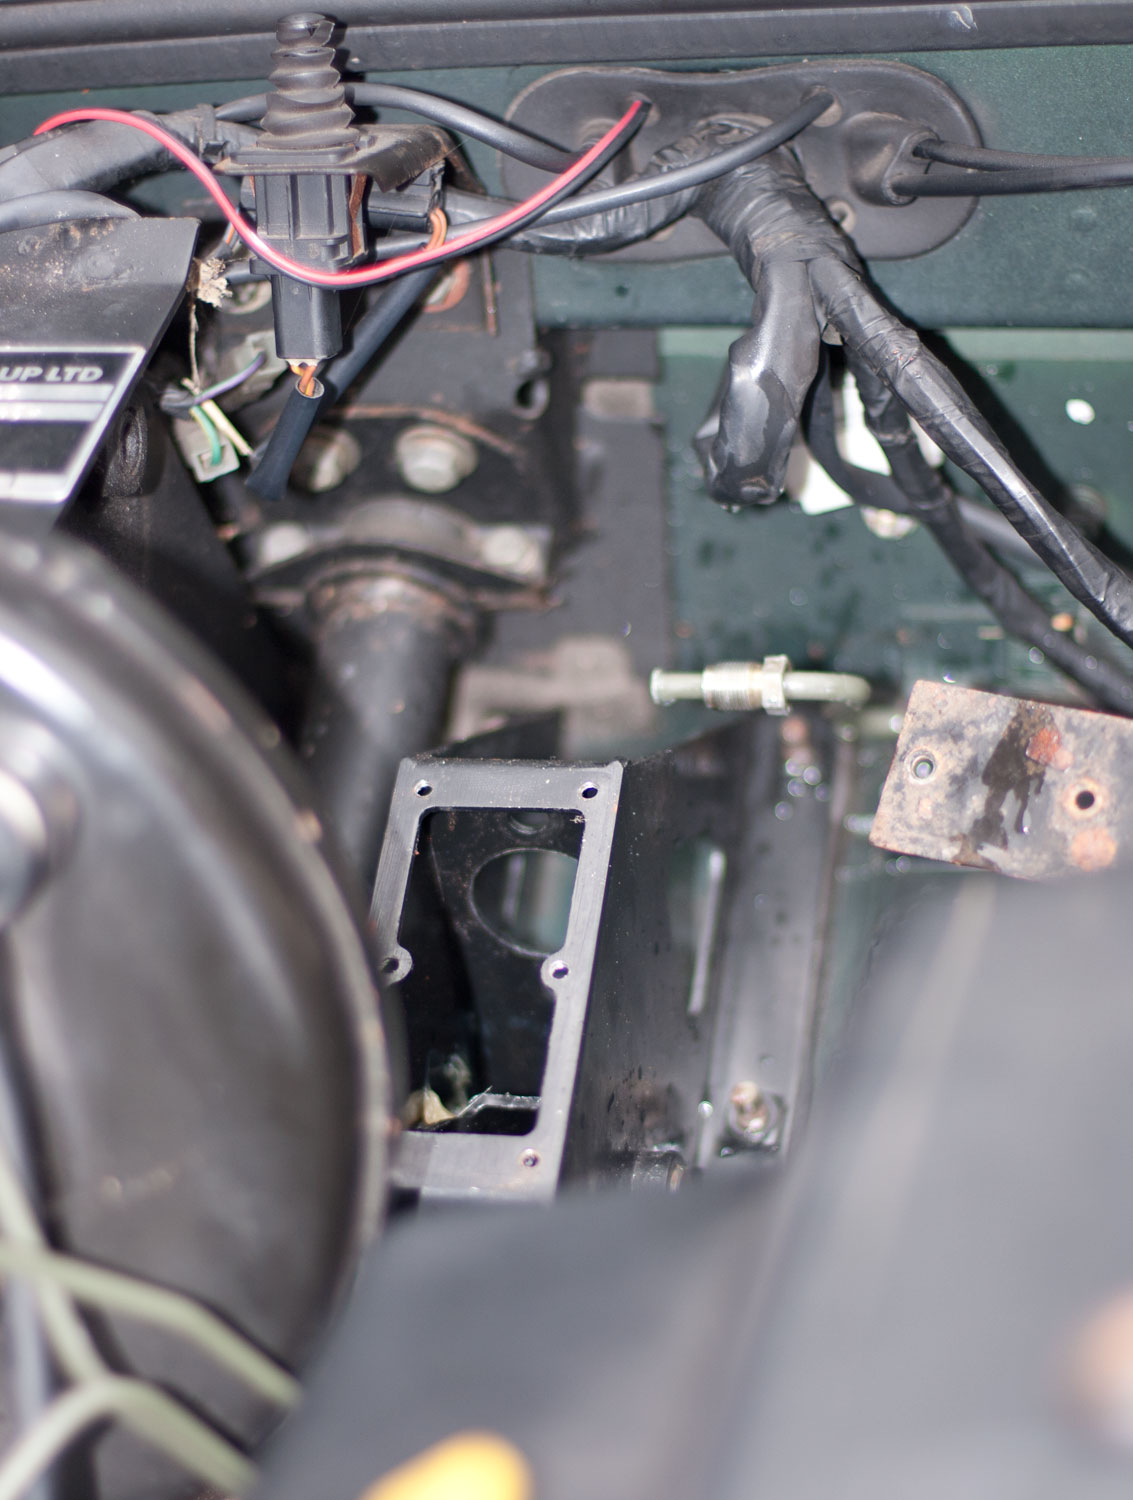
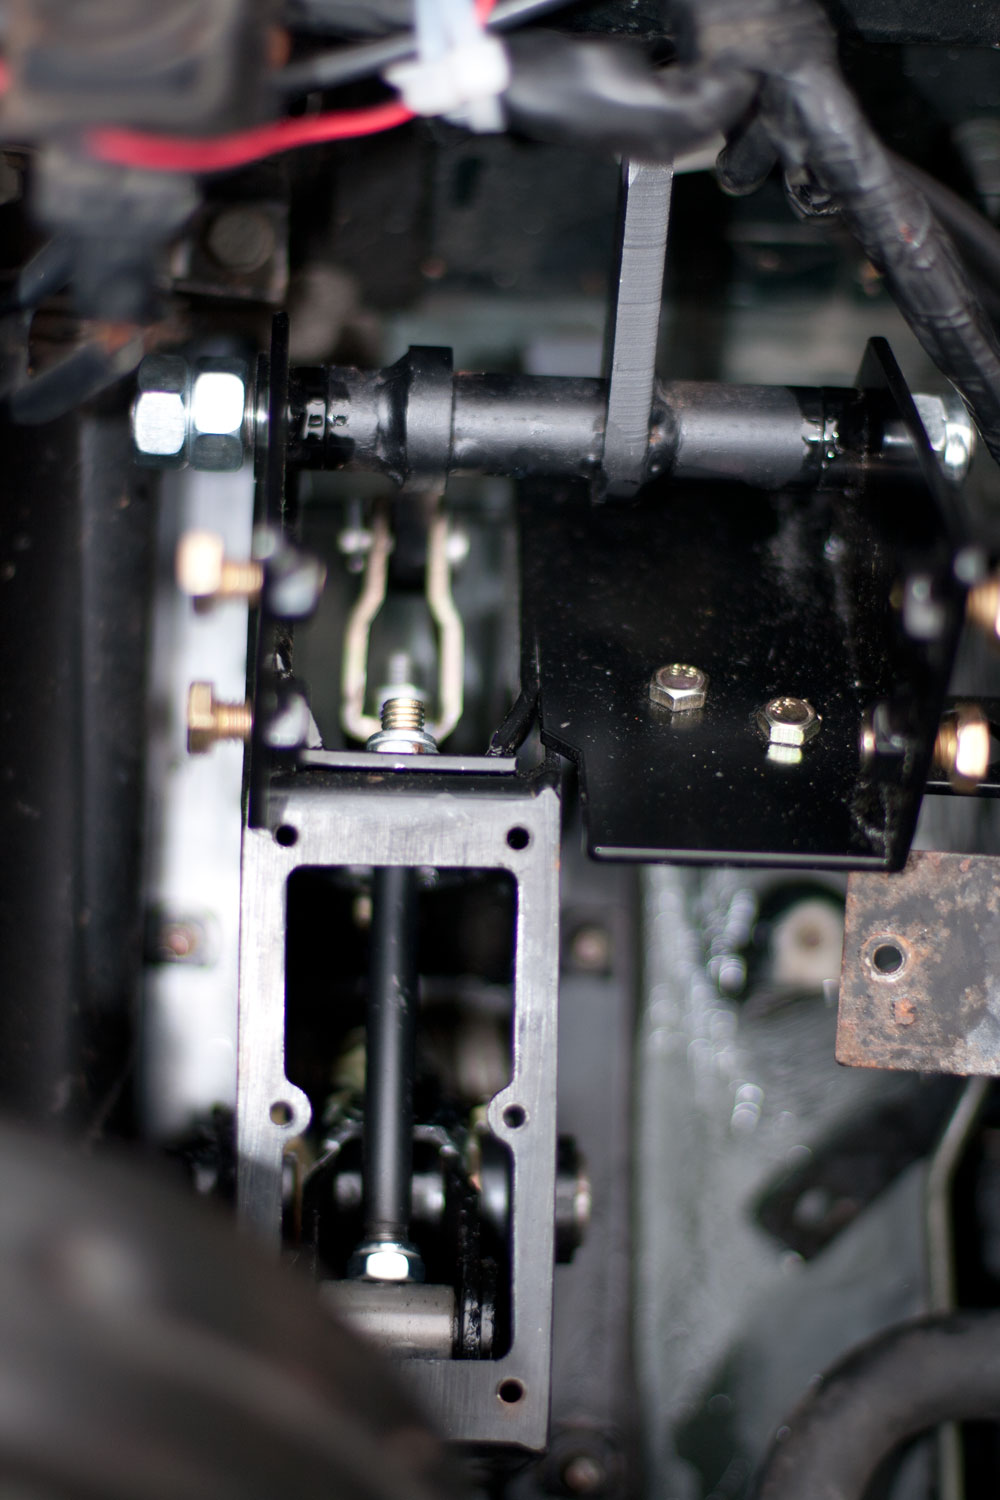
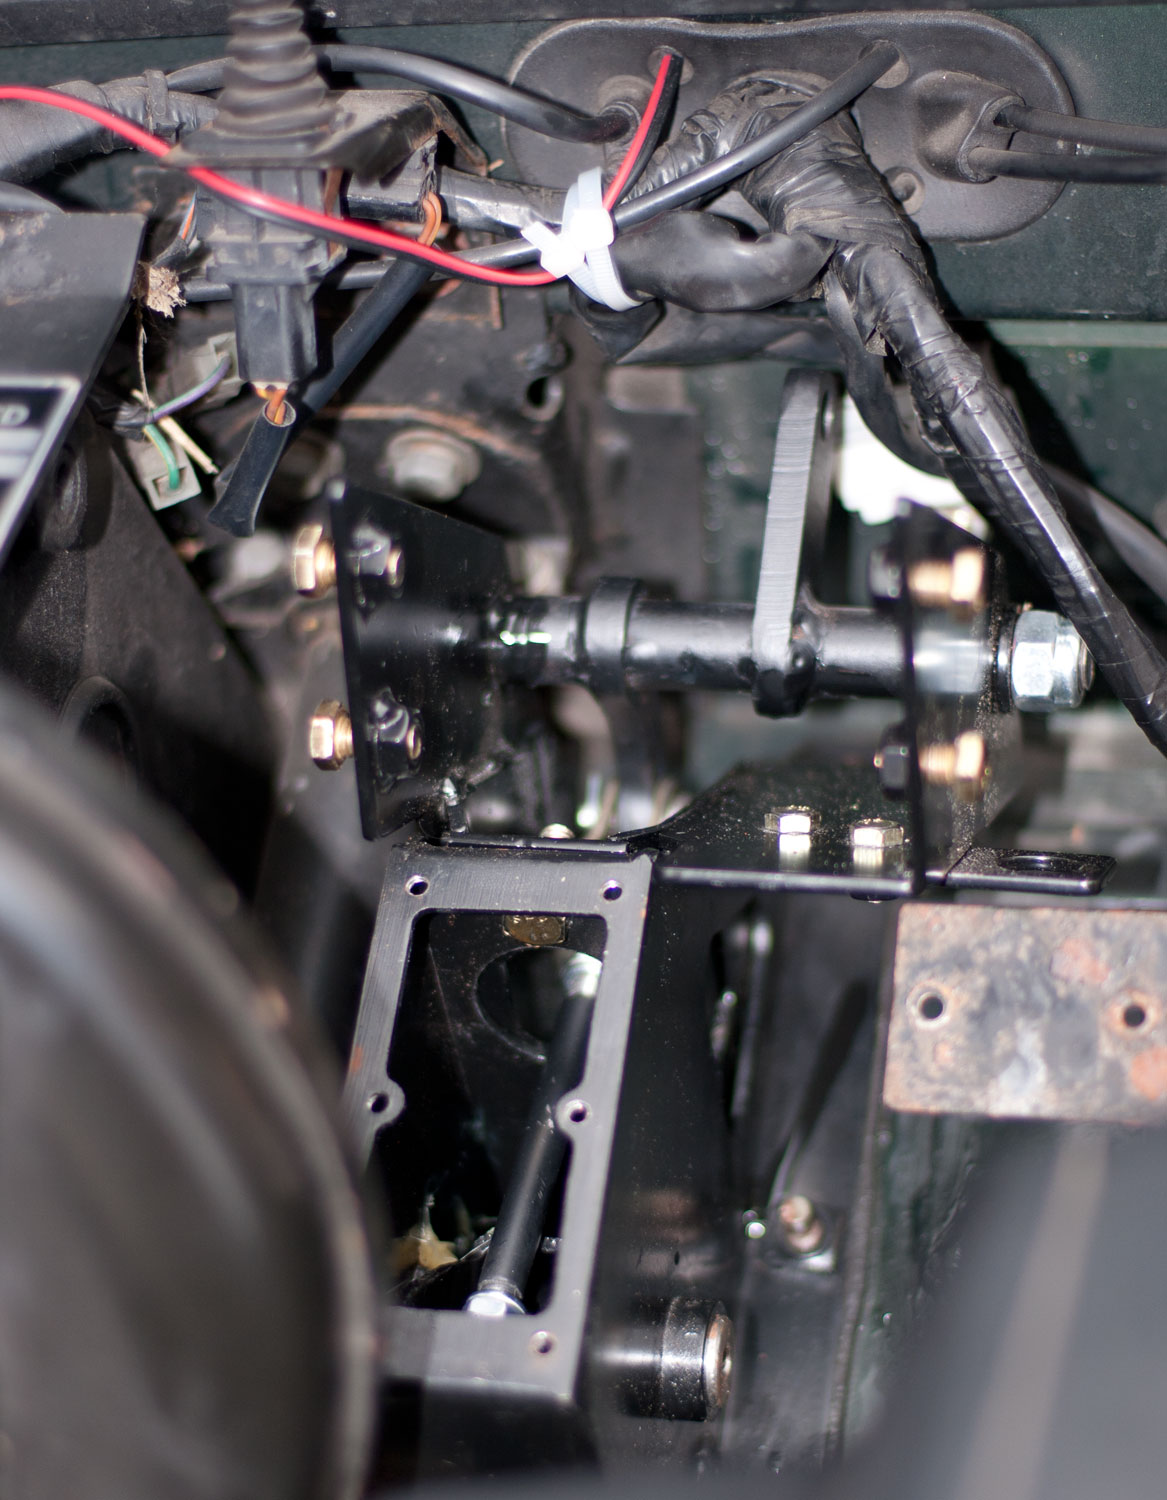
The photos below show the different stages of installing the clutch servo kit.
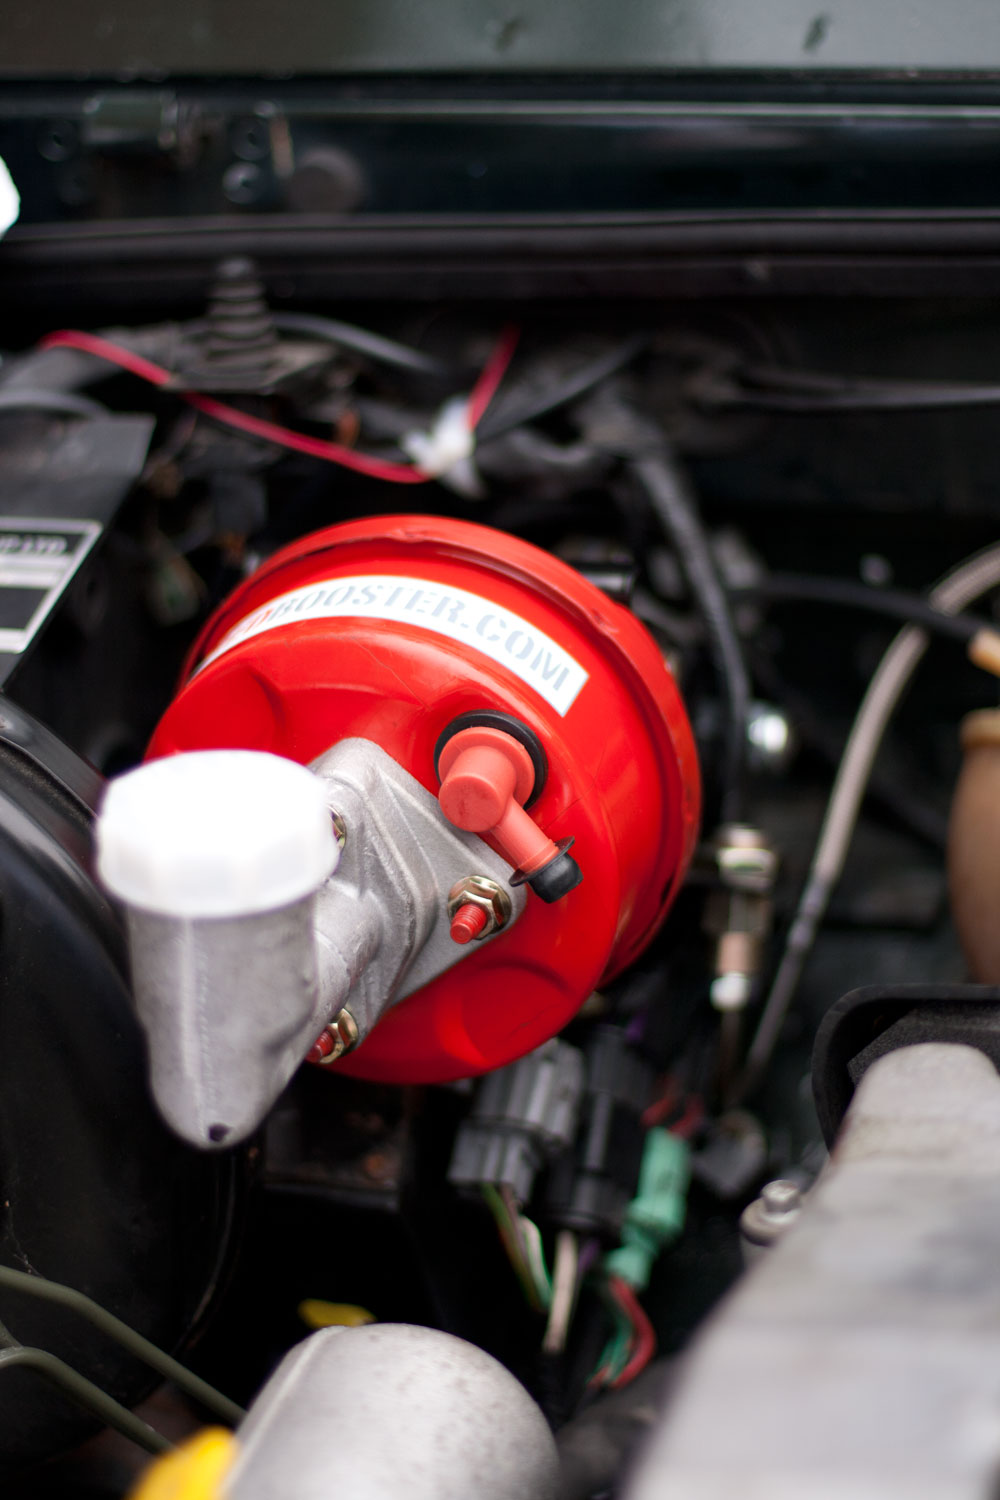
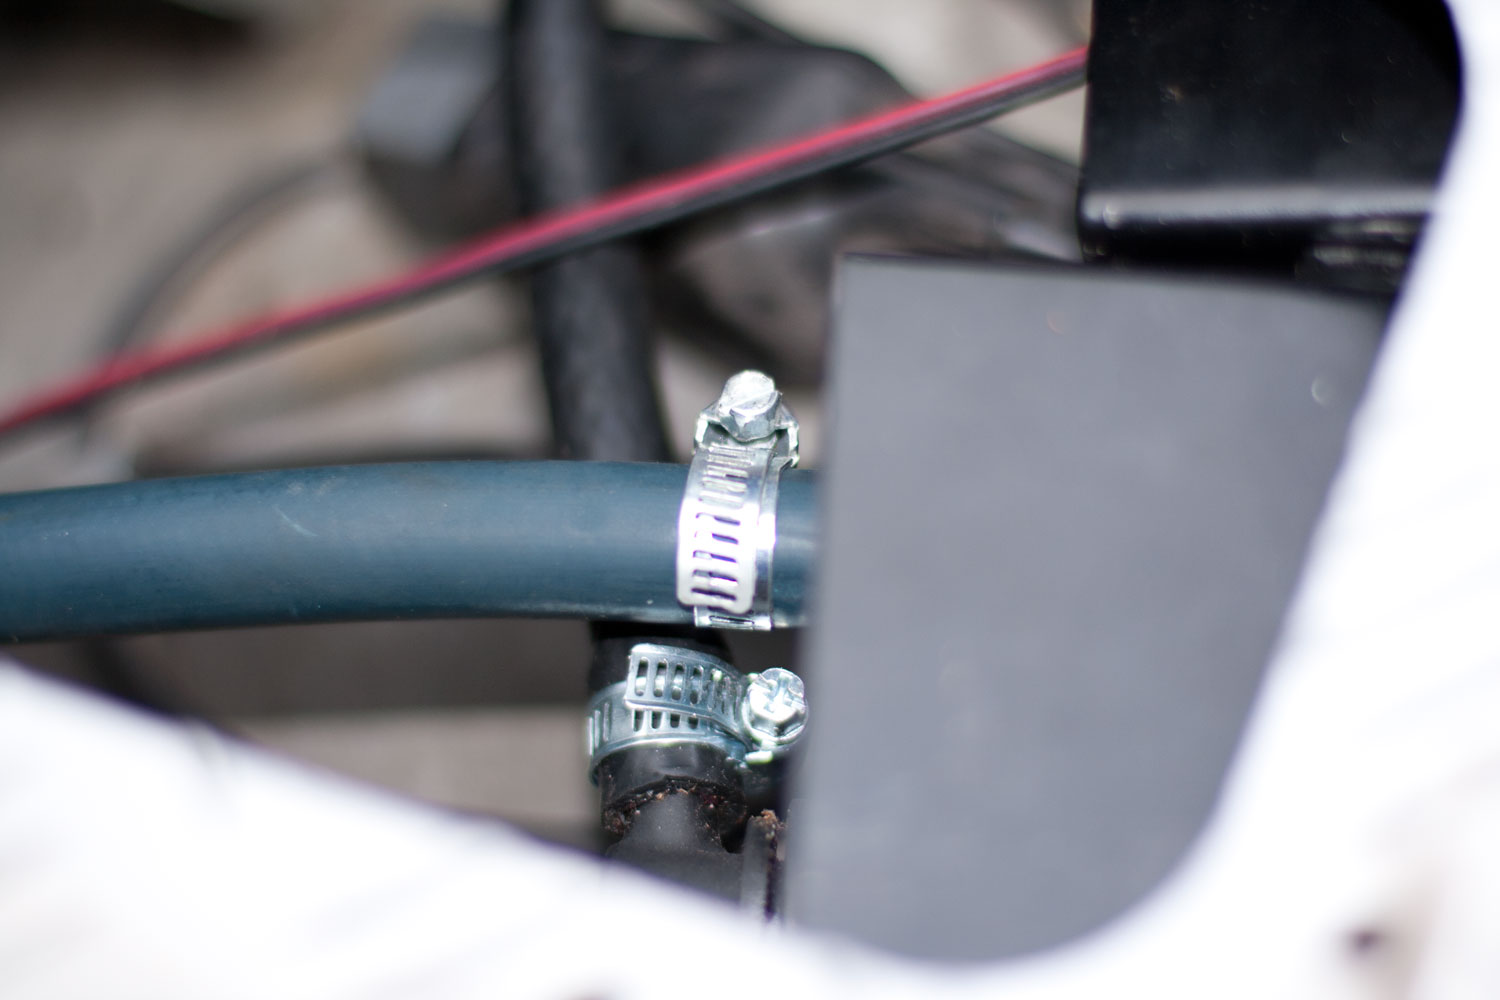
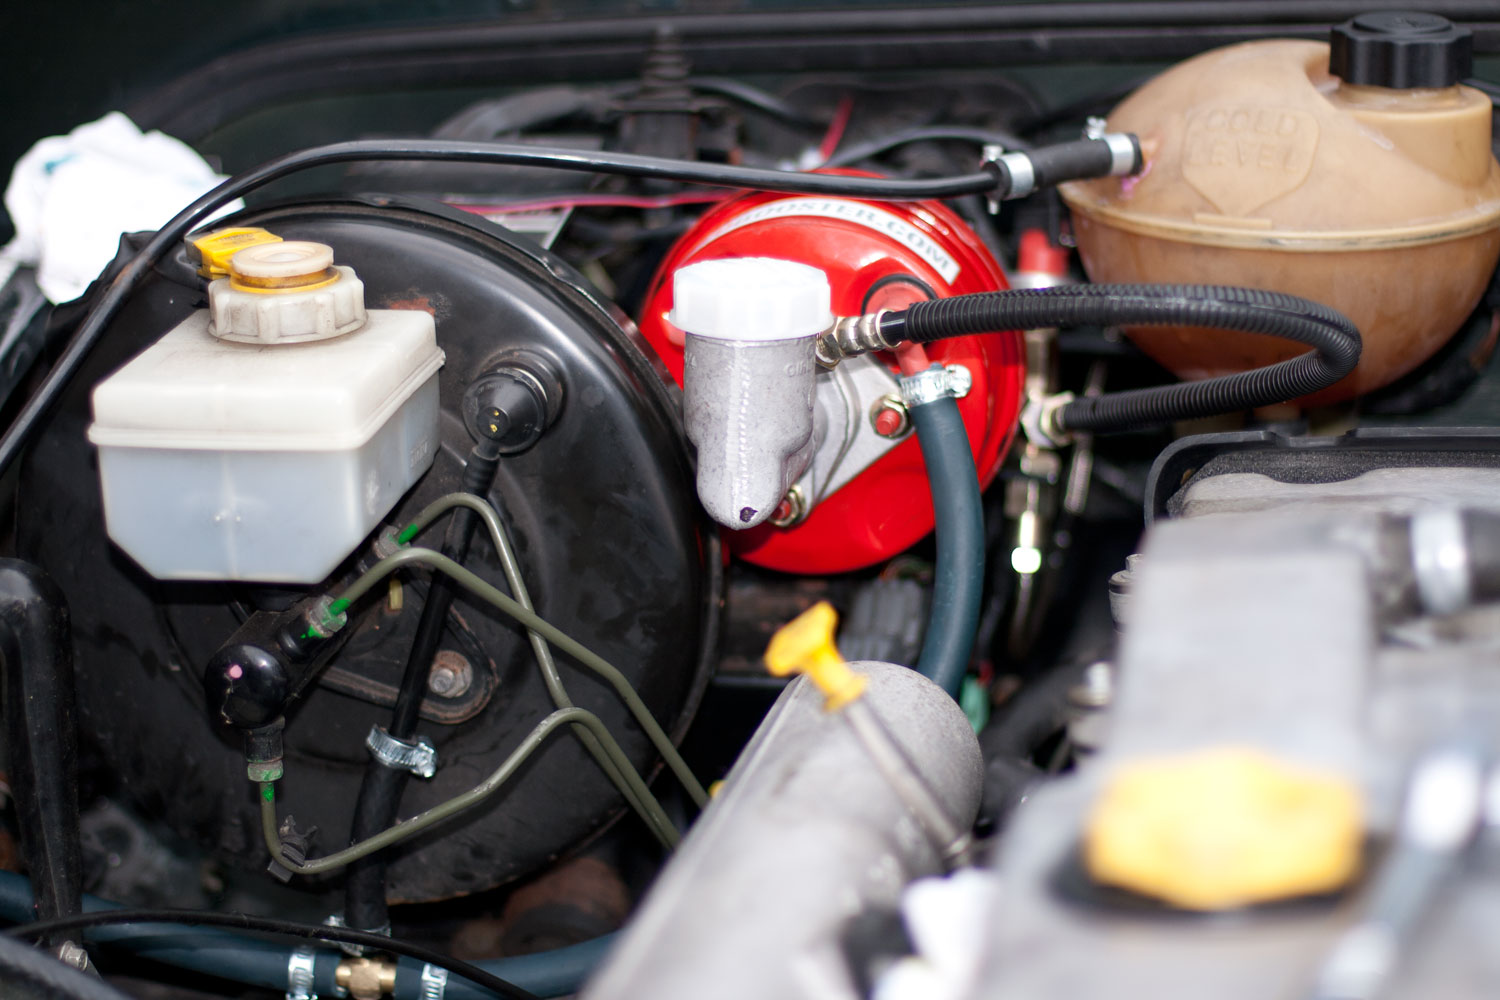
Bleeding the clutch system
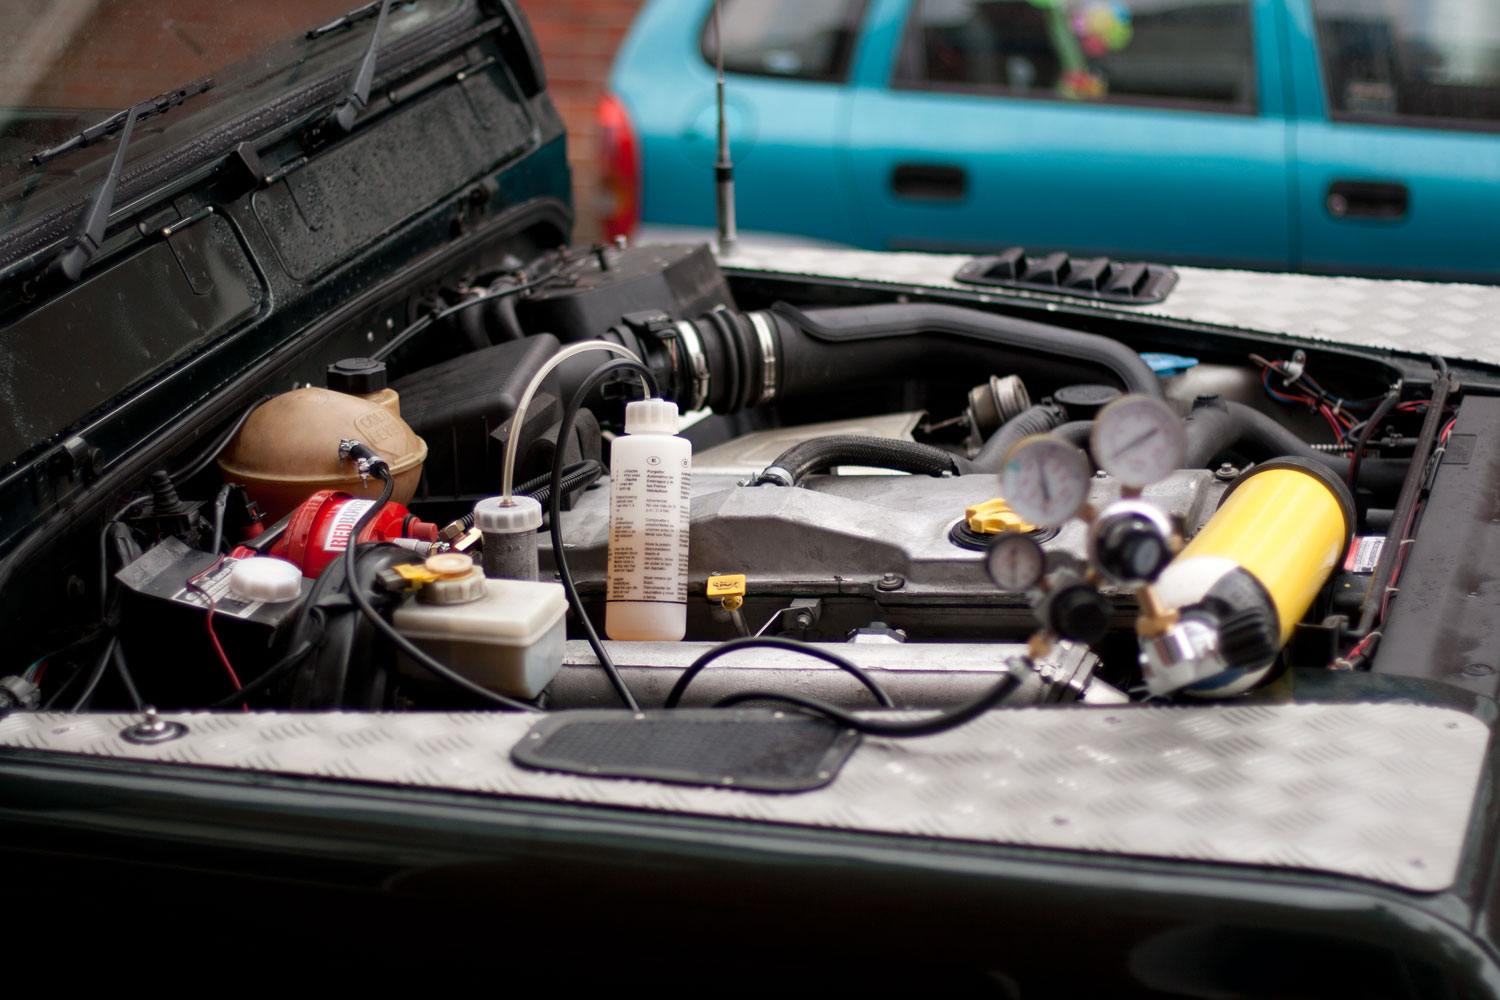
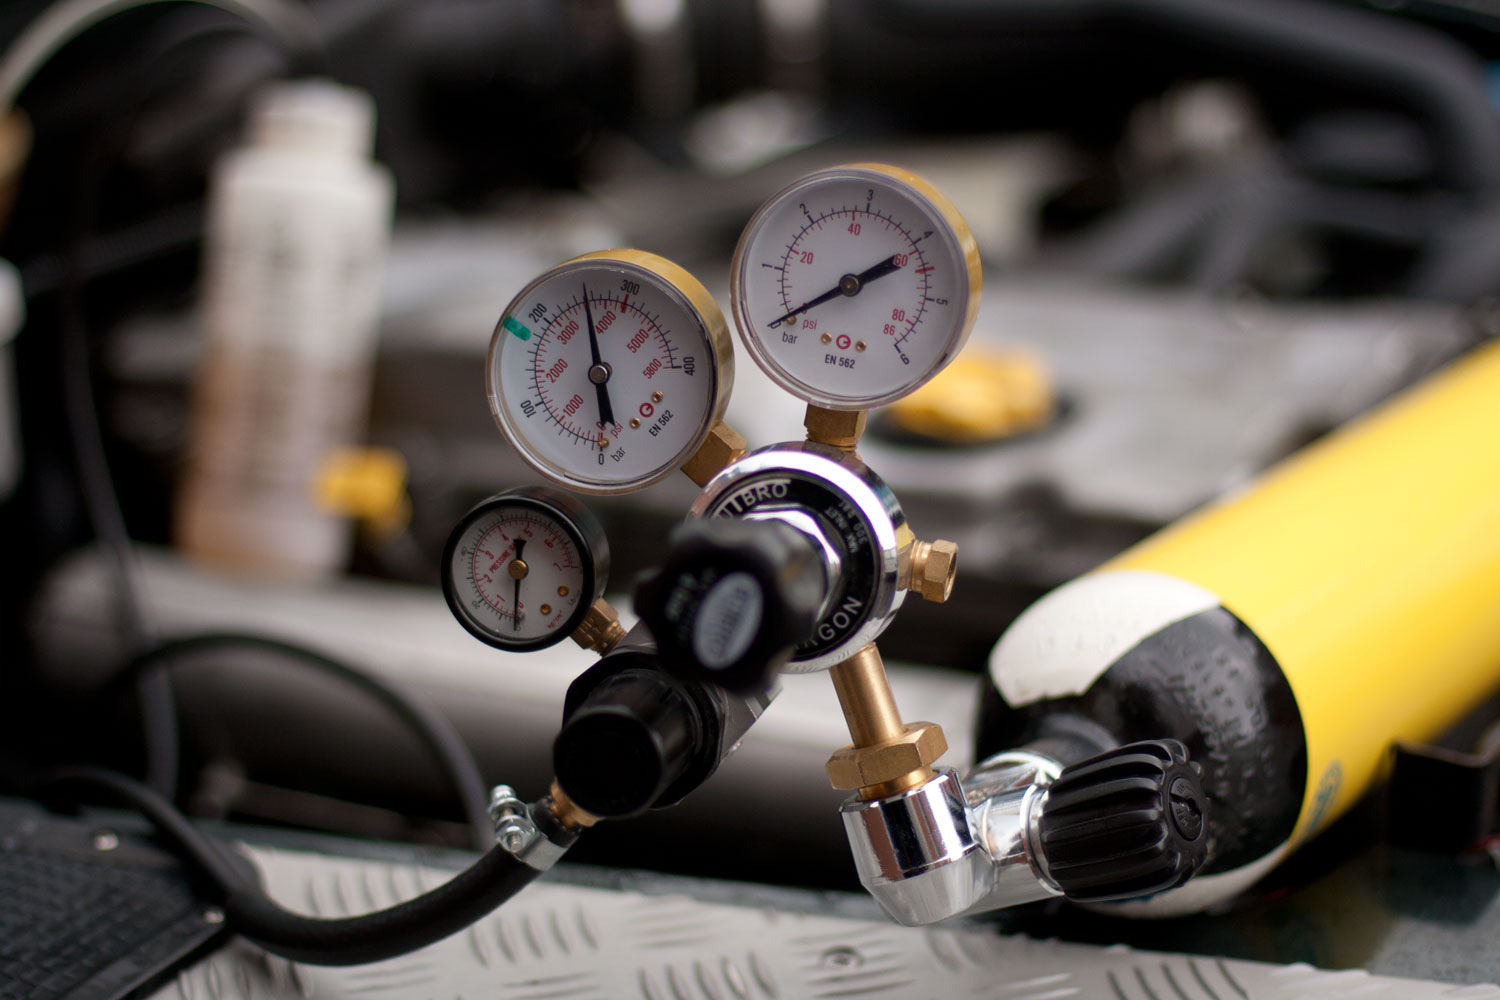
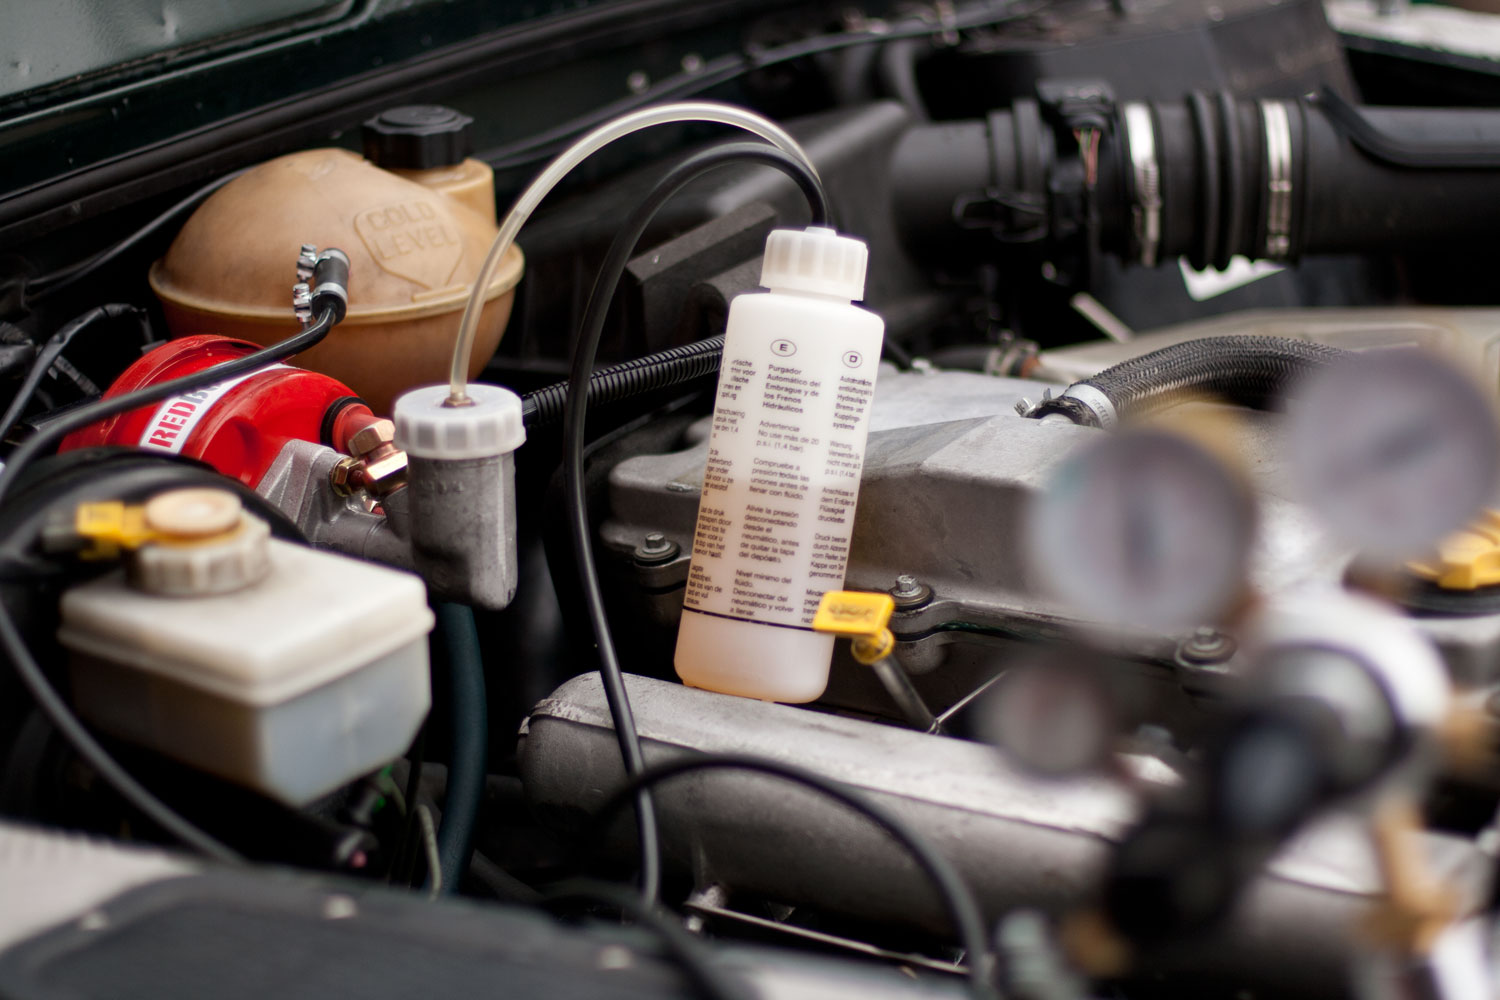
After the new clutch servo was fitted and the new hydraulic pipes all connected, we filled the clutch master cylinder with Dot 4 fluid and tried to bleed the system by pushing the pedal and opening and closing the bleed nipple on the slave cylinder. This didn't work so we used a power bleeding kit which is supposed to be used on a spare tyre to provide pressure. As we have an airbrush kit which runs from a diving bottle, we used this as it allows very good control over airflow and the pressure is regulated at 20 psi to force the brake/clutch fluid through the new pipes and cylinders.


Nikolas Karaoli
Hi i am interesting for red booster for defender td5 2001 right hand site . i want to inform you that the car belongs to company , i want to ask if you can send me other link for payment without vat .
company name : (removed private information)
am waiting for your reply .
thanks
best regards
Nikolas Karaoli
Brian
Nikolas, you will need to contact http://www.redbooster.com/ who sell the Redbooster system
Max
I want to know if is possible to install the red booster in my Defender Left hand Side?
Brian
Max, I think the redbooster can be installed on the left or right side.
Matthew
Hey Brian, thanks for the instructions. Did you find that this helped with knee pain? I am facing the same issue and just ordered the booster as my last resort. Do you find it much easier on you knee or did it make a minimal difference?
Thanks!