
It has been a busy week so far designing different brackets and parts for the automatic pick and place machine. The photos below show the latest progress on the build and a video showing the picker Y axis running via a Smoothstepper board and Mach3 on a Windows 7 PC.
The drive belt is held onto the Y-axis bearings and sides with these plates which grip the belt and clamp the 2 cut ends of the belt.
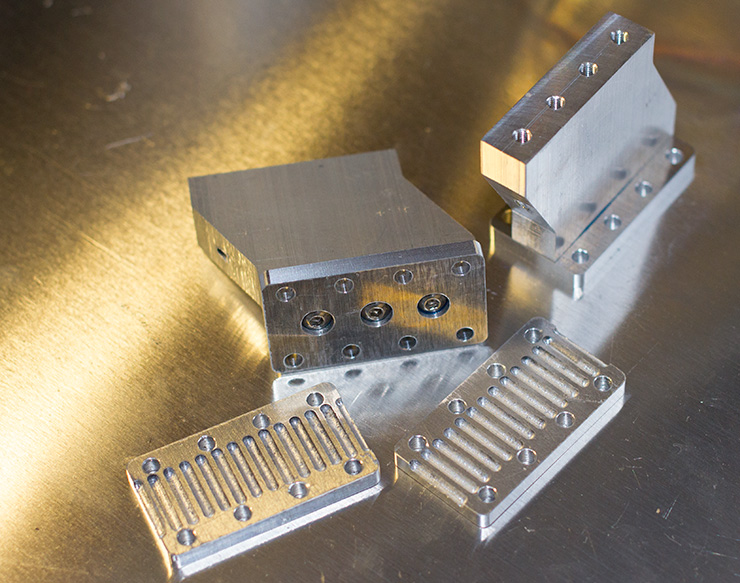
The belt tensioners are built from two parts, the main bearing holder and clamping bolts on the left and an adjuster plate with a 20mm long M3 bolt which is clamped to the frame, by losing the bolts on the bearing holder the M3 bolt will add tension to the bearing plate and slide it along the main rails.
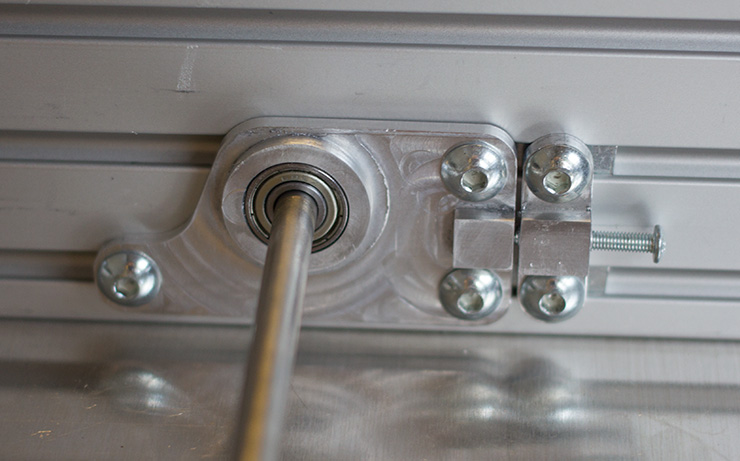
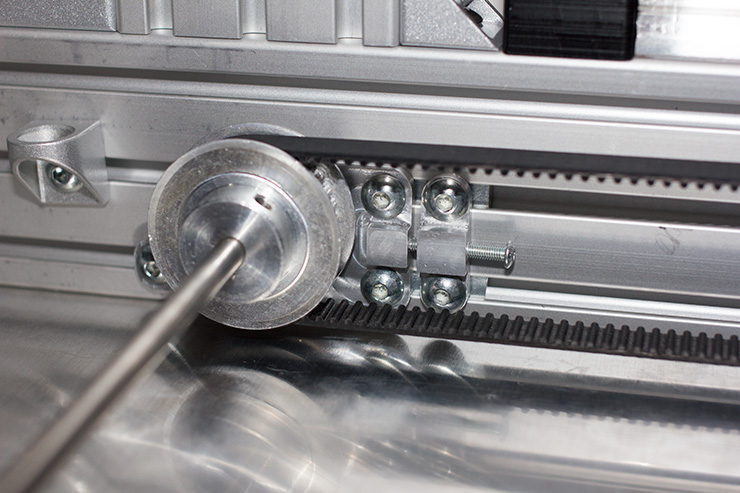
The bolts on the bearing plate are accessible when the main drive pulley and belt are installed.
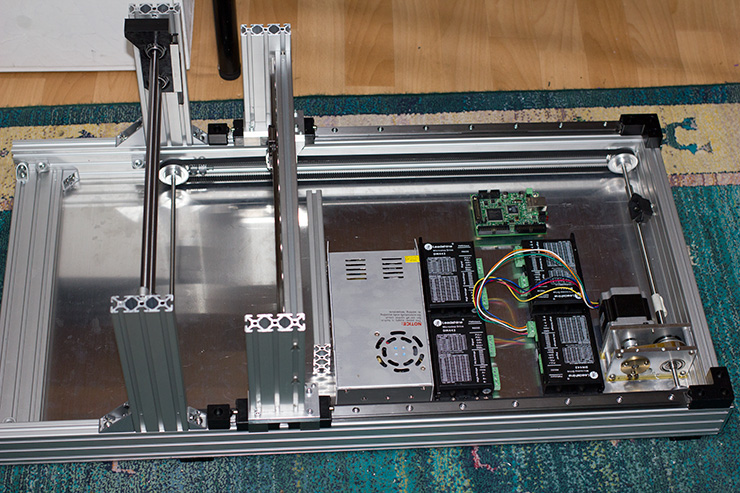
The drivers, power supply (24V, 15A) and Smooth Stepper Ethernet board are fitted into the base ready for the wires to be connected and the Arduino board with air control valves ready to be installed in the back-right corner.
The video below shows the first test of the Y-axis running at different speeds.


Comments