After a busy week rebuilding the picker system with much better quality bearings and installing the home sensors to all the axis the DIY pick and place machine was finally ready to connect to the Smoothstepper Ethernet driver board and setup the Arduino Mini to control the feeder activator system.
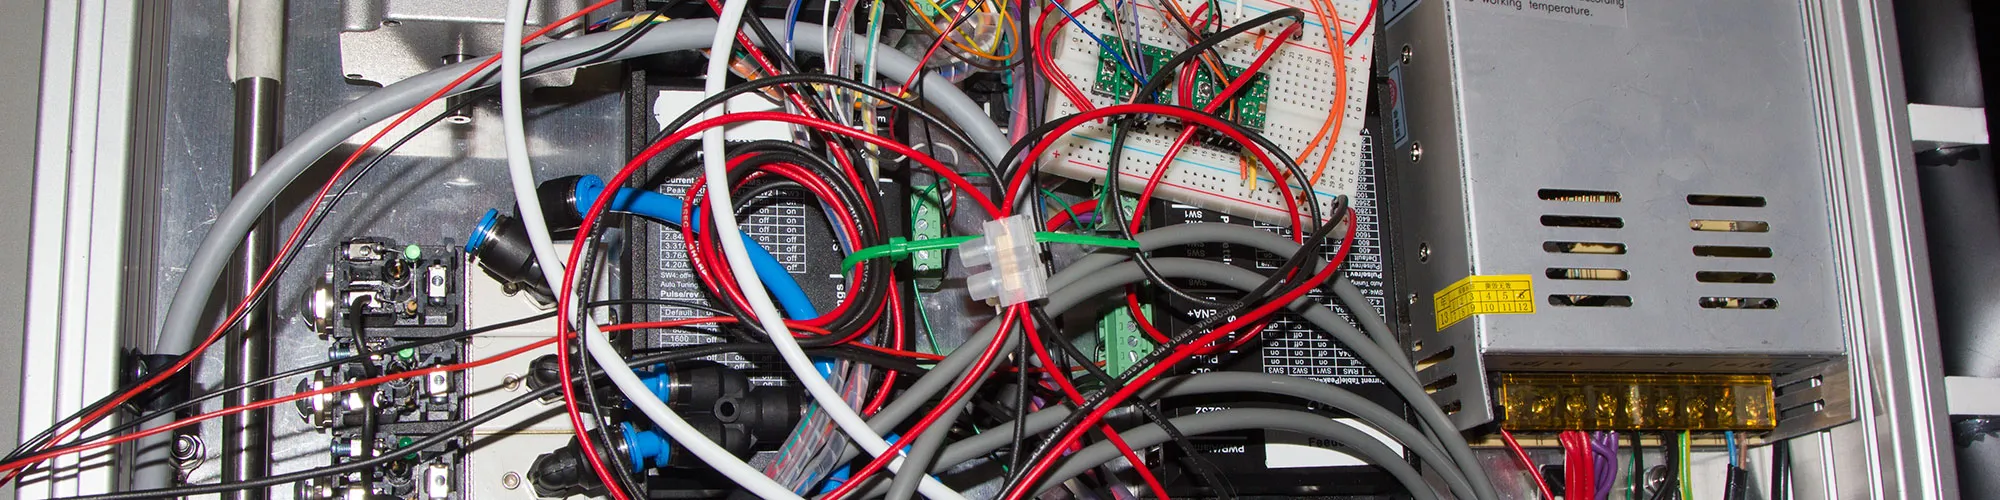
The wiring is currently setup using breadboards and everything will be fitted onto a custom PCB which will stack on the top of the Smoothstepper with the four Pololu - A4988 Stepper Motor Driver carriers being fitted on the Smoothstepper breakout board and a separate board fitted with the dual 12V and 5V DC-DC power supplies and ten relays, two of which will be used to control the vacuum solenoids and the remaining 8 will be used for other outputs such as LED lighting, chip feeders etc.
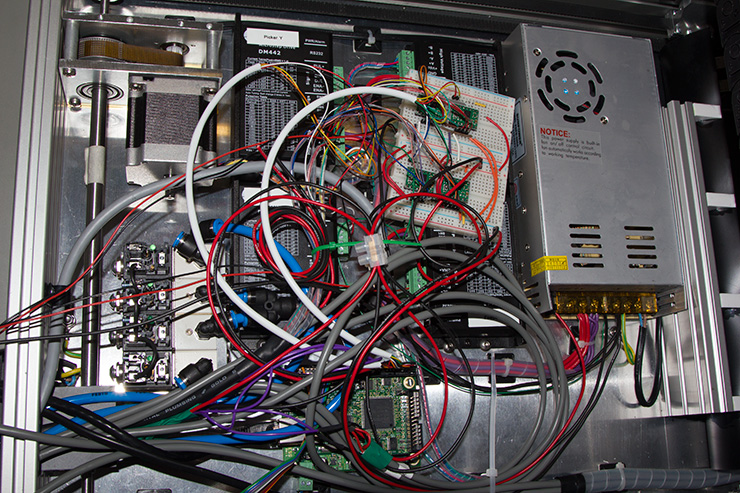
The Arduino Mini is connected to the Smoothstepper Ethernet via six input wires and one output. Five of the inputs are used to generate a binary number and the sixth wire is used on the Arduinos interrupt pin to trigger a new component selection.
While the component selection is in progress the output is set to high to notify Mach3 that a pick is in progress and not to come down onto the picker until the component is ready.
Download the code running on the Arduino Mini.

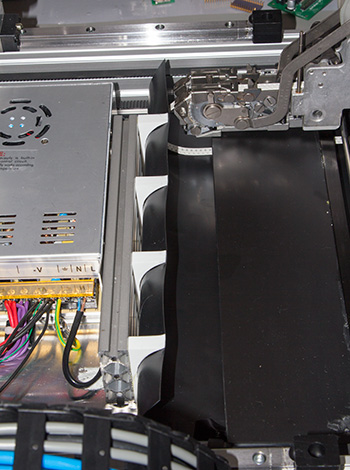
The feeders now have a waste tape return system which was made using plastikard modelling material which routes the waste tape under the feeders and out the back of the machine under the feeder tape reels.
The video below shows Mach3 running via the Smoothstepper Ethernet board and the Arduino Mini to select components and place them in the air and return for the next component in the sequence. The needles are not installed for this test as we still need to fully calibrate the drivers.


Comments