After purchasing the Meta Quest 3 in October, I quickly realised that the supplied head strap was very uncomfortable. A third-party head strap with an external battery would be needed to use the headset for extended periods due to the poor battery life of the internal battery.
A lot of VR content creators recommended the BOBOVR M2 battery strap, and after BOBOVR released the M3 Pro Battery Pack Head Strap, I ordered one direct from BOBOVR. It arrived a few weeks later.
After charging the head strap battery and fitting the new strap to the Quest 3, I found that when the Quest 3 battery was charged more than 70%, the battery would emit high-pitch hissing and lower-pitch clicking noises. When the Quest 3 battery is below 70%, the external battery would be much quieter due to the higher current draw and the switching circuit running more efficiently.
The headset would also not turn on if the battery was connected before the headset had booted.
Searching online found many people with similar issues with noisy BOBOVR batteries.
The noise seems to be caused by the switching power supply circuit in the battery pack running at less-than-optimal power levels.
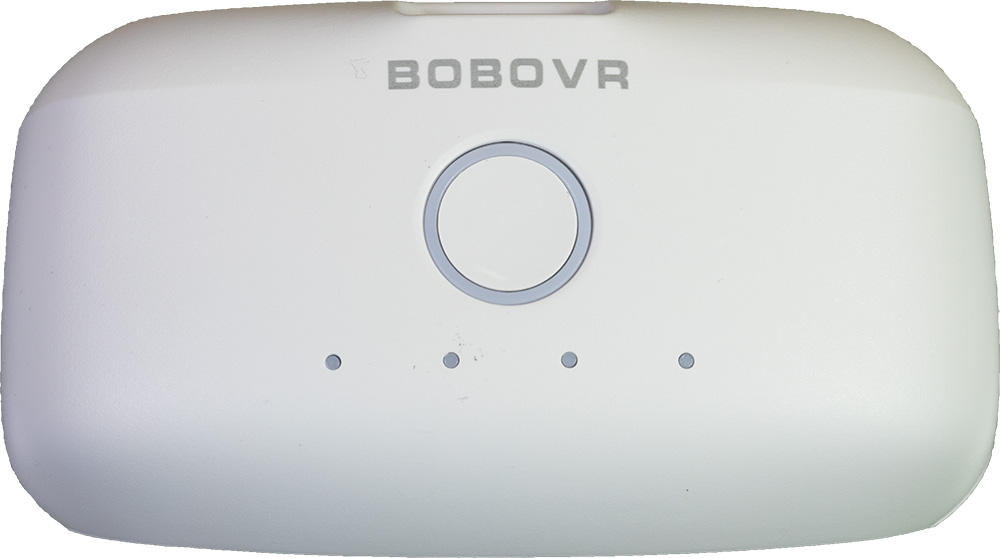
The BOBOVVR B2 Battery Pack
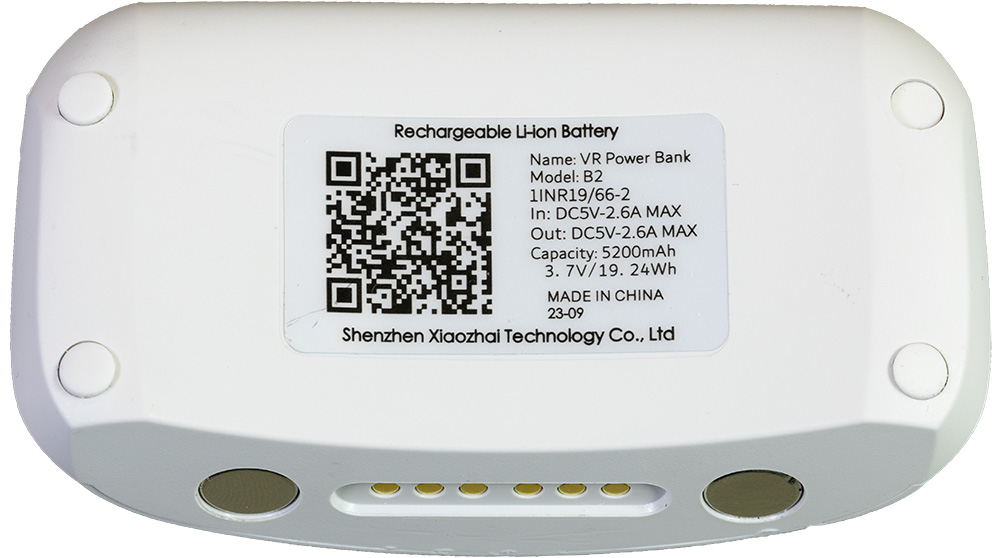
The battery fitted to the BOBOVR M3 Pro battery pack has a capacity of 5200mah, 3.7 volts and weighs 140g.
There are six contacts on the base of the battery, which connect to pins on the head strap, and it is held in place with strong magnets. The battery is charged via a USB-C connector on the top of the battery pack.
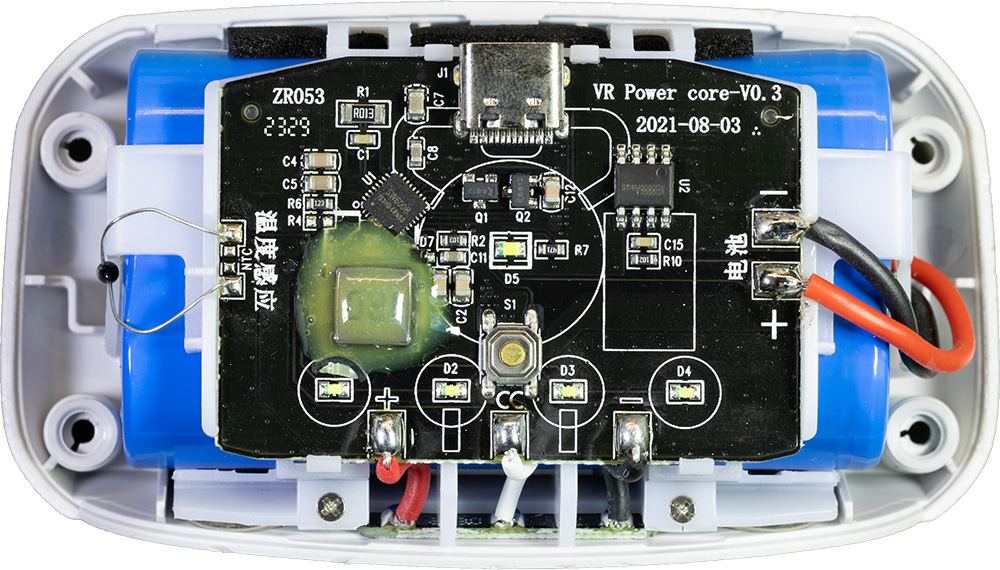
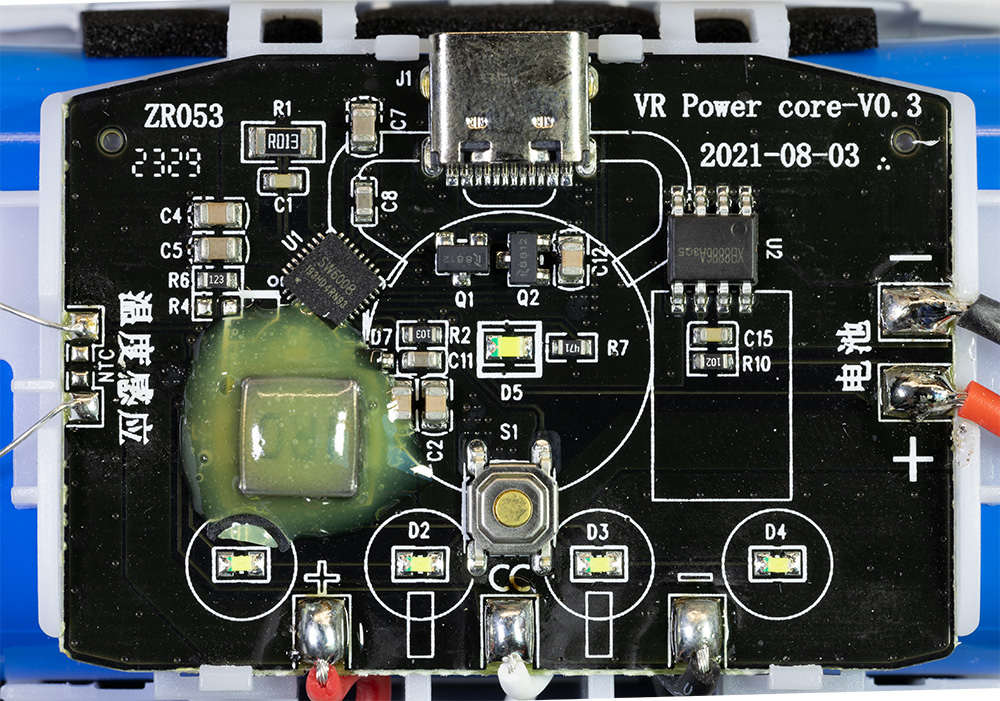
The circuit uses an SW6008 QPN32 5V/3.1A 22.5W efficient synchronous boost output Type-C mobile power fast charging chip and an Xysemi XB8886A Lithium-ion/Polymer Battery Protection IC to protect the battery cells. There is a thermal sensor on one end of the cell pack.
Modifying the battery pack
As the source of the audible noise seems to be the switching power supply inductor, the best way to reduce this is to restrict the inductor from moving on the circuit board and generating sound.
Some power supplies either cover the inductors in resin or glue them to the circuit board.
I decided to try covering the inductor with a thin layer of two-part epoxy resin. After many hours of testing and several charges, the higher pitch whine and hissing noises are significantly reduced, and the lower frequency clicking noises are no longer audible.
There does not appear to be any additional heat generated in the battery pack after these modifications.
Removing the battery case
The battery case is held together with four crosshead screws and plastic clips around the edge of the case.
- On the base of the battery, remove the four rubber screw covers using a sharp blade or small screwdriver.
- Remove the four crosshead screws.
- Using a flat-bladed tool, carefully separate the two halves of the case. There are plastic clips around the edge. Take care not to puncture the internal battery.
- With the cover removed, mix the 2-part resin and carefully apply the resin over the square inductor marked 1R0. Do not cover the LEDs net to the battery connection or the switching IC alongside the inductor.
- When the resin has dried, replace the cover and apply gentle pressure to clip the two halves together.
- Put the four screws back into the corners.
- Replace the rubber screw covers. These have a tiny slot on one side that must face towards the battery’s centre.
The video below shows the above steps and a comparison of the battery noise before and after the resin modification.
How a DC-to-DC switching circuit operates
A switching power uses an inductor to store and release energy. However, during the switching process, several sources can contribute to inductor noise:
Magnetic Field Variations: Inductors store energy in a magnetic field. Rapid changes in this magnetic field during switching can induce electrical noise in nearby components or traces due to electromagnetic interference (EMI).
Core Saturation: Inductors often have a core material (like ferrite) that can saturate when subjected to high currents or magnetic fields. This can lead to changes in the inductance and induce noise or even cause erratic behaviour in the power supply
Parasitic Capacitance: Inductors, like any physical component, have parasitic properties. Parasitic capacitance, for instance, can exist between the inductor windings. This capacitance can cause voltage spikes or ringing during switching, generating unwanted noise.
Switching Frequency: The frequency at which the inductor switches can also impact noise. Higher frequencies can reduce the physical size of the components but might increase EMI due to faster switching.
Comments