
After finishing the automatic pick and place project we soon found that we needed to be able to place components manually when working on prototypes and very short production runs of printed circuit boards.
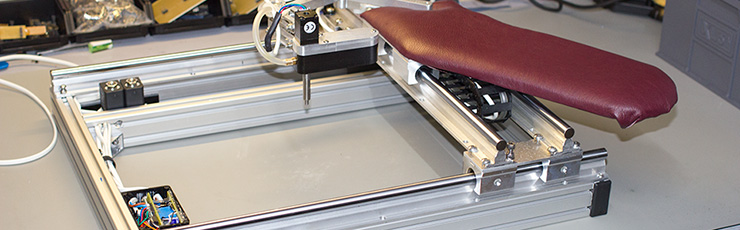
As the space in the loft workshop is very limited we decided to modify the old manual pick-and-place machine and make a new compact version which can be stored under the bench and put on the top when needed.
For the frame, we used 40mm x 20mm aluminium extrusion and made a frame which is 40cm deep x 45cm wide.
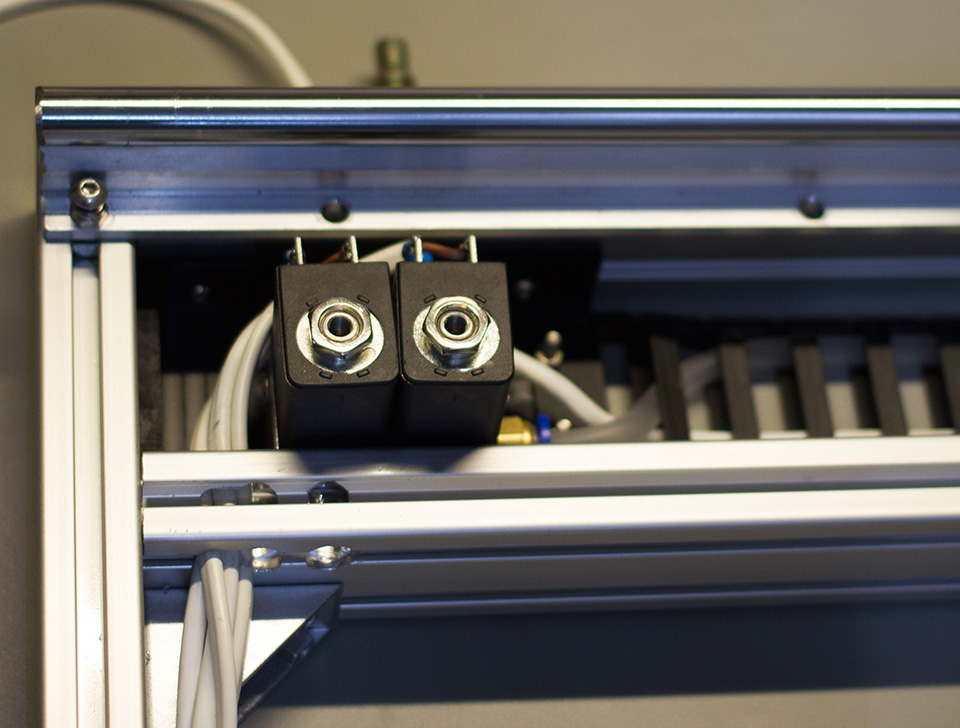
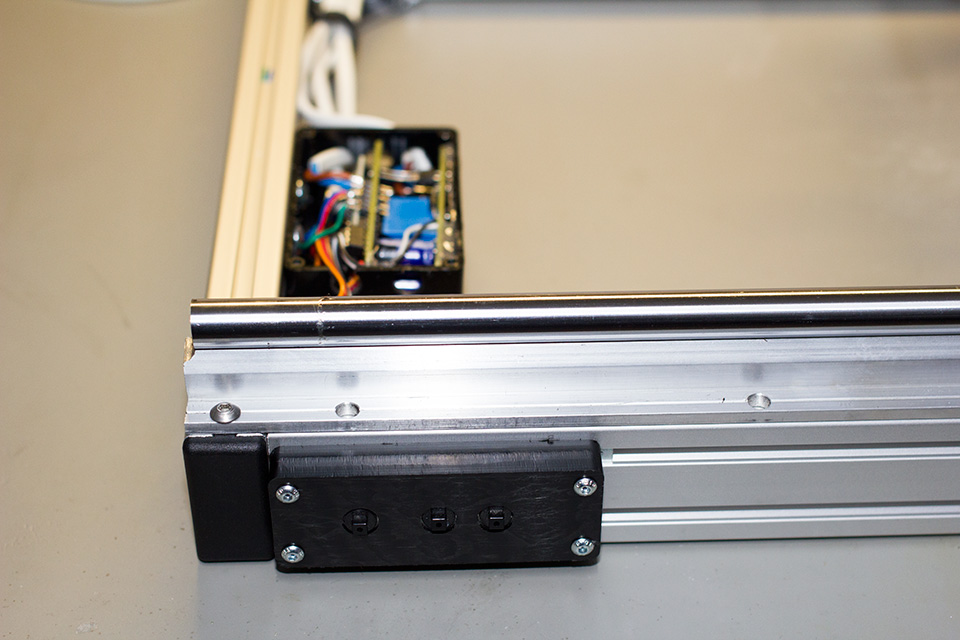
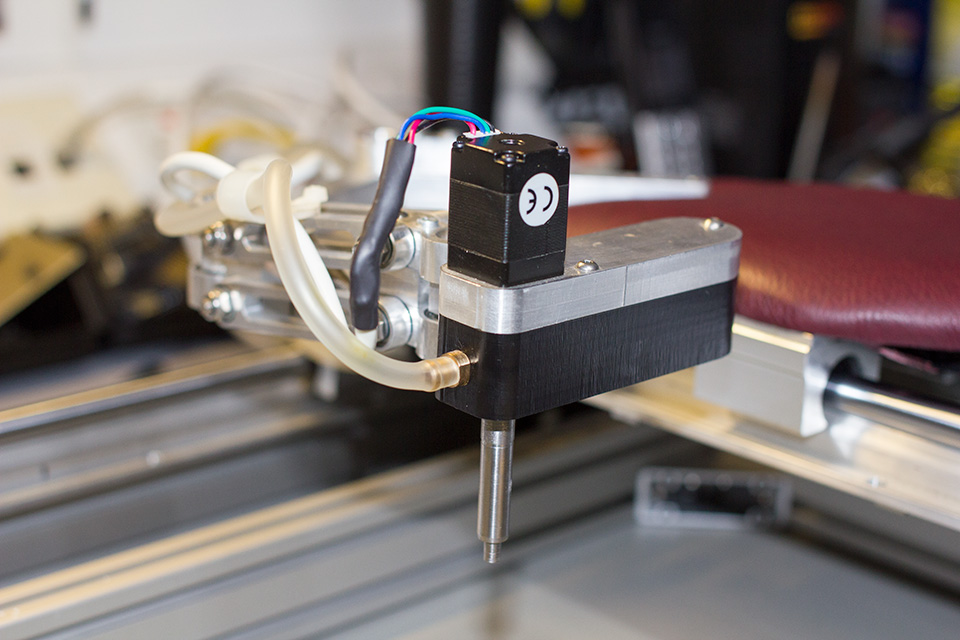
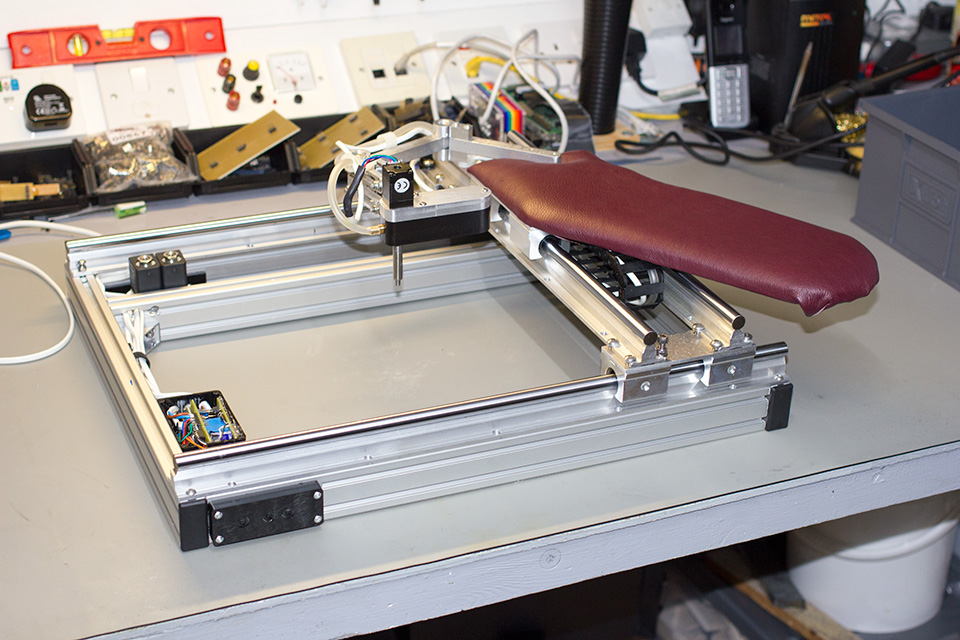
The previous bearings were shortened to work with the smaller frame size and the original control box with the air supply control and head control with two buttons which give 90 degrees of motion left and right were modified to work on the new picker.
The buttons for the controller were fitted in a new milled front panel and the wires routed into the frame to the control box.
The unit is powered via our 12V DC solar backup system.


Roberto
Hi,
Is the manual pick-and-place version 2 available as a kit?
Thanks.
Brian
Hi, Sorry but I dont have any plans to make this as a kit