
Following the ballscrew upgrade of the X and Y axis of our Micro Mill in 2010 we decided it was time to try to improve the accuracy of the Z axis on the mill which had been using a basic lead-screw which had a lot of excessive movement.
We source a new anti-backlash ballscrew 450mm long with 16mm diameter from China via eBay which was supplied with top and base bearings. In order to maximise the space on the mill bed we decided to mount the new ballscrew behind the main vertical axis on the mill and make new side plates and rear mounting to hold the ball screw and ball nut. The side plates were offset to clear the curved base on the mill.
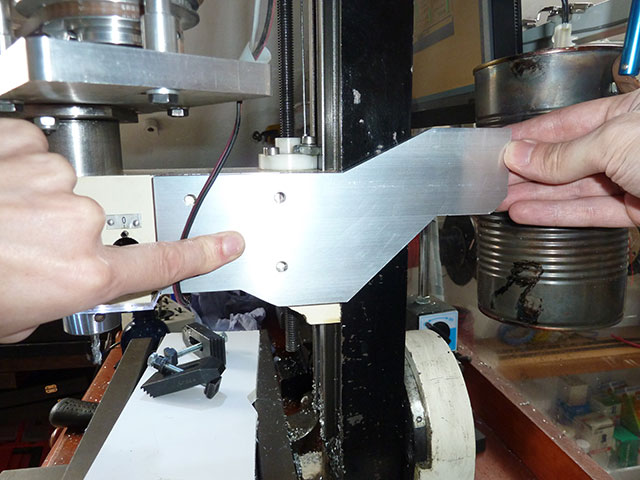
Testing fit of the new side plate.
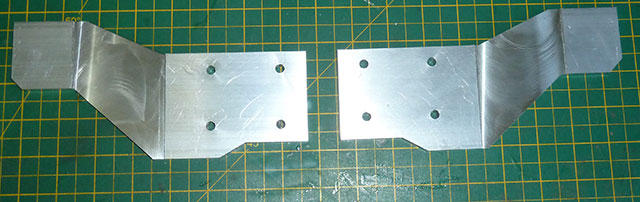
The new side plates are cut from 10mm aluminium sheet.
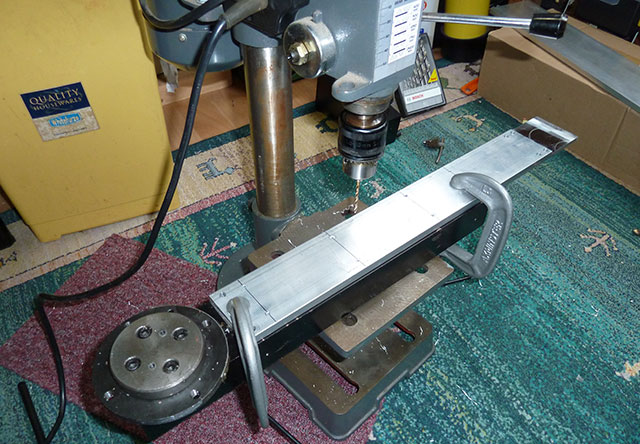
The new back mounting plate was also cut from 10mm thick aluminium and then drilled, tapped and bolted to the existing cast iron mill vertical.
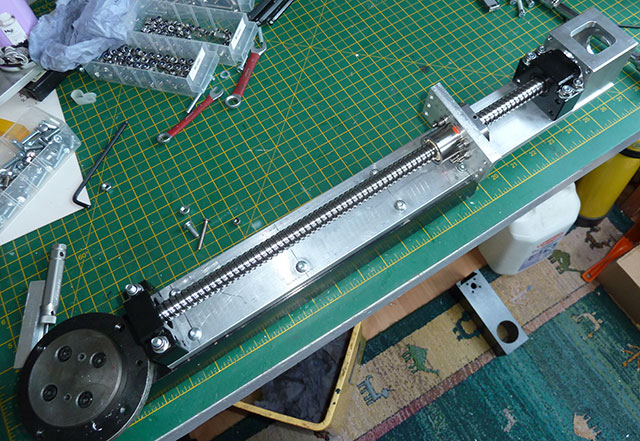
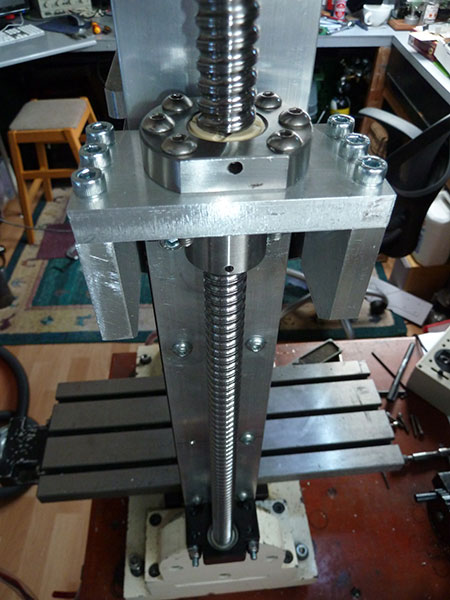
The new ballscrew bearings are fitted with M6 bolts and a new plate was machined to connect the ball nut to the new side plates.
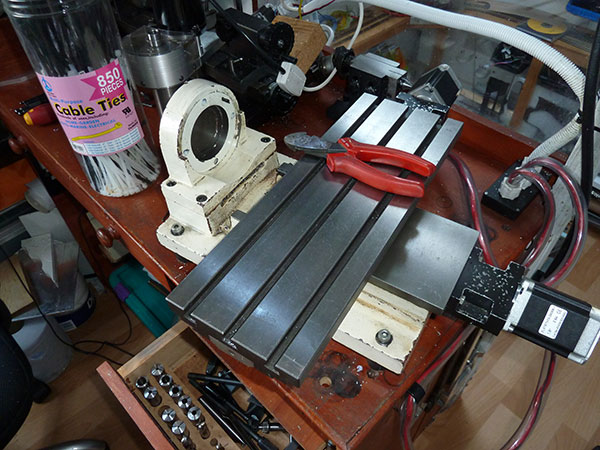
The base of the mill was cleaned and the X and Y-axis runners were cleaned and the bearings were checked while everything was removed.
The first test assembly of the new components prior to the fitting of a counterweight system.
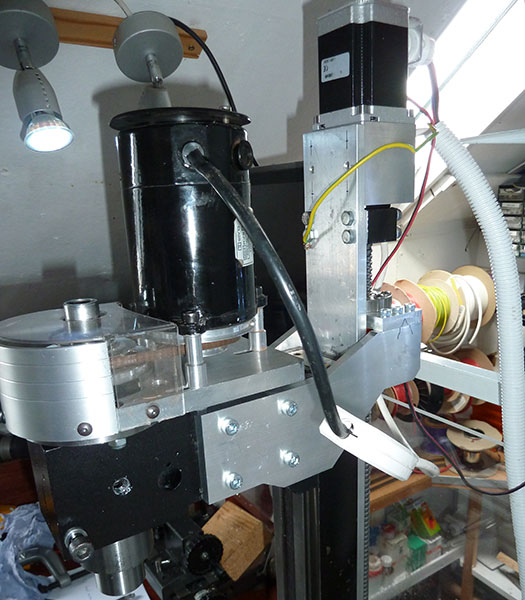
Back view showing the new ballscrew, ball nut and mounting brackets and plates.
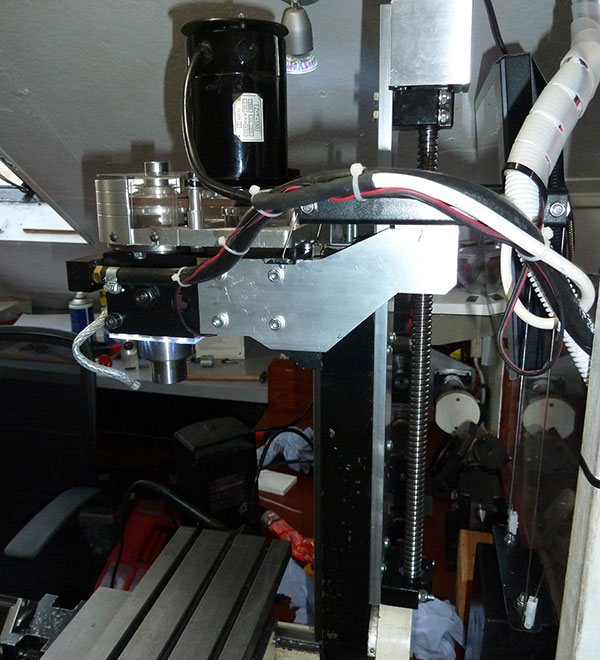
An 8.2KG counterweight was made from lead and then a new steel mounting bracket was created. The cables are mountain bike gear cables which are pre-stretched and these run over brass pulleys inside the steel tube to the weight behind the mill.

All the components were fitted and air cooling and led lighting were fitted back on the mill.
The total cost for the conversion was around £200 with the cost of importing the ballscrew and purchasing the 10mm aluminium plate/sheet used for the main components. All the bolts and other small parts came from our spare bins.


Geoff
Just a minor question - with the new side plates fitted to both sides of the spindle box casting, haven't you lost access to the adjustment screws for the gibs ??
Brian
Geoff, we added access holes for the screws